Split view on Mac is a new advanced feature which allows the users for taking two apps into the full-screen mode at the same time. It allows placing the apps in a split view side by side. For instance, if you want to take the Safari Windows on the full full-screen and then split the full screen by adding some other apps like Notepad and more. The split view on Mac is a specialized feature that sizes the windows in an automatic manner for any relevant screen size of the system. Therefore, there is no need of dragging the apps for accommodating them on the display screen when going for the Split view on Mac. Moreover, it is quite easy to use the same once you have learned the ways of accessing and using the split screen features.
The split view on Mac is a great feature for anyone who wishes to multitask upon a certain project. It can be highly beneficial for the professionals like writers, researchers, developers, students and so more who are likely to find this feature useful. However, if you are not well-versed with the process of how to use split view on a Mac, then here are some of the easiest ways of achieving the same. Have a read:
See also: How to enable Hey Siri on Mac
How To Use Split View On A Mac
Entering Split View From Anywhere With Any Window On Mac OS X
The easiest possible way of initiating the split view on Mac is through the process of a long click on the green maximize button of any window. Here is how this technique would work. For instance, if you wish to use the Dictionary app and Safari as the split view on Mac, then you can take help from the following steps:
- Select and hold the green maximization button of an active window (for instance, the Safari window).

- When the windows of the same shrink slightly and as the background becomes highlighted, you are about to enter the split view on Mac. While continuing to hold the green maximize button, drag the active windows on either left or right panel for placing the same on full screen in that area.
- Just when you have placed the first window into the split view panel, the other section of the screen will turn into a mini-Expose. Then, you can simply click on the particular window that you want to open as a split view on Mac. You can do the same process as above to place this second window as the split view on other section of the screen.
Once you have selected the other window as well to the full screen, then both the windows will appear side by side to one another in split view on Mac.
Using Full Screen Mode Of The Split View On Mac From Mission Control
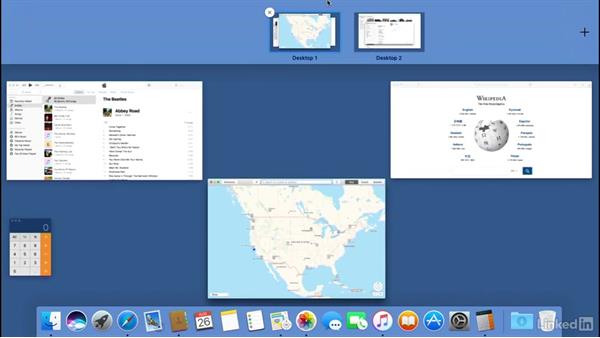
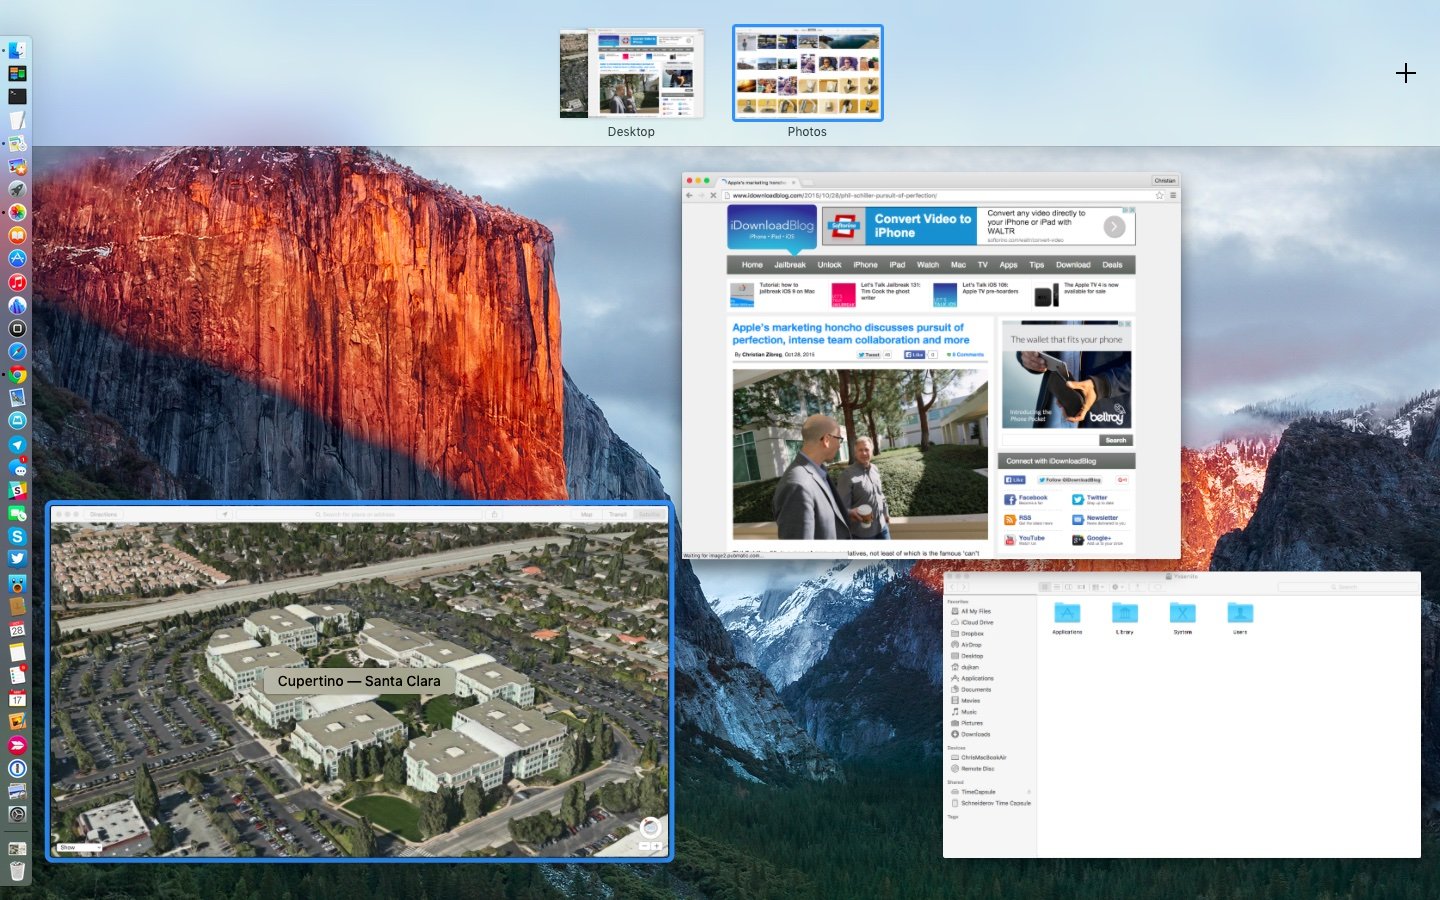
Another way of entering the split view on Mac could be from Mission Control with the help of dragging the particular apps and Windows around. This might be a trickier task than the previous one. However, if you happen to love working from Mission Control on Mac, then this trick could be highly useful for you. One can easily access the Mission Control on Mac in several ways. Here are the series of steps that you need to carry out:
- Enter the Mission Control tab as usual. Then, you need to drag a particular app or window to the topmost region of the screen. From there, you can drop the same on Mission Control screen. This will send the particular app or window into full screen mode in the same screen.

- Now you need to drag & drop in a similar manner the other app or window that you like to have as the split view on Mac. This will result into the two apps or windows entering the split view on Mac at the same time.
- You can click on the little thumbnail for entering into the split view for the particular two applications or windows.
Adjusting the Split View on Mac
The split view on Mac does not necessarily have to be the usual half-and-half affair. You can customize the display of the split view on your screen as per your convenience. For instance, you can choose which windows should get more screen time or space. For this, you can search for the slim black bar somewhere in the middle of the screen. You would need to select and hold the bar and then you can move the same right or left for giving the windows their desired spacing and location on the screen.
If you wish to shuffle the sides of the windows, then you simply need to drag it over to the opposite side. The windows would then switch their places in an automatic manner.
Exiting the Split View on Mac
Nothing can be as simple as exiting the split view on Mac. When you are done with your tasks and the function of the split views on your system, then you can consider exiting from the split view option. For doing this, you simply need to tap on the either of the green dots in any of the windows. This action would return both the windows to their original state. As a result, you can resume the other tasks on your Mac system wherein you do not need the split view anymore.

These are some of the simplest ways of how to use split view on a Mac. The split view option lets you perform several tasks in a simultaneous manner. This functionality serves a great purpose to those who constantly have to work with two windows or applications at the same time. Thus, you will be able to save a lot of time and energy by switching your Mac system to the split view option. Have a great working time!
See Also: Tips to charge your MacBook faster


