Did you miss out an important message or notification on your iPhone as you were too busy working on your PC? This is quite common. However, this issue might put you into some big trouble if you would miss out a vital message or call as you could take up the notification on your iPhone.
You need not worry about this problem anymore. You can now receive iPhone notifications on Windows PC itself while you are working on the desktop.
See also: How to use/get iMessage on Windows PC
How To Receive iPhone Notifications On Windows PC
Since most of the advanced users now make use of the latest Windows 10 version on their PC, they must know the ways to receive iPhone notifications on it. The overall method of achieving the same is quite simple. The users would just need to install an extension on the particular browser that they are using. Then, they would need to install the same app on the iOS device as well for which they would like to receive the notifications on the PC.
To know about the step-by-step process, read through:
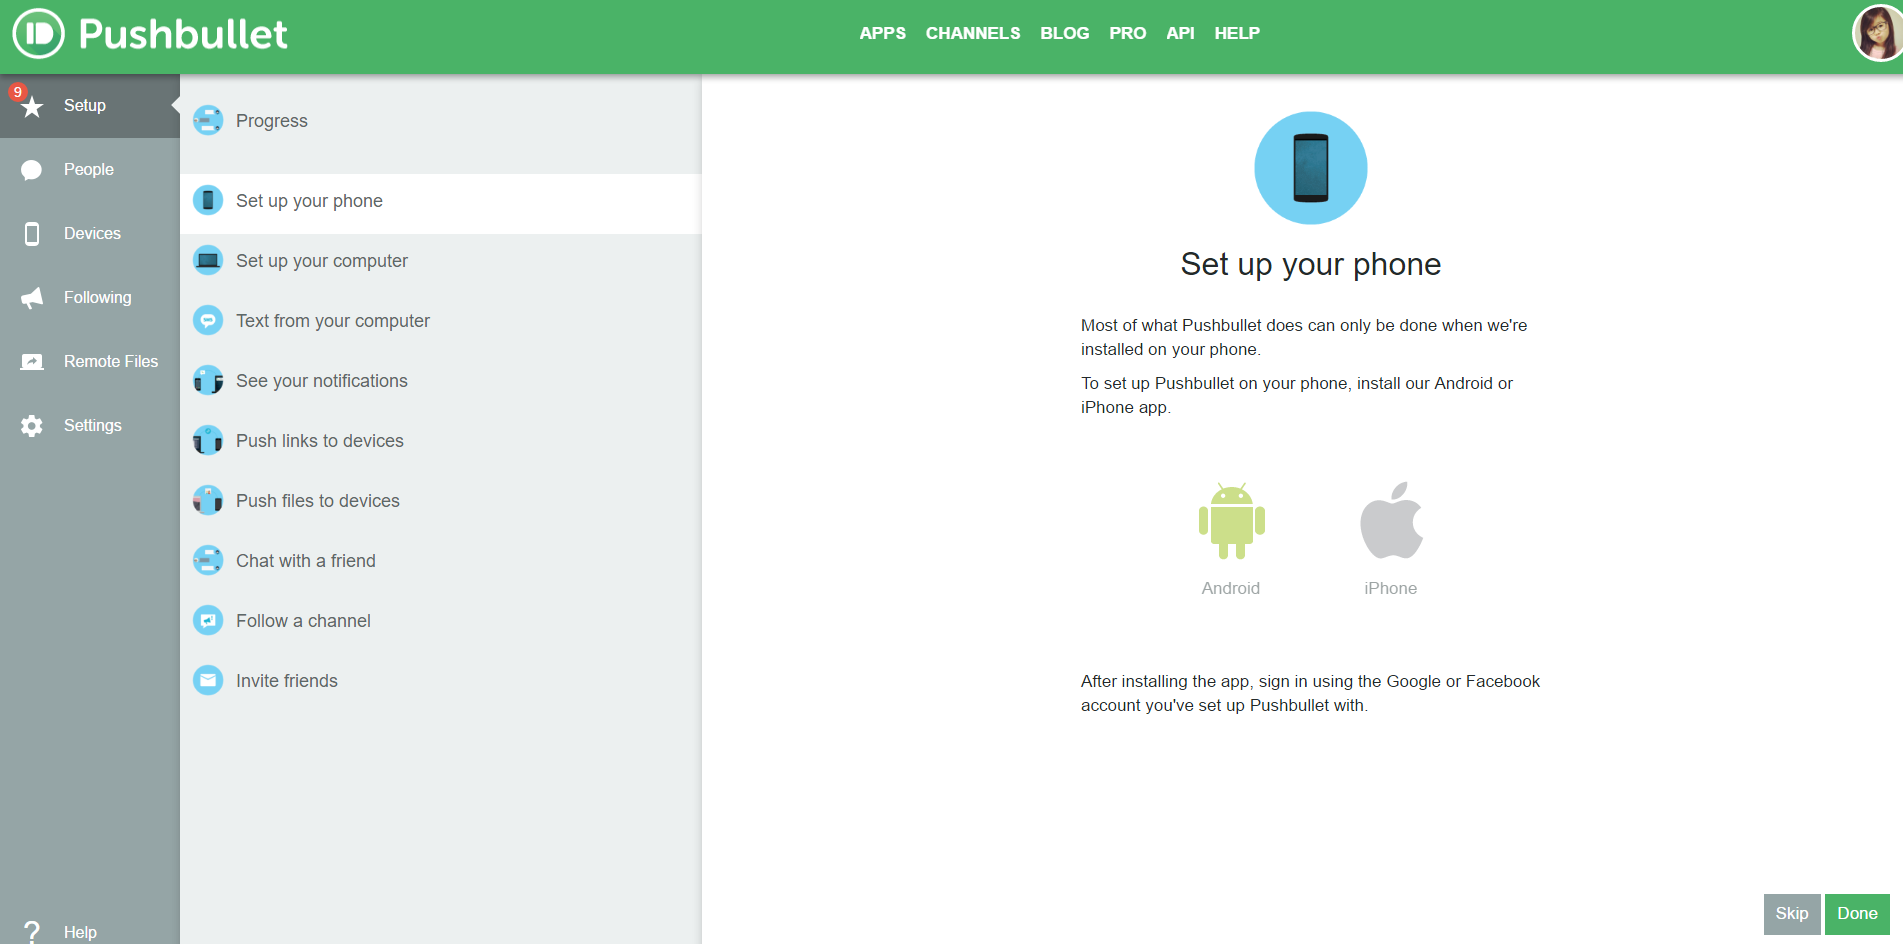
Step 1: Initially, you would need to download and then install a proper extension on the Windows 10 PC. The most preferred extension is the PushBullet that can be downloaded and installed on the particular browser. If you happen to be using Google Chrome or Mozilla Firefox, then this extension would work well for the purpose.

Step 2: Once you have downloaded and installed the extension for your browser properly, then you would need to sign up for the same. You can sign up with the help of either your Gmail account or even Facebook profile. As recommended by the experts, you should try signing up with the help of a separate account rather than using the official accounts of Gmail or Facebook.
Step 3: Now, the extension PushBullet would get activated on the desired browser for which you installed the same. Once this is activated, you can open it to browse through various options and Settings.
Step 4: Similarly, you would need to download the app of PushBullet on your iPhone device as well. When you would enter the particular email address on the iPhone with which you have signed up on the PC, the app would sync all information to make it possible for the iPhone notifications to be displayed on the PC.
Step 5: Once the app has synced all the notifications of your iPhone to the PC, you can see them directly on the Windows 10 PC as well.
Step 6: This is it. You have made it possible successfully for the incoming notifications in your iPhone to be displayed on the PC as well when you are working on it. Moreover, you can also add multiple iPhone devices or PCs with the use of the same PushButton extension and app.
Follow these simple steps to receive iPhone notifications on Windows PC when you are too busy to glance at your phone. This way, you would not have to miss out any important message or call.
See also: How to run Android apps on Windows PC


