Are you switching to Mac from Windows? If so, it means that you will have to transfer the data from your Windows PC to Mac. However, this is not a tedious task at all and can be completed in few minutes. While there are several ways to transfer data through the hard drive or CD, DVD burning process, we will mention here the best possible ways to move Windows files to a Mac. All these options eliminate the need of having any hard disk or CD, DVD rather some tweaks are needed and you can go ahead.
So, keep reading to know how to move Windows files to a Mac.
See also: How to rename multiple files on a Mac
How To Move Windows Files To A Mac: Through Windows Migration Assistant
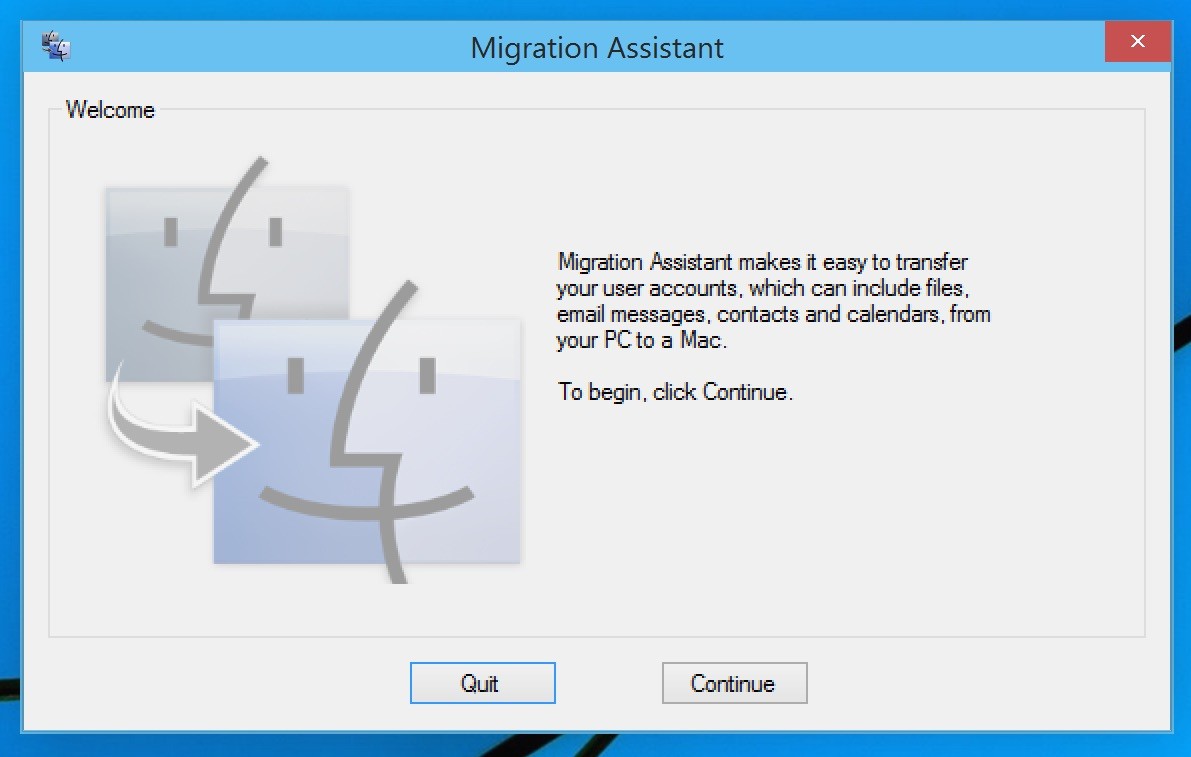
Migration Assistant is a virtual assistant that handles file sharing process with ease. While the Mac comes installed with this Migration Assistant, you need to download the Windows Migration Assistant on your PC. This is available on the Apple’s website. Once downloaded, install it on your Windows PC. Now follow the step by step process explained here.

- First, ensure both the Mac and Windows PC are connected to the same Wi-Fi.For even better result use the CAT6 Ethernet cable to connect the Mac and Windows PC.
- Next, close all the anti-virus or firewalls that are running on the PC to make things smoother.
- On Windows PC, run the Windows Migration Assistant and click on ‘continue’ to search for the Mac.
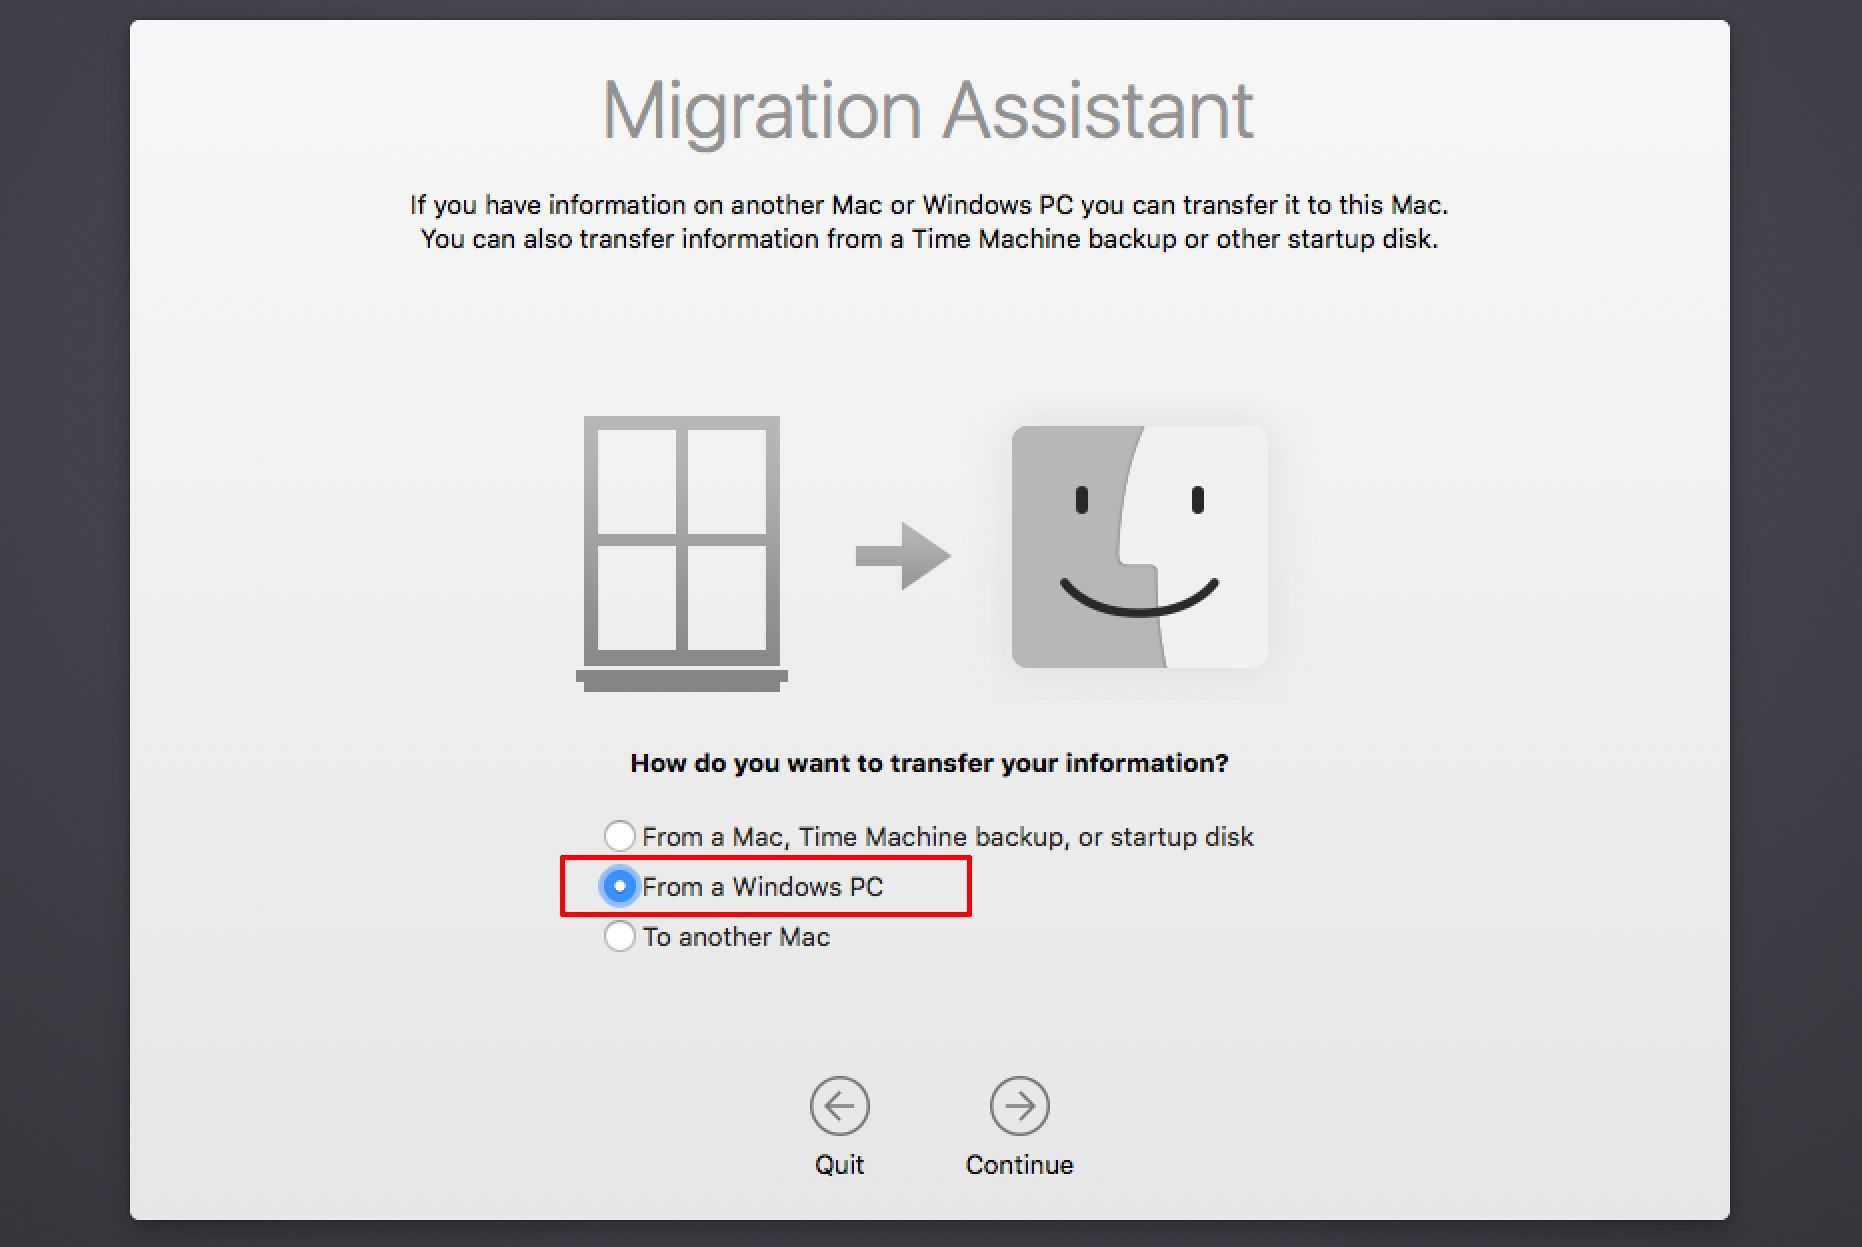
- Look for the Migration Assistant now in Mac which you will find in the Utilities Folder. Then double click on that and then select the option ‘From another Mac, PC or other disks’, and click ‘continue’.
- Put the administrator password followed by which you need to again select the option ‘From another Mac, PC’ option and click ‘Continue’.

- Close all the running programs in Mac when you are asked for that.
- On your Mac, look for your PC and select that. Wait for few seconds to get a passcode. You will notice the same passcode on both the Windows PC and Mac. Verify it once and tap on continue on the Windows PC to go ahead.
- Your Mac will start scanning the PC and will bring a list of data. Select all those files which are to be shared and Click continue to start the transferring process. It might take few minutes depending on the amount of data. That’s it.
How To Move Windows Files To A Mac: Through file sharing
Another great way to move Windows files to a Mac. The step by step process is explained here.
- First, ensure both the Windows PC and your Mac are connected to the same Wi-Fi network.
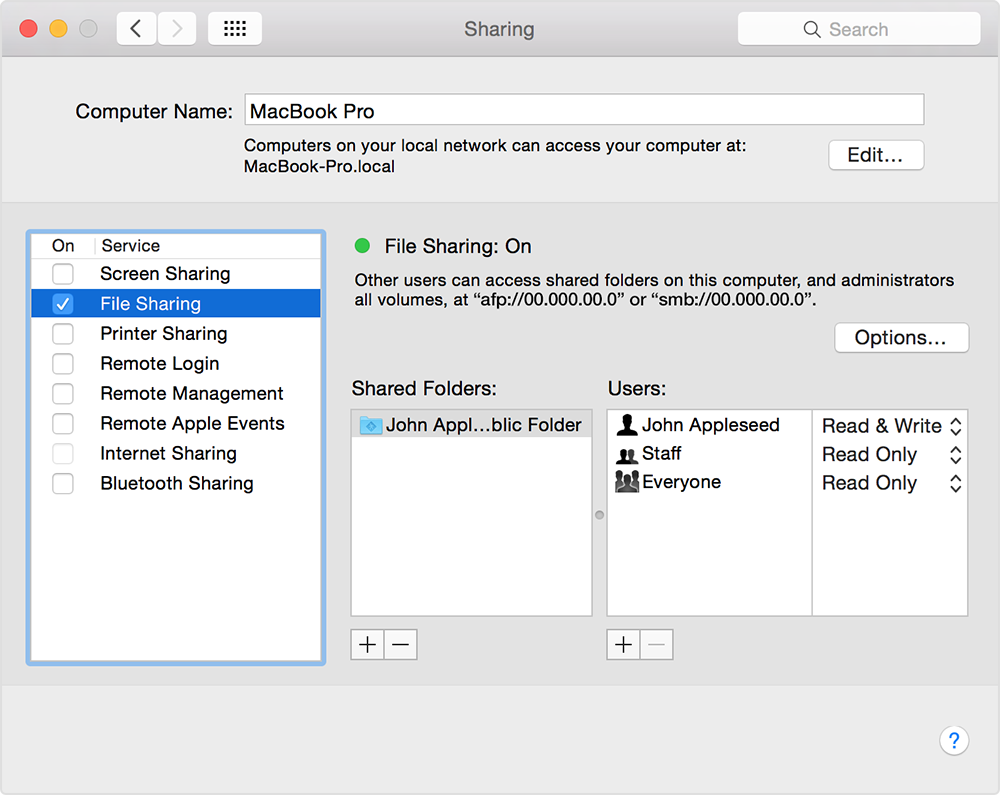
- Next, enable file sharing on the Windows PC.

- The next step is to make all the files you want to transfer to Mac sharable. To do so, drag all the files to the shared folder on the desktop after setting up file sharing. Also, you can right click on the folder that is to be shared and then select properties. Click on the sharing tab then and tick the option ‘Share This Folder on the Network’.
- Now on the Mac, open a new window in Finder and look for the option ‘shared’ in the sidebar. As you get that Shared option, click All. Select your PC then and again click on ‘connect as’. Put the username and password that you have set for your PC and click connect.
- Now all those folders you have shared on the PC will be appeared in Finder on your Mac, see what all you want and drag them to the preferred location on your Mac. That’s it.
How To Move Windows Files To A Mac: Through One to One service of Apple
If you have bit less technical knowledge and do not want to handle the transferring process on your own, then this One to One service might be the best option for you. This is nothing but a service available at Apple at the cost of $99. When you buy your new Mac, get this service and your data transferring will be taken care of by them. However not just this data transferring rather much more help are included in this package. So, get this One to One service and make things much easier.
These are the ways to move Windows files to a Mac. Make use of the process that seems convenient to you and data will be transferred hassle free.
See Also: How to use a Mac as a Wi-Fi hotspot


