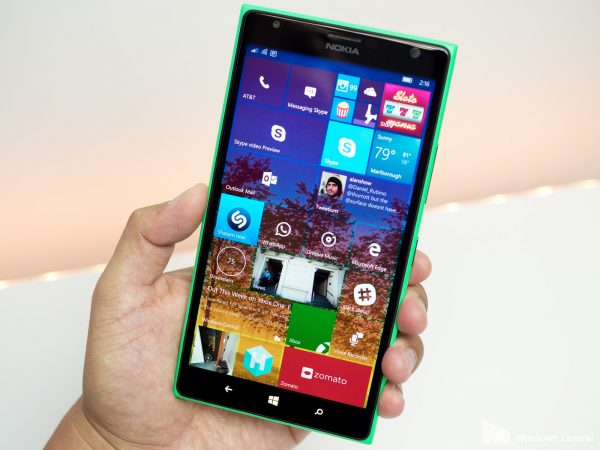
While many people choose iPhones or Android smartphones, the others are faithful Windows Phone users. These phones are packed with many awesome features, and there are many great applications you can download from the Windows Phone Store, so the enjoyment when using your device is guaranteed. If you ever want to capture something interesting on your screen, such as a high score in the game you play, you can take a screenshot. Moreover, taking a screenshot is super useful when you want to troubleshoot a problem you may have with your device. In this article, we are going to explain how to take screenshots on your Windows Phone.
You may also read: How To Change Country/Region Setting On Windows Phones
How to take screenshots on your Windows Phone

www.windowscentral.com
Before Microsoft launched Windows 8.1 mobile OS, the user needed to press the Start screen and the Power button at the same time in order to take a screenshot. Once the screenshot is captured, it is stored in the Screenshots folder.
After the launch of Windows 8.1 mobile OS, the method changed. Here is how you can take screenshots: press the Power Button and the Volume Key at the same time, and when you do that you will hear the shutter sound, which means the screenshot was successfully taken. You will find the screenshots in the Photos Hub in Screenshots folder. It is all pretty simple isn’t it?
There is also an application called Screen Capture that allows the users to take screenshots, and share them with whenever and whomever they want. The screenshots taken using this app are also stored in the Photos Hub in the Screenshots folder. Supported operating systems are Windows Phone 7, Windows Phone 8, Windows Phone 8.1, Windows Phone 10.
Image Source: www.idigitaltimes.com
You may also read: How To Share Files Between Android And Windows Phone


