Windows 10 installs the updates automatically even if you don’t want to, and the only way to prevent this is to disable the internet connection so the updates can’t be downloaded. But if the updates are already installed on your computer and cause problems to your system, you can remove them. Some updates can cause many problems with your software and hardware. This guide will show you how to roll back builds and uninstall updates on Windows 10.
How To Roll Back Builds And Uninstall Updates On Windows 10
Removing large updates, or “builds.”
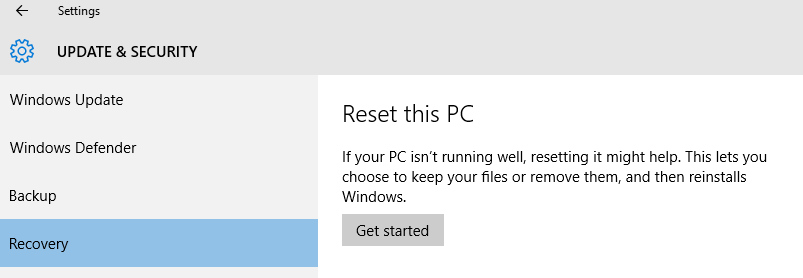
Some Windows 10 updates are called “Build,” they are like a Service Pack with previous versions of Windows, which fixes numerous bugs, security issues, etc. But after upgrading to small updates, many applications may stop working, especially if you’re part of the Windows 10 Insider Program. You may want to revert to the previous Windows version when this happens. To do this properly, go to “Start” => “Settings” => Update and Security => Recovery => Get started => Go back to an earlier build.
Removing Typical Windows updates
You can also remove the regular updates that come out almost every day.
To remove an update for Windows 10:
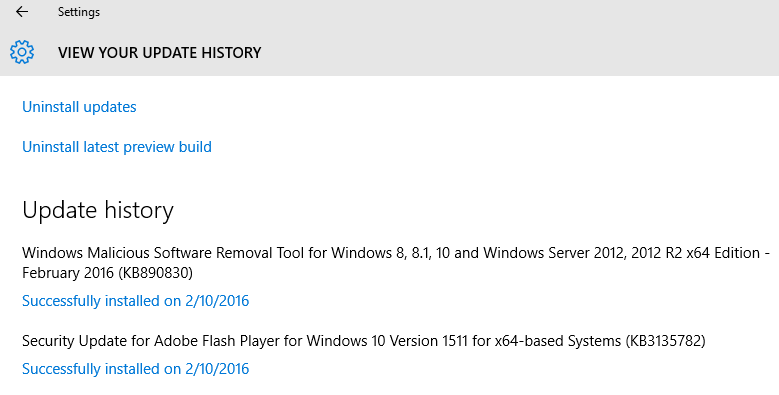
Go to Start => Settings => Update and Security => Windows Update => Advanced Options => View your update history. You will see a list of recently installed updates, which you can click “Uninstall updates.” A window with a list of updates can be accessed. This list can be accessed via Control Panel => Program and features => View installed updates. Select one update and uninstall it.
Also, in the future, you can disable automatic updates for Windows 10, and you can do it this way:
Go to Settings => network and the internet => Wi-Fi => and Turn “Set as metered connection” to “On.”


