Is it possible to install Windows 10 on a MacBook? The answer is yes. You can run macOS and switch it to Windows anytime you want. Apple has provided the Mac computer with a utility that can help you install Windows and switch between these two OSs. This article will show you how to install Windows 10 on a MacBook.
Before You Start
Backup Data
Installing Windows 10 on MacBook isn’t that complicated. But it would be better to back up your data just in case something unwanted happens in the middle of the process.
Internet Connection
You need an internet connection to download Windows 10 disk image (ISO file). So, ensure you have a dedicated internet network connected to your Mac.
Data Storage
You must have enough disk space to install Windows 10 on your MacBook. You will need at least 64GB of storage, or 128GB would be better. To check how much data storage is available on your MacBook, click on the Apple logo > About This Mac > Storage.
Check System Requirements
Installing something without checking its requirements can give you problems. To install Windows 10, your computer must have at least 1 GHz of processor and 1 GB of RAM for 32-bit or 2 GB for 64-bit. Here is the list of MacBook models that are compatible with Windows 10:
- MacBook Pro (2012 and later)
- MacBook Air (2012 and later)
- MacBook (2015 and later)
How to Install Windows 10 on a MacBook
Download Windows Disk Image
You can download Windows 10 by typing “Windows 10 disk image (ISO file)” on your browser and choosing the one that comes from Microsoft’s official website.
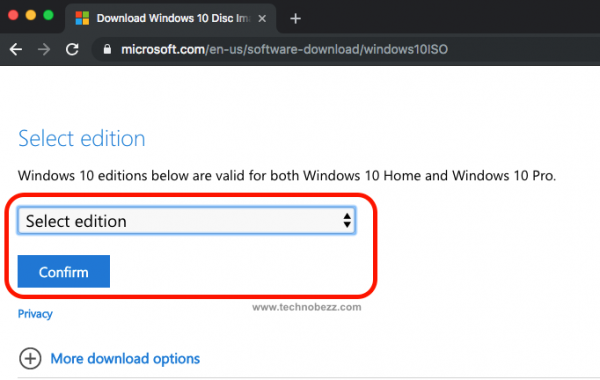
- Once on the page, click the “Select Edition” box and choose the edition you want. Then, click Confirm.
- On the next page, choose your language and click Confirm.
- Select 32-bit Download or 64-bit. Wait until the downloading process is completed.
- The Windows 10 Disk Image (ISO file) will be stored in the Download folder of your MacBook.
Launch Boot Camp Assistant
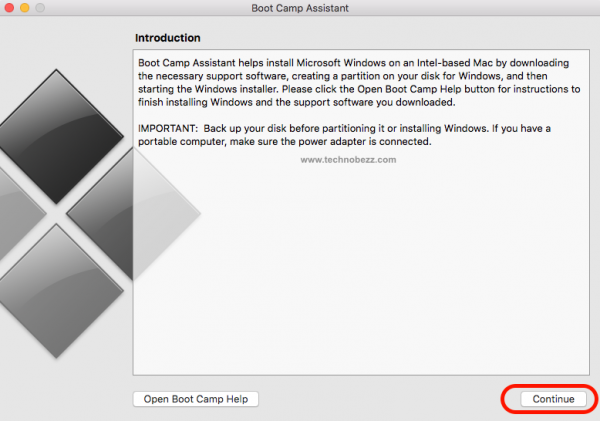
Boot Camp Assistant is a utility that comes with your MacBook. This will help you install Windows 10 on your MacBook. You can find it in the Utilities folder. To get there, first, open Folder > Applications > Utilities. Here, find the Boot Camp Assistant and click on it. Here are the steps to follow:
- Once the Boot Camp Assistant opens, click Continue.
- A new page will open, and you will see the Windows 10 ISO file there. Alternatively, click the Choose button next to the ISO Image box and go to the Download folder. Choose the file and click Open.
- Now, drag the partition between macOS and Windows to format the size of Windows 10. Adjust it according to your needs. When ready, click the Install/Format button in the bottom-right corner.
- Once the installation is done, your MacBook will reboot into the Windows 10 setup.
Install and Set Up Windows 10
All you need to do next is follow the on-screen prompts.
- The first pop-up screen will ask you to choose the language.
- On the second page, you will be asked about a product key. If you don’t have one, click “I don’t have a product key.”
- Choose Windows 10 Pro or Windows Home, and click the Next button below.
- Select Drive 0 Partition X and click Next.
- Choose Express Settings or Customize Your Installation.
- Type in your username and password to create an account and click Next.
- If you don’t want to use Cortana’s personal assistant, click Not Now.
- On the “Welcome To The Boot Camp Installer” screen, click Next.
- Read and tick the accept box on the License Agreement screen, then click Install.


