Google Chrome browser developers established not quite comfortable speed dial tab that displays only recent visited sites. Many people don’t like it, but there are many extensions that can satisfy your needs. One of the most convenient and the popular extensions is Speed Dial 2. If you want to know more about it, follow the guide: how to install and configure the speed dial extension in Google Chrome.
You also may read: How To Clean Cookies In Google Chrome
How To Install And Configure The Speed Dial Extension In Google Chrome
Installing Google Chrome extensions is simple and you will have to use the Chrome Web Store. To access it, you need to press the button of the main Chrome menu (the button with the three horizontal lines, which is at top-right of the address bar). In the “Extensions”, you will see a link “Get more extensions” that leads directly to the online store.
On the store page, you will find the freshest and the most popular apps. On the left side is an extended search menu.
In the central part of the page, the search results are displayed. It is necessary to select the desired result. In order to download an extension you need to click on it and when it opens, click on “Add” in the top-right corner of the opened window. Added extension can be found in the browser’s toolbar.
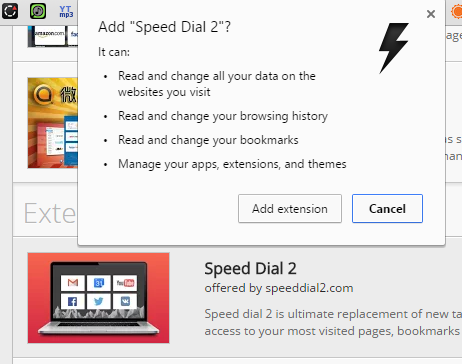
To install an extension for the speed dial, first go to search in “Chrome web store” and type “Speed dial 2”.
Click on “Add to Chrome” and then press “Add extension” and wait until the add-on installation process is completed.

Then you will see the welcome screen. Click on “Skip the tour” and then the menu will appear with the recommended speed dial sites. Pick any of the sites you want and to confirm click on “Finish”.
After that, you will be prompted to create an account. You can skip this step, just click on “Continue without account”.

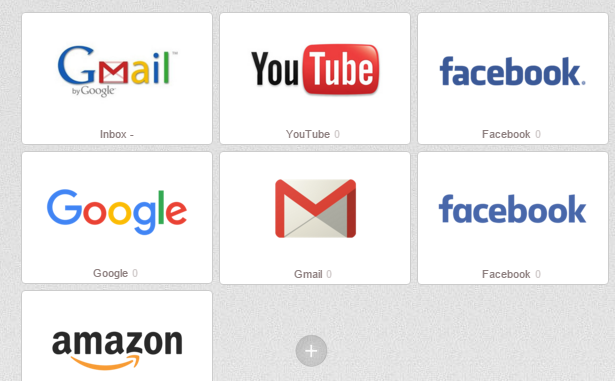
Now you have the Speed dial screen in Google Chrome.
Image Source: www.karuppuswamy.com
You may also read: How To Clean Cache In Google Chrome


