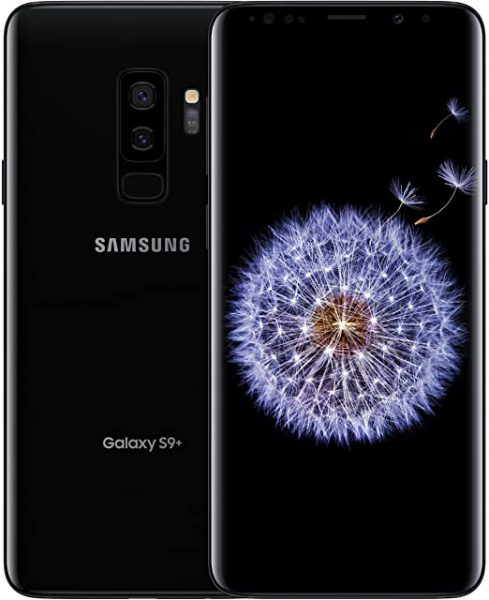
Some friends tried to call you on the Galaxy S9/S9+ phone, but they couldn’t reach you? This issue needs your attention right away as you could miss important calls. Let’s see how to fix Samsung Galaxy S9/S9+ that is not accepting calls.
See also: Samsung Galaxy S9/S9+ Not Downloading Apps – How To Fix It
How To Fix Samsung Galaxy S9/S9+ That Is Not Accepting Calls

Investigate The Sim Card
The problem may not come from your Galaxy S9/S9+ but from the SIM card or the provider you use. Check if the signal is full or weak. Also, make sure you use an active SIM card. You may also want to call your carrier to find out if the problem comes from them or not.
Sometimes, they work on the maintenance for a better service, affecting how you use cellular data or receive the calls. A damaged SIM card is another reason why your Samsung Galaxy S9/S9+ cannot receive calls.
Disable The Do Not Disturb
Do Not Disturb allows you to mute incoming calls, messages, and notifications. The point is to help you focus on what you are doing without being distracted by your phone. Check if you unintentionally enable the feature.
To disable the Do Not Disturb, go to Settings > Do not disturb, toggle the button to turn off the feature. Alternatively, you can do it through Quick settings by swiping the screen from the top. Tap the Do not disturb icon until it turns grey.
Turn off the Smart Call
When you activate the Smart Call feature on Galaxy S9/S9+, it will automatically block every number not listed on your contact. Before you disable it, make sure the numbers exist on your contact list.
Steps to turn off the Smart Call feature
1. Launch the Phone app

2. Tap the More option (three dots) and select Settings
3. Tap the switch button next to the Call-ID and spam protection option until it turns green
While you are on the Settings, you can investigate the Block number option as well. By tapping it, you will see the list of numbers that are blocked, if any. Tap Delete to unblock the number.
Restart
The basic troubleshooting, like restarting the device, can fix the temporary issues like Samsung Galaxy S9/S9+ that is not accepting calls. The method is easy and relatively safe. Press the Power button and hold it until the Power off screen appears and tap Restart.
Disable Call forwarding
Some people have more than one phone for different purposes. For instance, one phone is for business and another for personal use. If you have two Samsung Galaxy devices and want to forward the call from a personal phone to a business phone, enabling the Call forwarding feature will help.
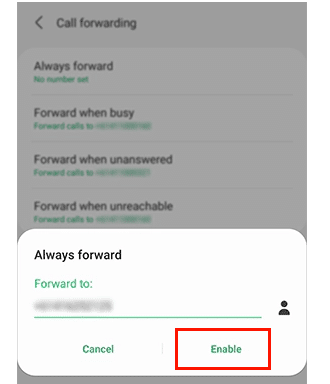
The idea of the Call forwarding feature is to redirect the incoming phone from one phone to another. To disable the Call forwarding feature, follow the steps.
1. Tap the Phone app from the home screen
2. Tap More (three dots)
3. On the drop-down menu, choose Settings
4. Scroll down to find the Supplementary Services option
5. Tap Call forwarding
6. Tap Always forward and choose Enable

While you are in the Supplementary Services screen, also investigate the Call barring feature. Make sure this feature is not active. Otherwise, it will stop all incoming and outgoing calls. From the Supplementary Services screen, tap Call barring instead of Call forwarding. Then, tap Voice call and turn off the All incoming calls option.
Reset Network Settings
If the caller tries to reach you via WiFi or cellular data, Reset network settings can solve the issue. To perform this method, open Settings > General Management > Reset > Reset network settings. After that, you need to re-enter your WiFi password because the resetting process erases all the WiFi passwords you have entered before.
Reset to Factory Settings
How do you fix the Samsung Galaxy S9/S9+ that is not accepting calls if you have tried all methods, but the issues still appear? Try to reset your phone to its factory default settings. You may lose your data during the process. That is why you need to backup your phone before starting.
Steps to reset Galaxy S9/S9+ to factory settings are pretty similar to Reset network settings. First, go to Settings > General Management > Reset > Factory data reset.


