Hibernate mode is a power-saving mode originally designed for laptops. The “Sleep” mode saves data in system memory and consumes a small amount of energy, while the “Hibernate” mode consumes zero power and saves data into the hard drive as a hidden file “hiberfil.sys”. When you turn on your computer, the computer resumes where you left off. This guide will show you how to enable or disable hibernate mode in Windows 10.
How to Enable Hibernate Mode in Windows 10
You can enable or disable hibernate mode in two ways:
Use Command prompt
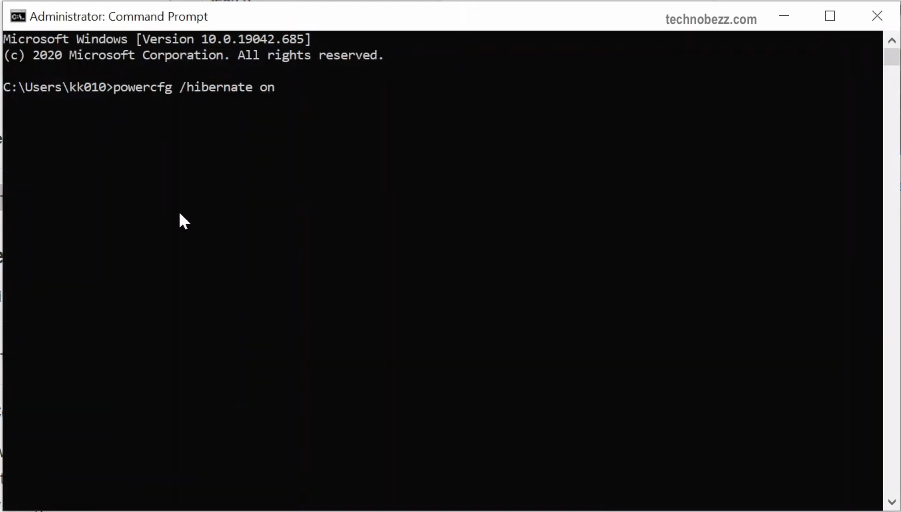
The simplest way to enable or disable hibernation mode is to use the Command prompt. You will need to run it as an administrator: right-click the “Start” button and select the appropriate option. To disable hibernation, at the command prompt, type “powercfg /hibernate off” off press “Enter.” This will disable this mode, remove hiberfil.sys from the hard disk, and disable the option to fast boot Windows 10 (which also uses this technology and does not work without Hibernate).
To enable hibernation mode, type “powercfg /hibernate on” in the command prompt similarly.

Using Registry Editor
Another way to disable Hibernation – If you use Registry Editor to run it, you can press Win + R on your keyboard, type “Regedit, " and then press Enter.
In the HKEY_LOCAL_MACHINE \ System \ CurrentControlSet \ Control \ Power locate the DWORD value named HibernateEnabled, double-click on it and set it to 1 if the hibernation is off, and 0 – to turn off.


