We all have a unique type of love for Apple products as it has become a style statement too. Obviously, it is also introducing us with numbers of unheard features. One such feature is voice assistant Siri which is based on voice recognition and assists us with easy accessibility of our iPhones or MacBooks.
On iOS, you can activate this voice assistance by saying “Hey, Siri”. How to enable Hey Siri on a Mac? There is no switch to do so, but CNET reported the Reddit user Jdcampbell found a way.
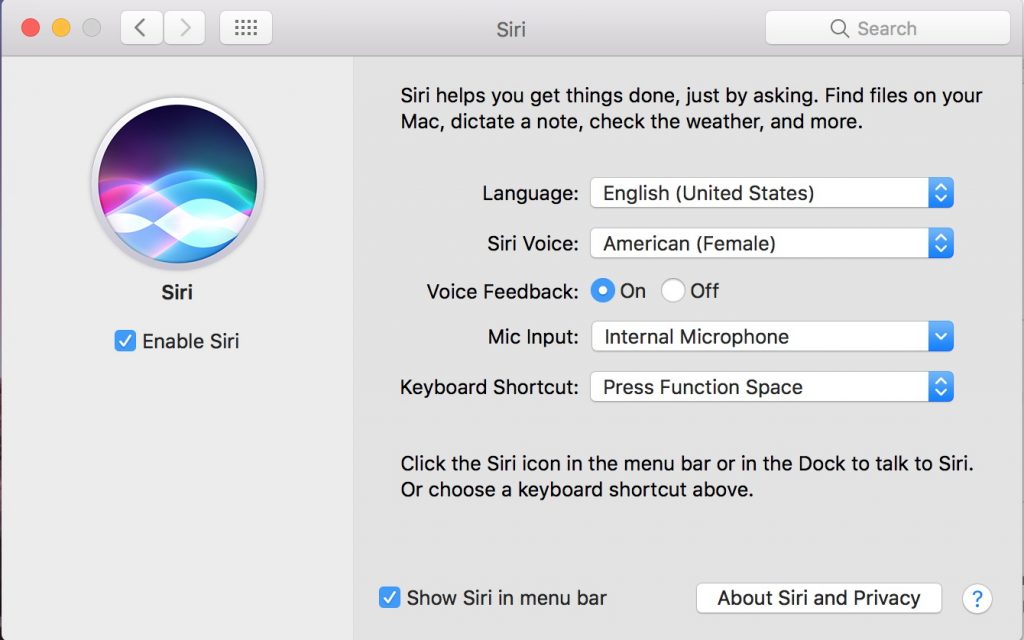
What you need to do first is create Siri custom keyboard shortcut, other than the default one that is set up for Siri. The reason for this is that dictation won’t recognize function+spacebar. After you are done, you’ll need to set up a dictation command. To change the shortcut, just go to System Preferences > Siri, and choose something else instead of Press Function Space.

Notebooks.com
See Also: How to disable Touch bar on Macbook Pro
How to enable Hey Siri on a Mac
Now that you have created your keyboard shortcut, you can easily activate Siri on your Mac by performing following steps:
- You will see a Keyboard icon in System Preferences option available in Apple menu, Click on that icon.
- Now, click on the Dictation option. If nothing happens, click on another tab, then click on Dictation tab again.
- Start looking for the setting called Dictation and turn it on.
- The next thing to select is Use Enhanced Dictation. You may need to perform a download that allows you the offline use as well.
- In case you are utilizing numerous microphones, choose the one to be used by clicking the pop-up menu located under the microphone icon. You can also change the language of Dictation.
- Now click on the Show All icon at the top of the window with a grid of multiple aligned dots. Then click on the Accessibility icon. You can also try selecting View in the menu bar and then select Accessibility.
- You will find Dictation when you scroll down in the left column of the Accessibility system preference, select it.
- Check the box in front of “Enable the dictation keyword phrase” and the word Computer will appear in the long box. You can replace it with Hey or whatever phrase you want to use.
- Now, click the Dictation Commands Button.
- A window will appear with a Selection list in the left column. You will find a command below that “Enable advanced commands.” Check the box present in front of it.
- Click the + button to add the custom commands. You can enter the following commands:
- When I say: Siri
- While using: Any application
- Perform: Select Press Keyboard Shortcut from the pop-up menu. The entry box will show “Press keys now” in the light gray color text. Press the keyboard shortcut you want to use for Siri. In this example, we used Control-Space.
- When you press the keyboard shortcut and Siri gets activated instead of registering in the entry box, make sure that the Accessibility window is active by clicking anywhere on the current window.
- Now, Click Done.
Customize the vocal command
Now whenever you call for Siri by saying “Hey Siri” to your Mac, a Siri window will open. And if your iPhone is also nearby, your iPhone Siri will also respond. You can fix this mix up by altering the dictation keyword phrase with other words, like “Hello” or “Hi”. Now enjoy the company of Siri as we have explained to you how to activate Hey Siri on a Mac. She’s a great voice assistant for your day to day life.
See also: Top best essential apps for Macbook


