Microsoft Windows 10 is the most popular OS today, and because of that, it attracts the attention of virus creators. Therefore, they integrate anti-virus programs. Microsoft tries to protect the security of their users’ data, and for many years, they have supplied their own OS with the Windows Defender.
Even though this anti-virus is very good, most people use other reliable and proven solutions. Mostly, new anti-virus software disables Windows Defender automatically. However, in some cases, it may be necessary to perform this procedure manually. This guide will show you how to disable Windows Defender on Windows 10.
How To Disable Windows Defender In Windows 10
In older versions of Windows 10, it was simple to disable the Defender, but with the release of Windows 10, the developers decided to complicate this task. To disable Windows Defender 10 temporarily is not difficult, but deactivating it can be a little tricky for the Group Policy Editor. However, using this guide, even a novice computer user can easily do it. You have two choices: to disable Windows Defender 10 permanently or temporarily.
Disable Windows Defender temporarily.
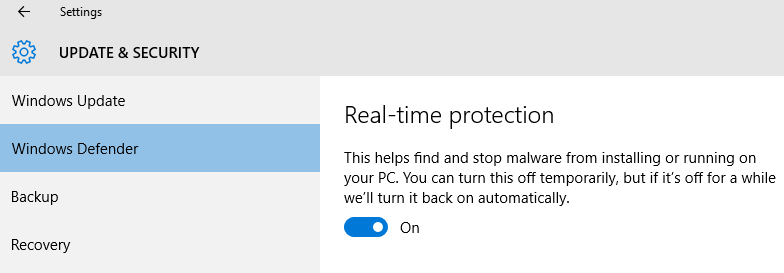
Click “Start” < “Settings” < “Updates and Security” < “Windows Defender” and switch off «Real-time protection”. This method disables Windows Defender for a short time. In 15 minutes, it will automatically be back on. Therefore, if such an option does not suit you, use the following method.

Disable Windows Defender permanently.
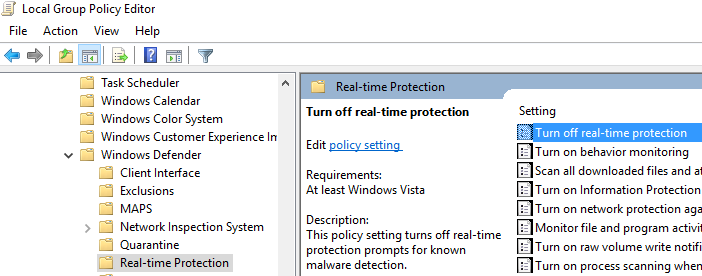
To deactivate the standard anti-virus for a long time (until you need to turn it on again), you need to dig a little deeper into the Local Group Policy Editor: open the “Run” with a key combination «Win + R» and type “gpedit.msc” and click “OK.” Click on “Computer Configuration” < “Administrative Templates” < “Windows Components” < “Windows Defender” < “Real-time Protection” double-click on it and select the “Enabled” option to turn off Windows Defender. Click “OK” and close the editor window.

You have just learned how to disable Windows Defender fully.


