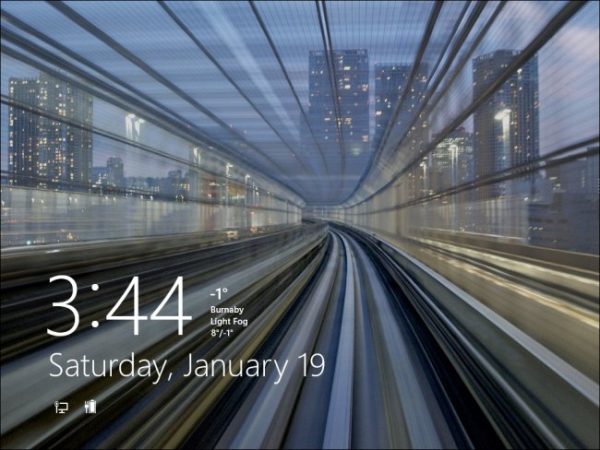
Like Windows 8 and 8.1, Windows 10 continues to uncompromisingly insist that you must identify by entering a password before doing anything on your PC. If you travel a lot or leave your laptop in places where many people may have access to it, it is undoubtedly a good idea to make sure you use the password to authenticate. However, if it is a desktop computer or a laptop that does not leave the house and is used only by the household members, you’ll want to get rid of the login screen.

This option is handy if you use a Windows virtual machine that can be reached only through the main physical computer that, before starting work, requires authentication of itself. If you cancel mandatory password entry, you will be able to start the computer as in the “good old days” when all these dangers lurking at every step weren’t there. However our recommendation is to keep the password, but if you insist, we have a solution. Of course, use it at your own risk, and do not complain if someone has outsmarted you. This small guide will show you how to disable the login screen on Windows 10.
How to disable the login screen in Windows 10

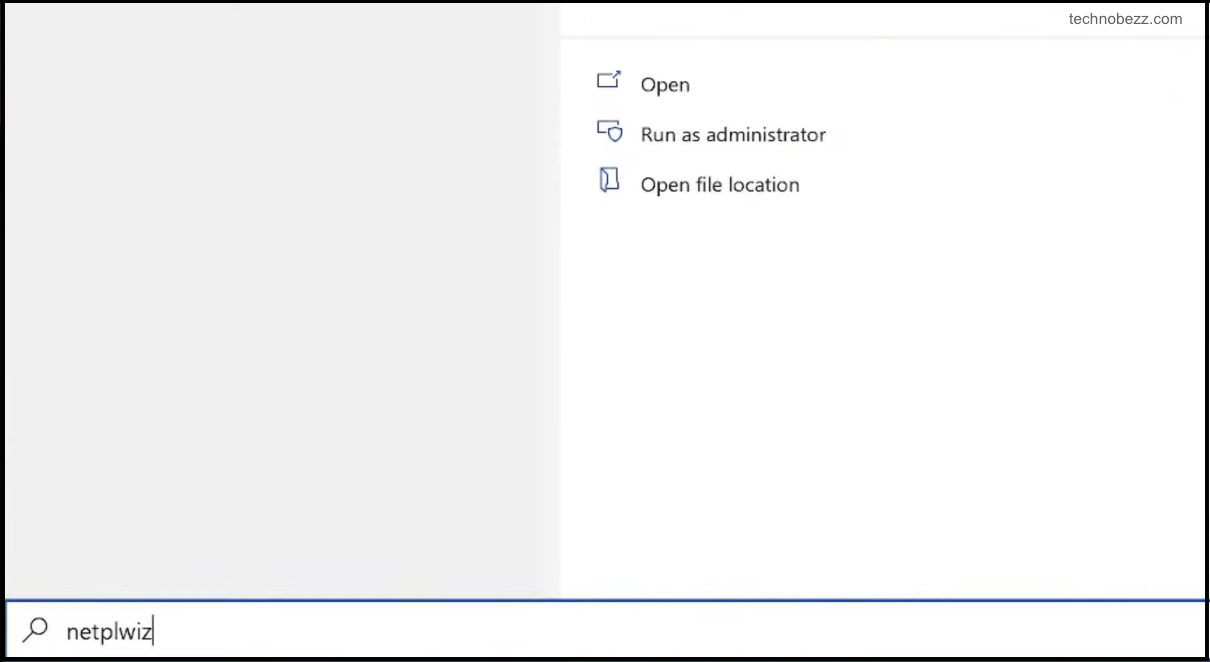
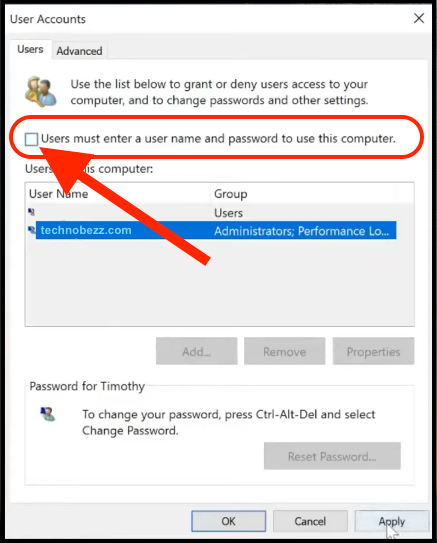
Type Netplwiz in the search box on the lower left side of your desktop, just to the right of the Windows Start icon. Only when you type the entire official name will the icon appear that you must click. Afterward, a User Accounts window will appear. Click on the username you want to “unleash” on logging and then uncheck <Users must enter a username and password to use this computer>. After that, restart your computer or log out. In the future, Windows will ignore and skip the login screen and lock screen, i.e., automatically log out after you start the computer or turn off the screen saver.


