If you're using an iPhone to access your work email, you may see a message that says "Cannot verify server identity." This error is usually triggered if your IT administrator has changed the authentication settings of your company’s Exchange server. However, there are other reasons why this message may appear on your phone.
For example, if you’ve recently updated the software on your iPhone or switched network connections – such as switching from Wi-Fi to a mobile data connection or vice versa. Even small changes can result in this error message appearing on your phone. You will also probably see this error message if you recently changed your Apple ID account password. This article explains what each situation has in common and how to fix the Cannot Verify Server Identity error on your iPhone.
How to Fix the "Cannot Verify Server Identity" error on iPhone
Change your password
One of the most common reasons why you may be seeing the "Cannot Verify Server Identity" error on your iPhone is that the password used to authenticate your email account is incorrect. If your IT administrator has recently changed the password for your account, you may need to update the information on your iPhone.
You can follow these steps to change your email account password: Open the Settings app > Mail >Select your email account > Enter your current email password > And change your password as required. Since every email account differs, these steps may vary slightly for each email service. If you’re unsure how to change your email password, you can contact your email provider or look into their Help section for instructions.
Restart Your iPhone
Many iPhone issues can be fixed by simply restarting your device. If you’re having trouble authenticating your email account, try restarting your iPhone. To do so, hold down the Sleep/Wake button for a few seconds until the red slider appears. Alternatively, press and hold the side and volume down buttons.
Turn Off Auto-Fetch for Exchange Email
If you’re seeing Cannot Verify Server Identity on your iPhone, you may have a server communication issue. You can fix this issue by turning off the Auto-Fetch for Exchange email. To do so, follow these steps: Go to Settings > Mail > Accounts, Select your email account, then select Advanced > Exchange > Auto Fetch > OFF > Save.
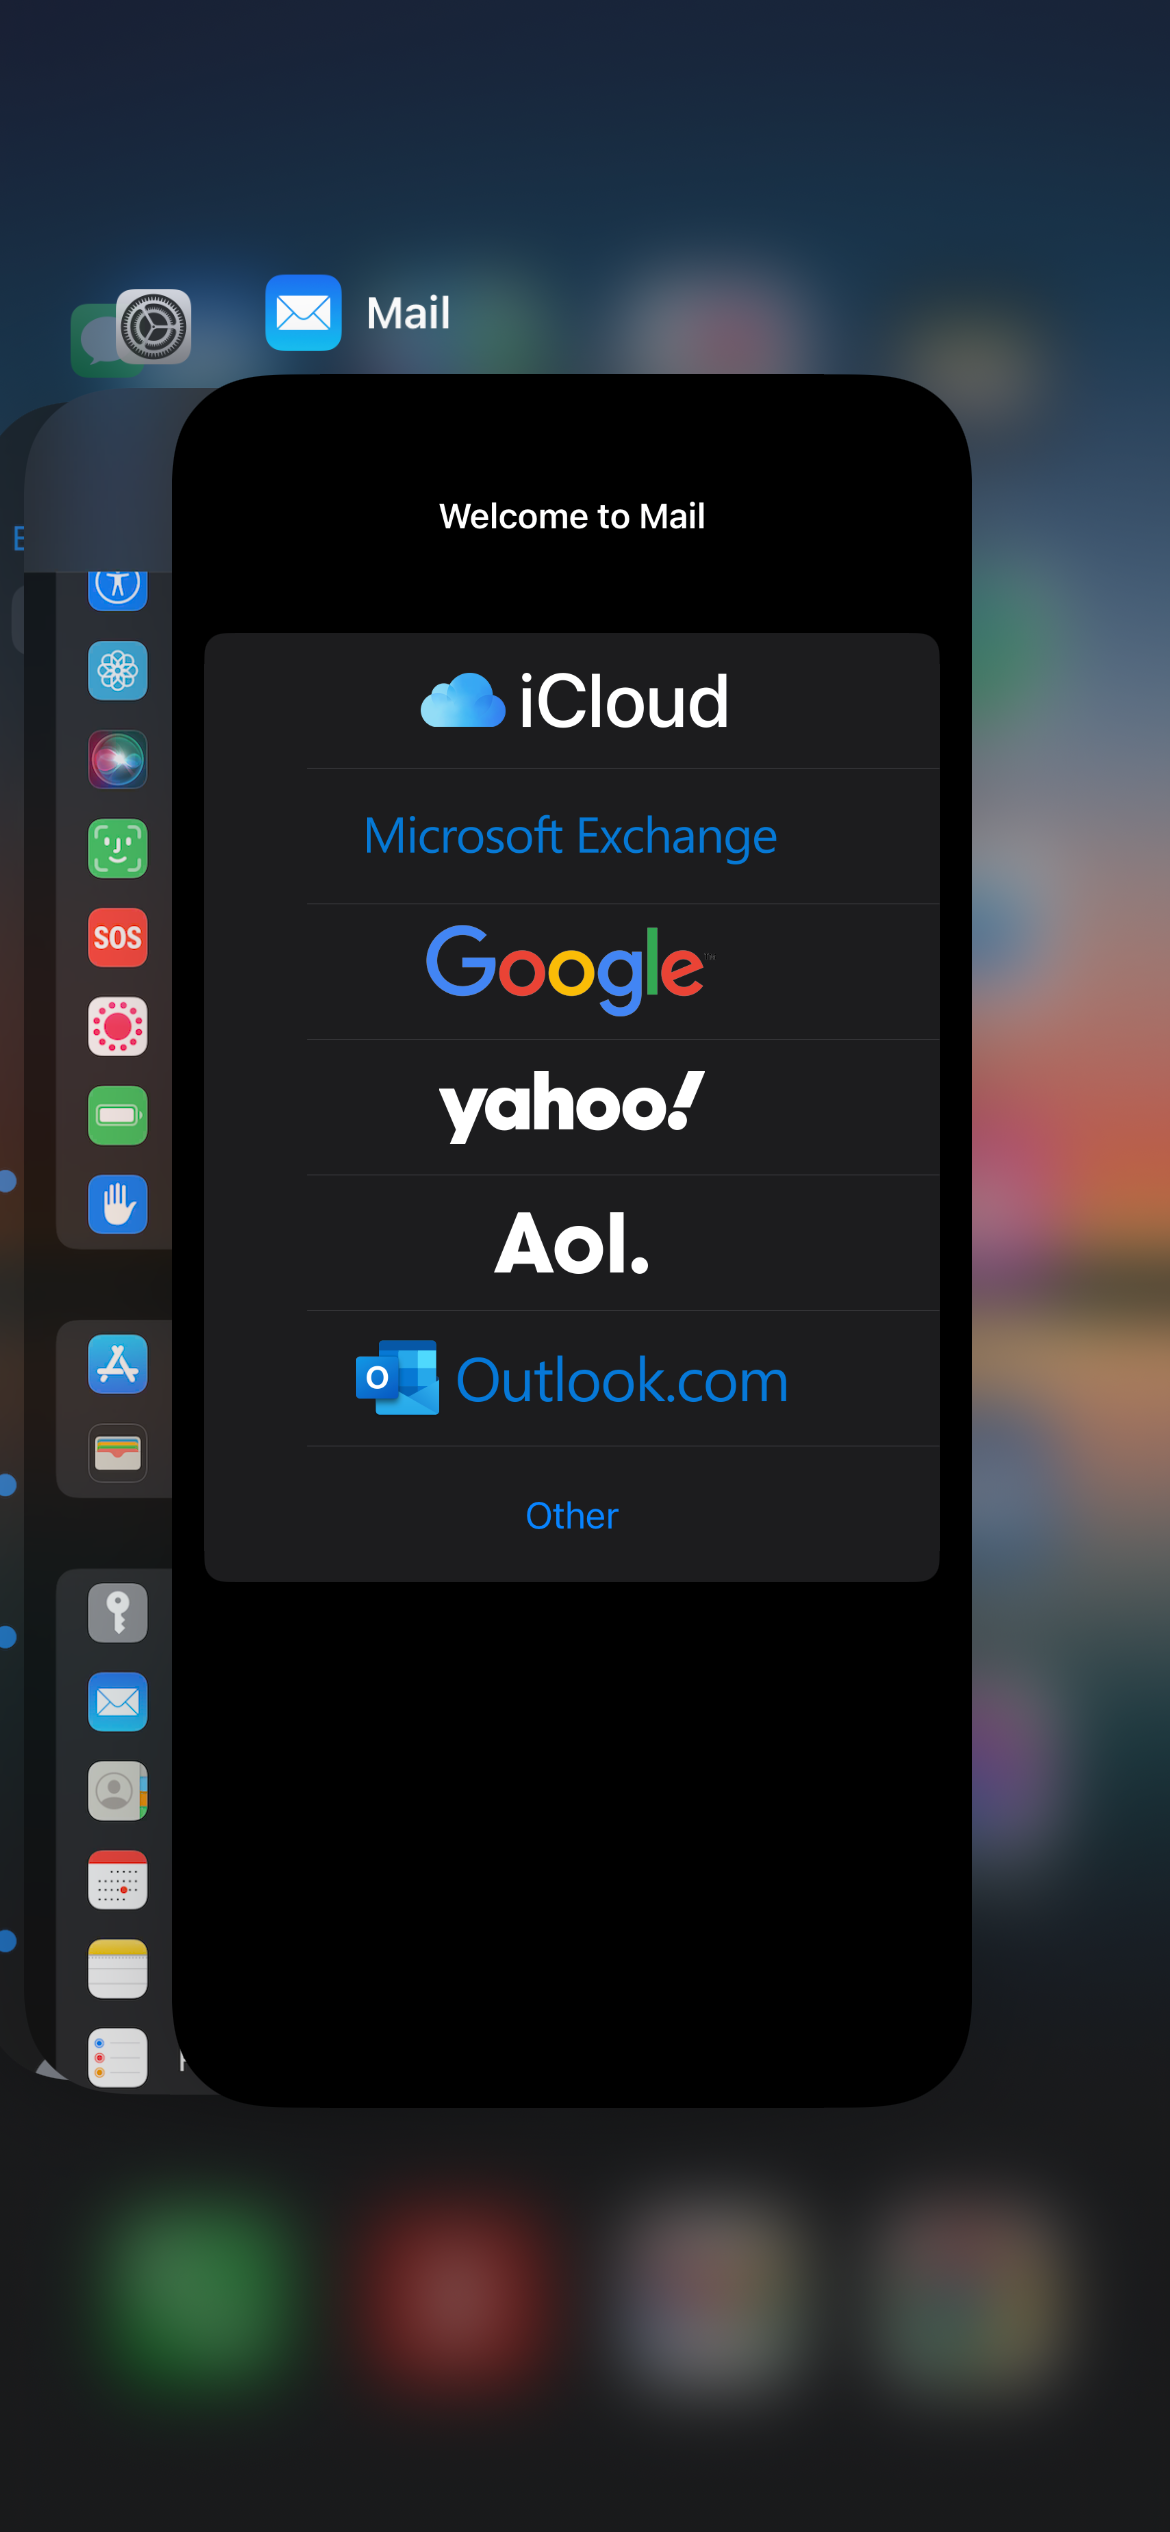
Close the Mail app and launch it again
Sometimes, the apps can behave strangely and not work correctly. The Mail App is no exception. All you have to do is force close the Mail app and launch it again.
Reset all settings
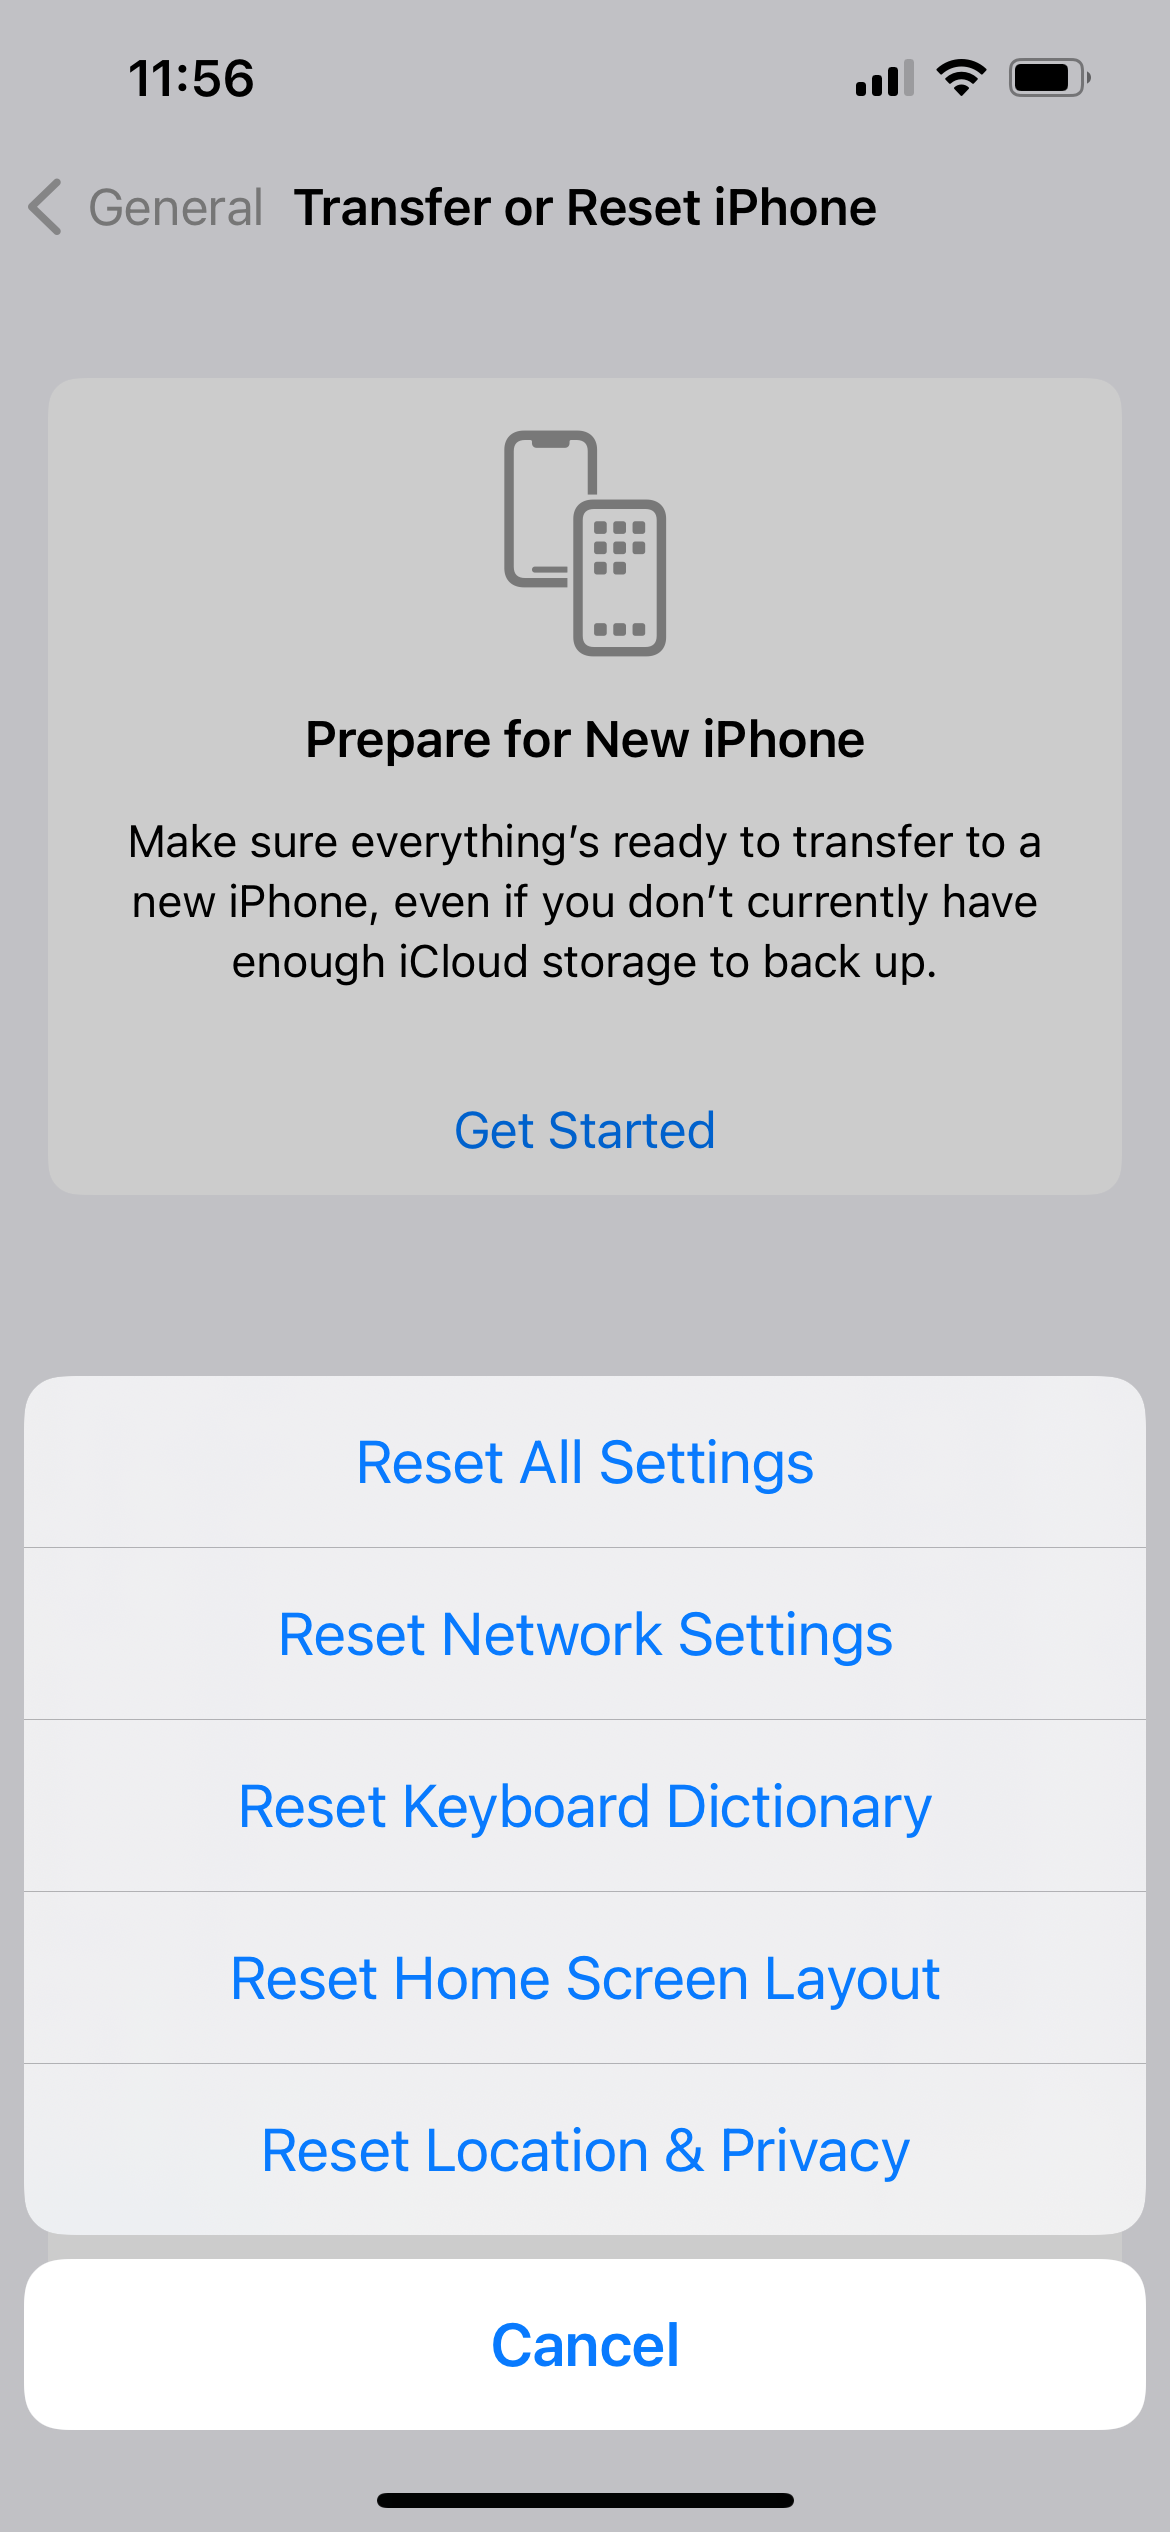
The "Cannot Verify Server Identity" error may be caused by an outdated app or network configuration. In this case, resetting your iPhone's settings will reset everything back to its default state. You may need to update your network settings or WiFi passwords.
- Open Settings >> General >> Transfer or Reset iPhone >>Reset >> Reset All Settings
- Enter your passcode
- Tap Reset All Settings
- Your iPhone will restart.
Delete your email account and add it again
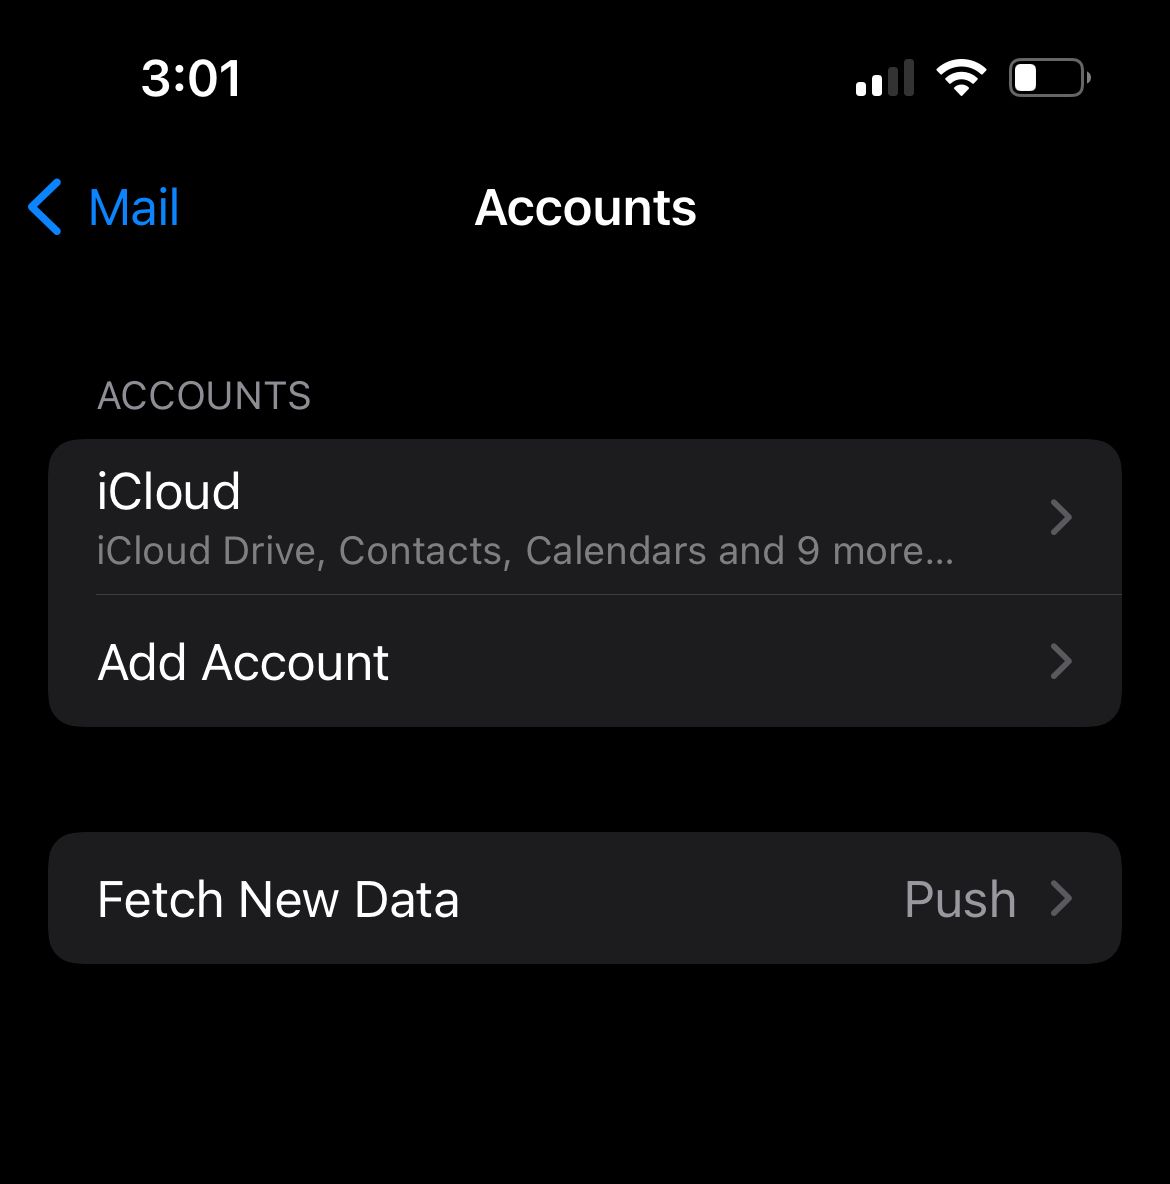
If none of the solutions above work, you may want to consider deleting your email account and starting the setup process again. Doing this will not erase your data; you will just remove it from your iPhone. To delete your email account, follow these steps:
- Open Settings and then go to Mail
- Tap Accounts.
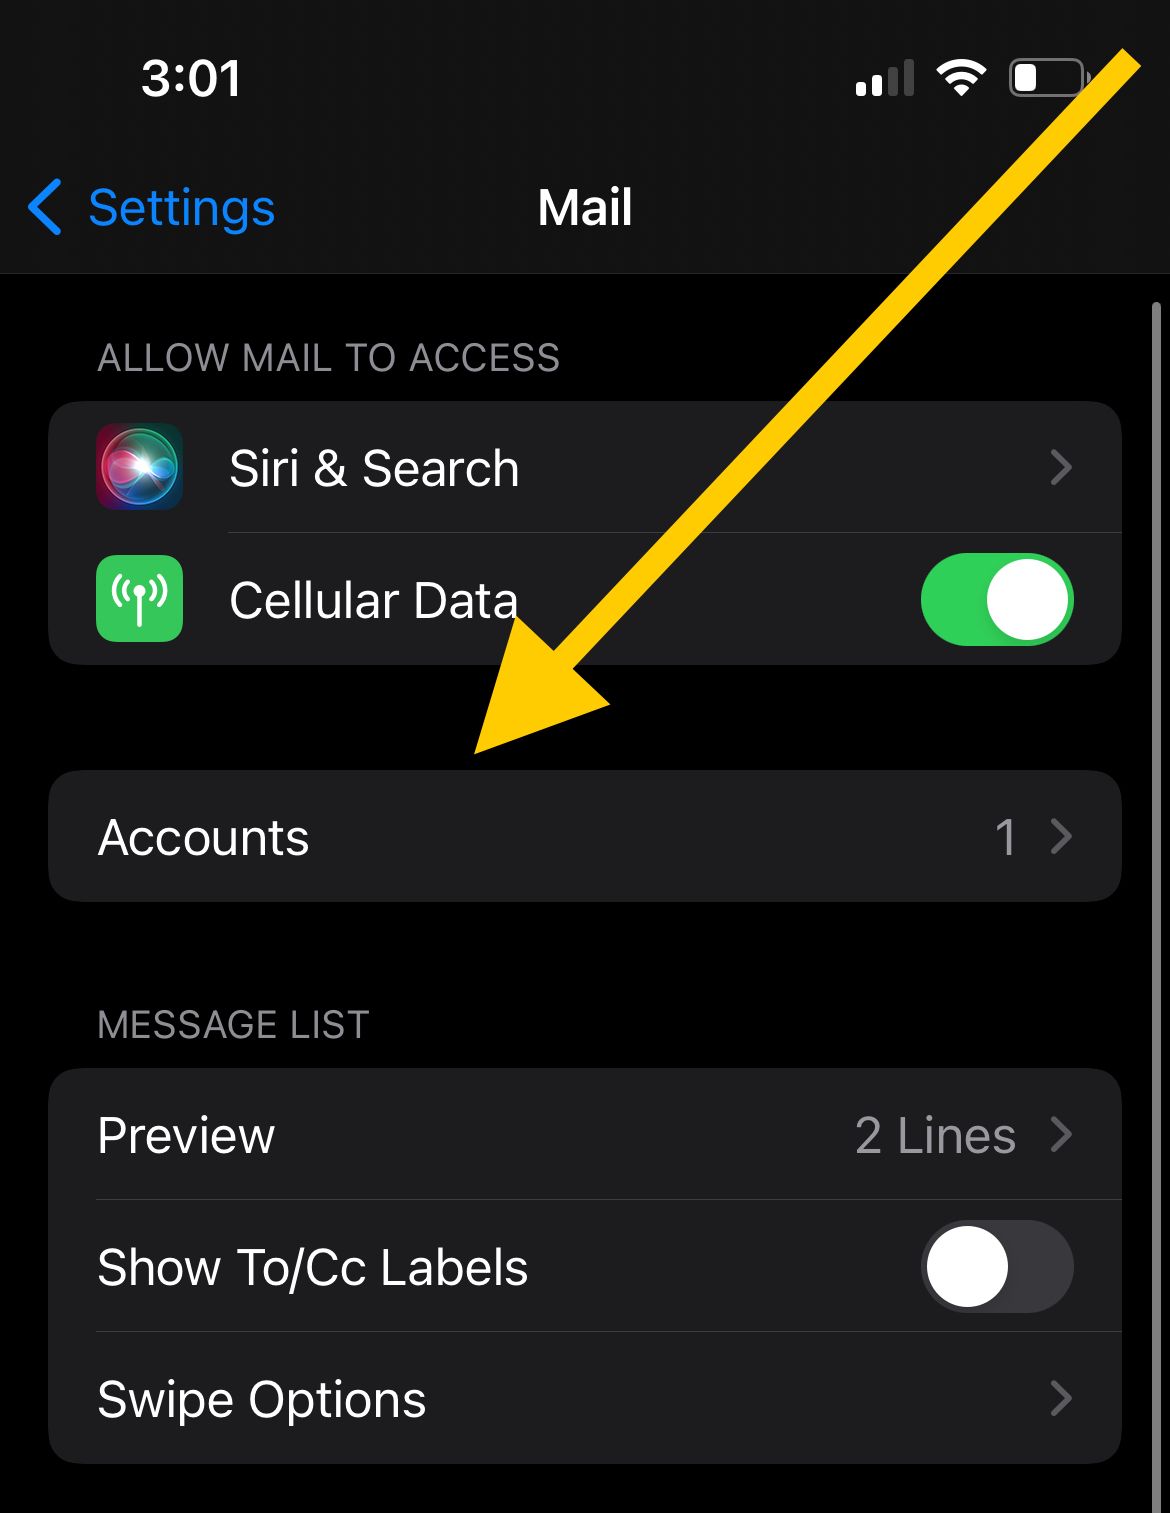
- Select your email account
- Tap on it and then tap Delete Account or Sign out
- Tap Delete Account to confirm the action
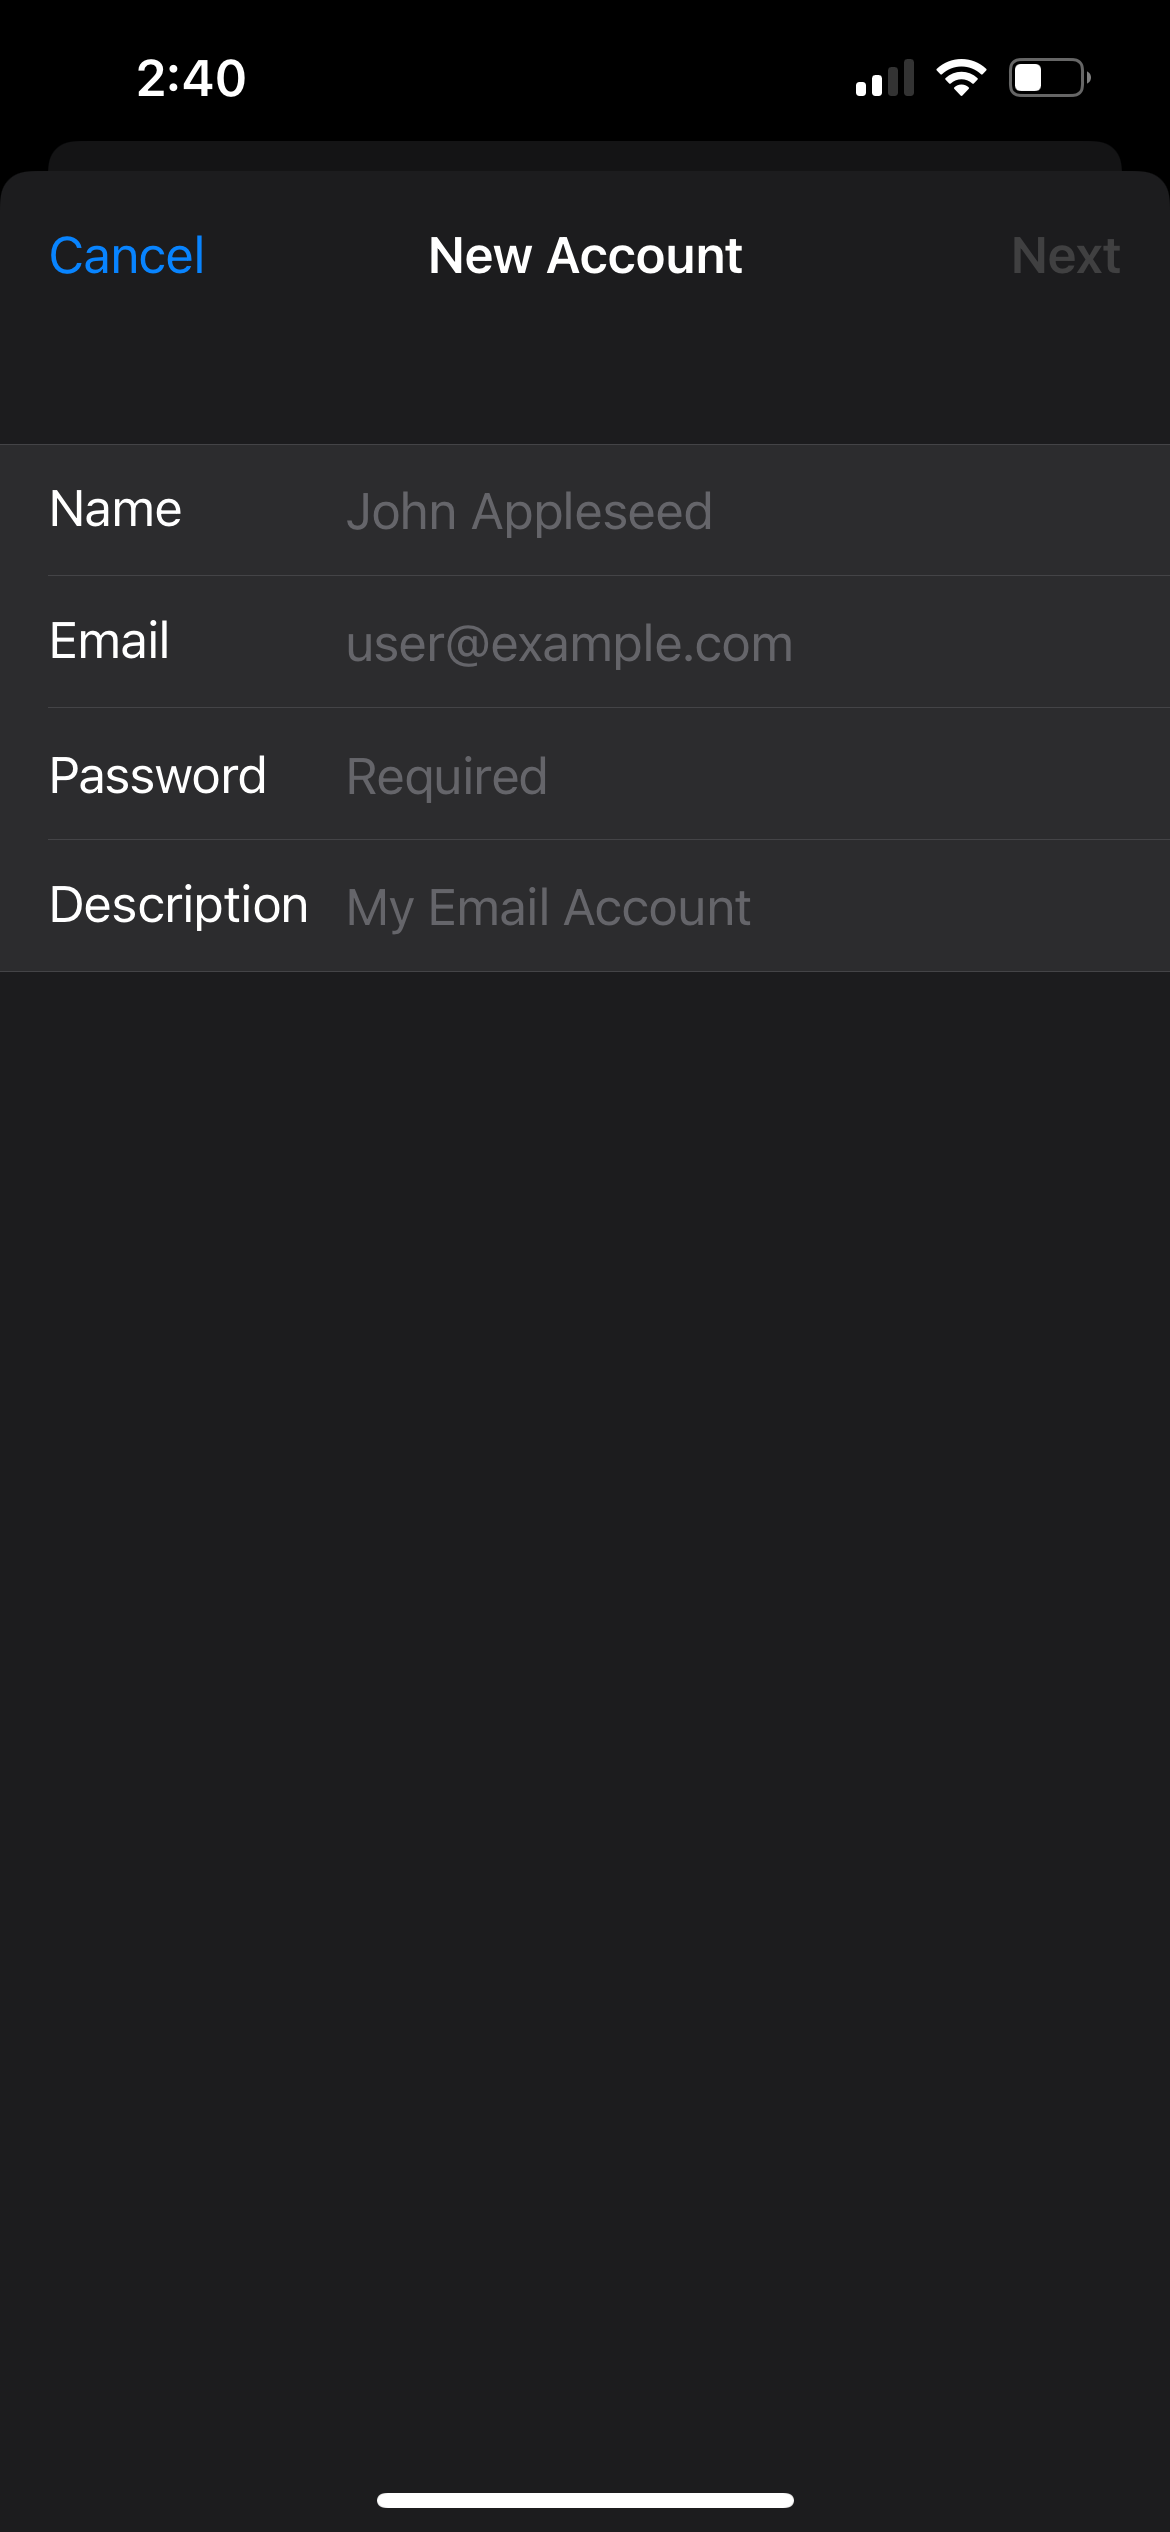
Once you're done with this, go to Settings > Mail > Accounts> Add Account. Choose your email service and provide the information needed.
Use a VPN
Sometimes, using a Virtual Private Network (VPN) can help resolve server communication issues on your iPhone. A VPN can help mask your device's IP address and provide a secure connection to your email server. There are several VPN apps available on the App Store, such as NordVPN or ExpressVPN, that you can use to establish a secure connection to your email server.


