If you've just bought a brand new Samsung Galaxy phone and are excited to set it up, you can't activate your finger scanner because it is not working. This might be very frustrating as this is one of the most important settings of your phone.
You may have tried all the troubleshooting steps you can think of, but you still get no response from your finger scanner. Here are a few common issues with fingerprint scanners on Samsung phones and their solutions.
Here's how to set up Fingerprints on your Samsung Galaxy Phone.
Newer Samsung Galaxy phones are equipped with a secure Ultrasonic Fingerprint scanner.
This is available on the Galaxy S20, S20+, S20 Ultra, S10, S10+, S10 5G, Note10, and Note10+. The Samsung Galaxy S10e has a Fingerprint Scanner located on the power button.
- Navigate to Settings
- Tap "Biometrics and security."
- Tap "Fingerprints."
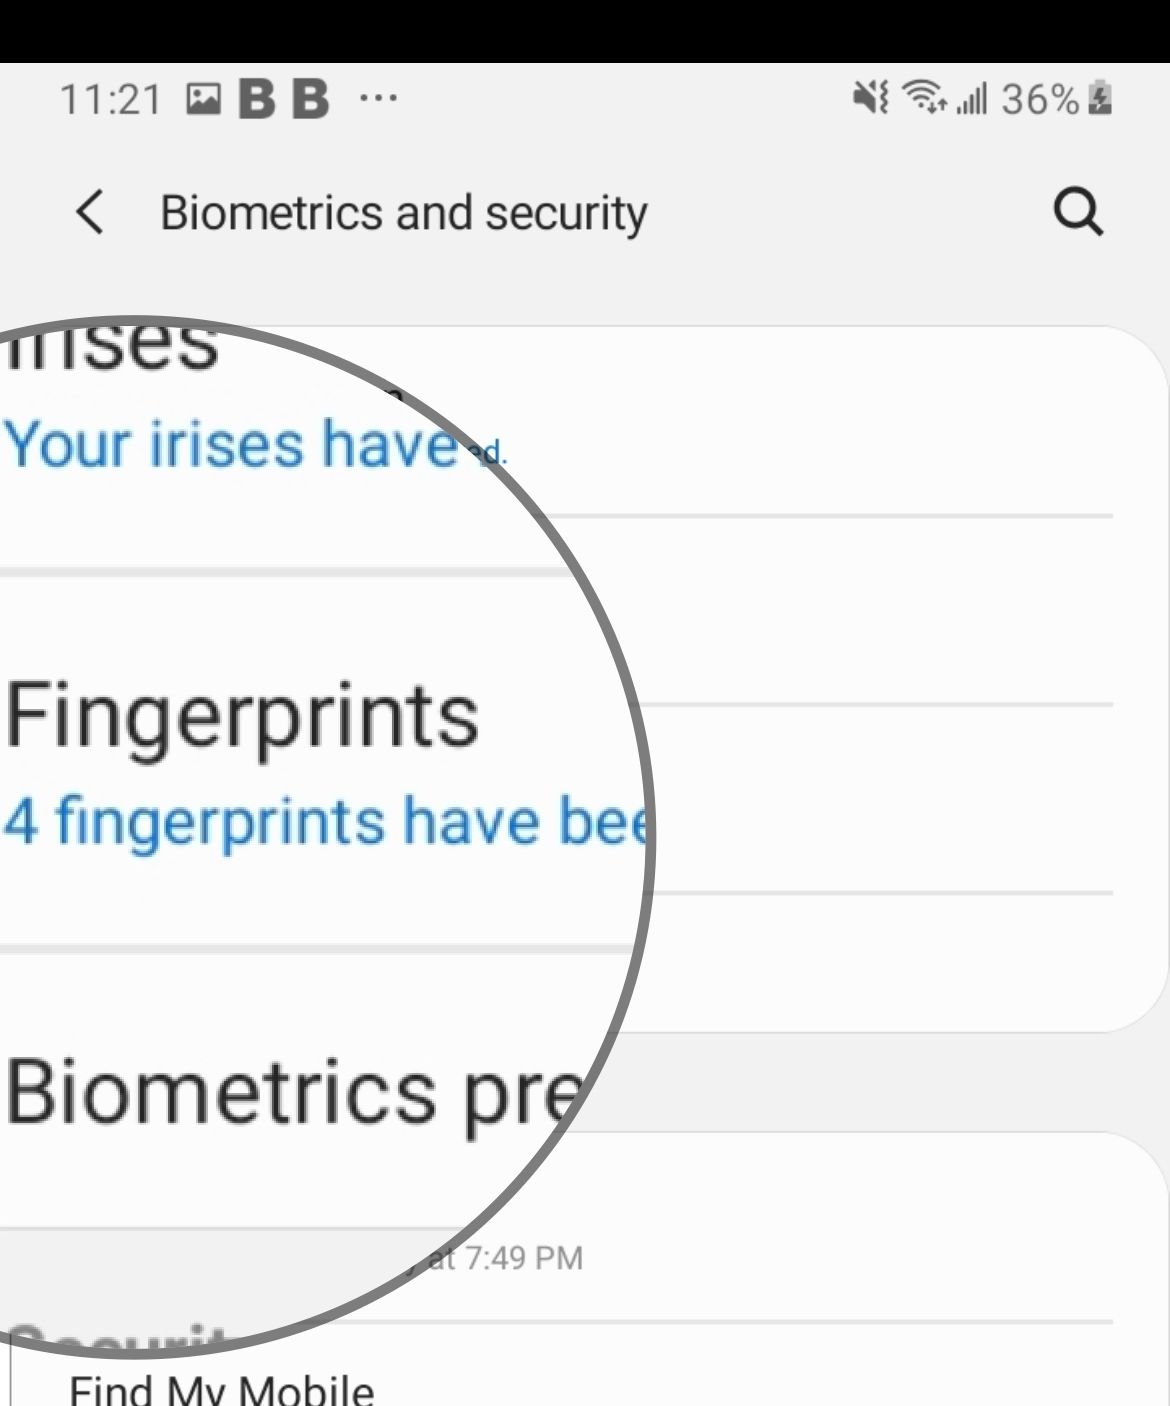
- Enter your PIN, password or pattern to continue.
- Now Place your finger on the sensor area on the screen, and keep tapping it until your fingerprint is registered. The fingerprint image will be entirely blue once the process is complete.
- Then, to get a full scan, rotate your finger on the sensor to capture the edges of your fingerprint.
- Tap "Done."
Note: Ensure your fingers aren't too wet or dry; it will make it harder for the sensors to detect your fingerprint.
On the S10e
Repeat the same procedure, but tap the "Power Key on the right side of your phone" instead of the display screen until it reaches 100%
How To deactivate fingerprint on Samsung
- Navigate to "Settings."
- Tap "Lock screen."
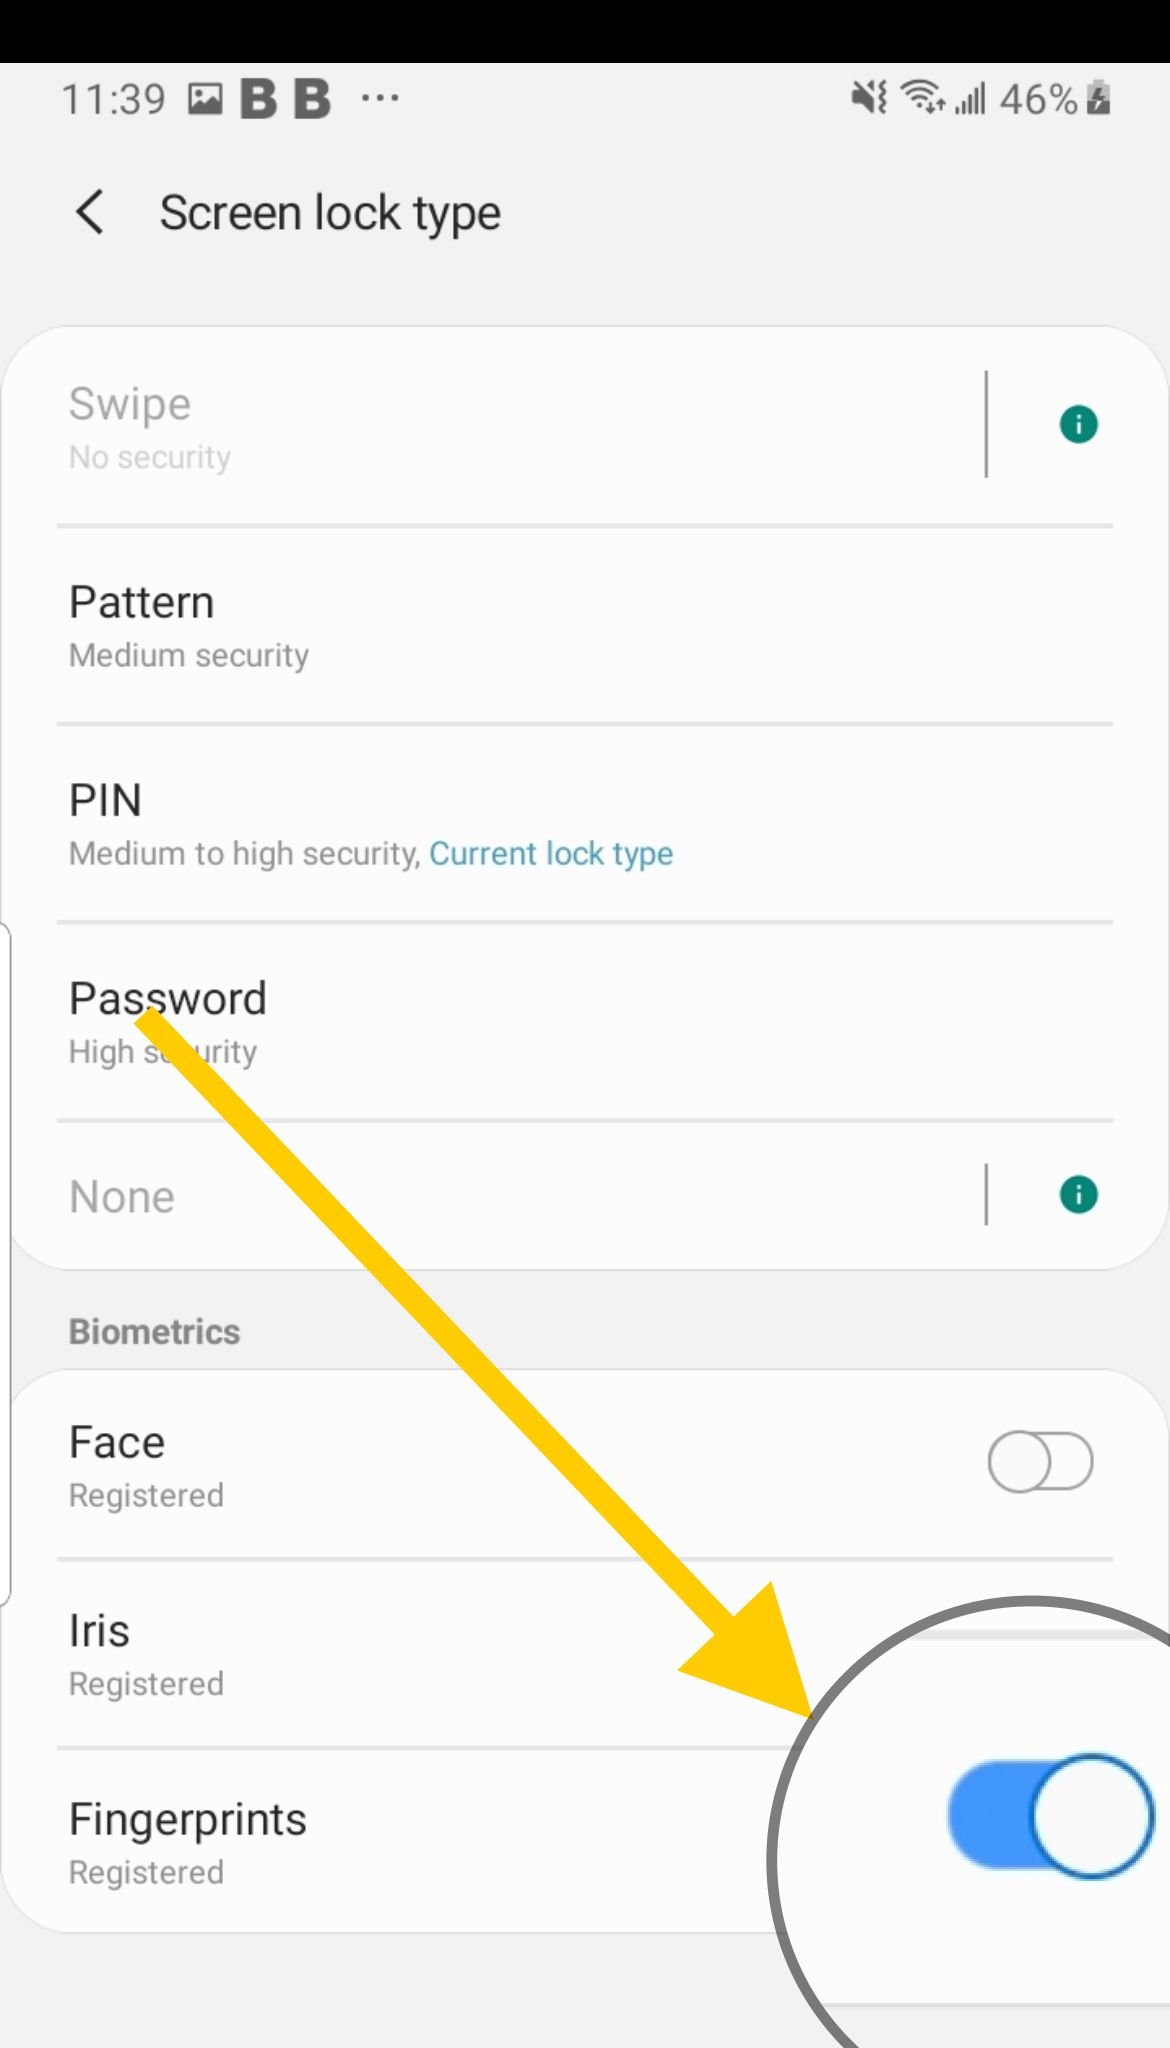
- Tap "Screen lock type".
- Enter your PIN, password or pattern.
- Toggle the switch next to "Fingerprints" to deactivate your fingerprint lock type.
Screen protectors and tempered glasses
Ensure your protective films are not preventing you from accessing your fingerprint sensors or check to ensure they're not damaged or scratched. If the issue persists, remove the screen protector and register a new fingerprint.
If the screen is wet, consider leaving the phone dry or using a damp cloth to remove the excess.
Finger placement and position
- Ensure you are not removing your finger too quickly from the sensor. Consider placing your finger on the sensor a little longer.
- Ensure you are positioning your fingers at the right angle. Consider changing the angle of your finger or using a different finger.
- Ensure your entire finger is settled in the correct spot on the sensor. And it's not just the tip of your finger.
Preventative & Security Tips
- For preventive purposes, ensure you register more than one fingerprint on your phone. If your fingerprint gets damaged or injured, you will have a backup.
- Add an alternate security method. If the fingerprint starts to malfunction, you will also have a backup. You can use different methods, such as "PIN, Password or Pattern" within Settings > Biometrics and Security.
Wireless Charging
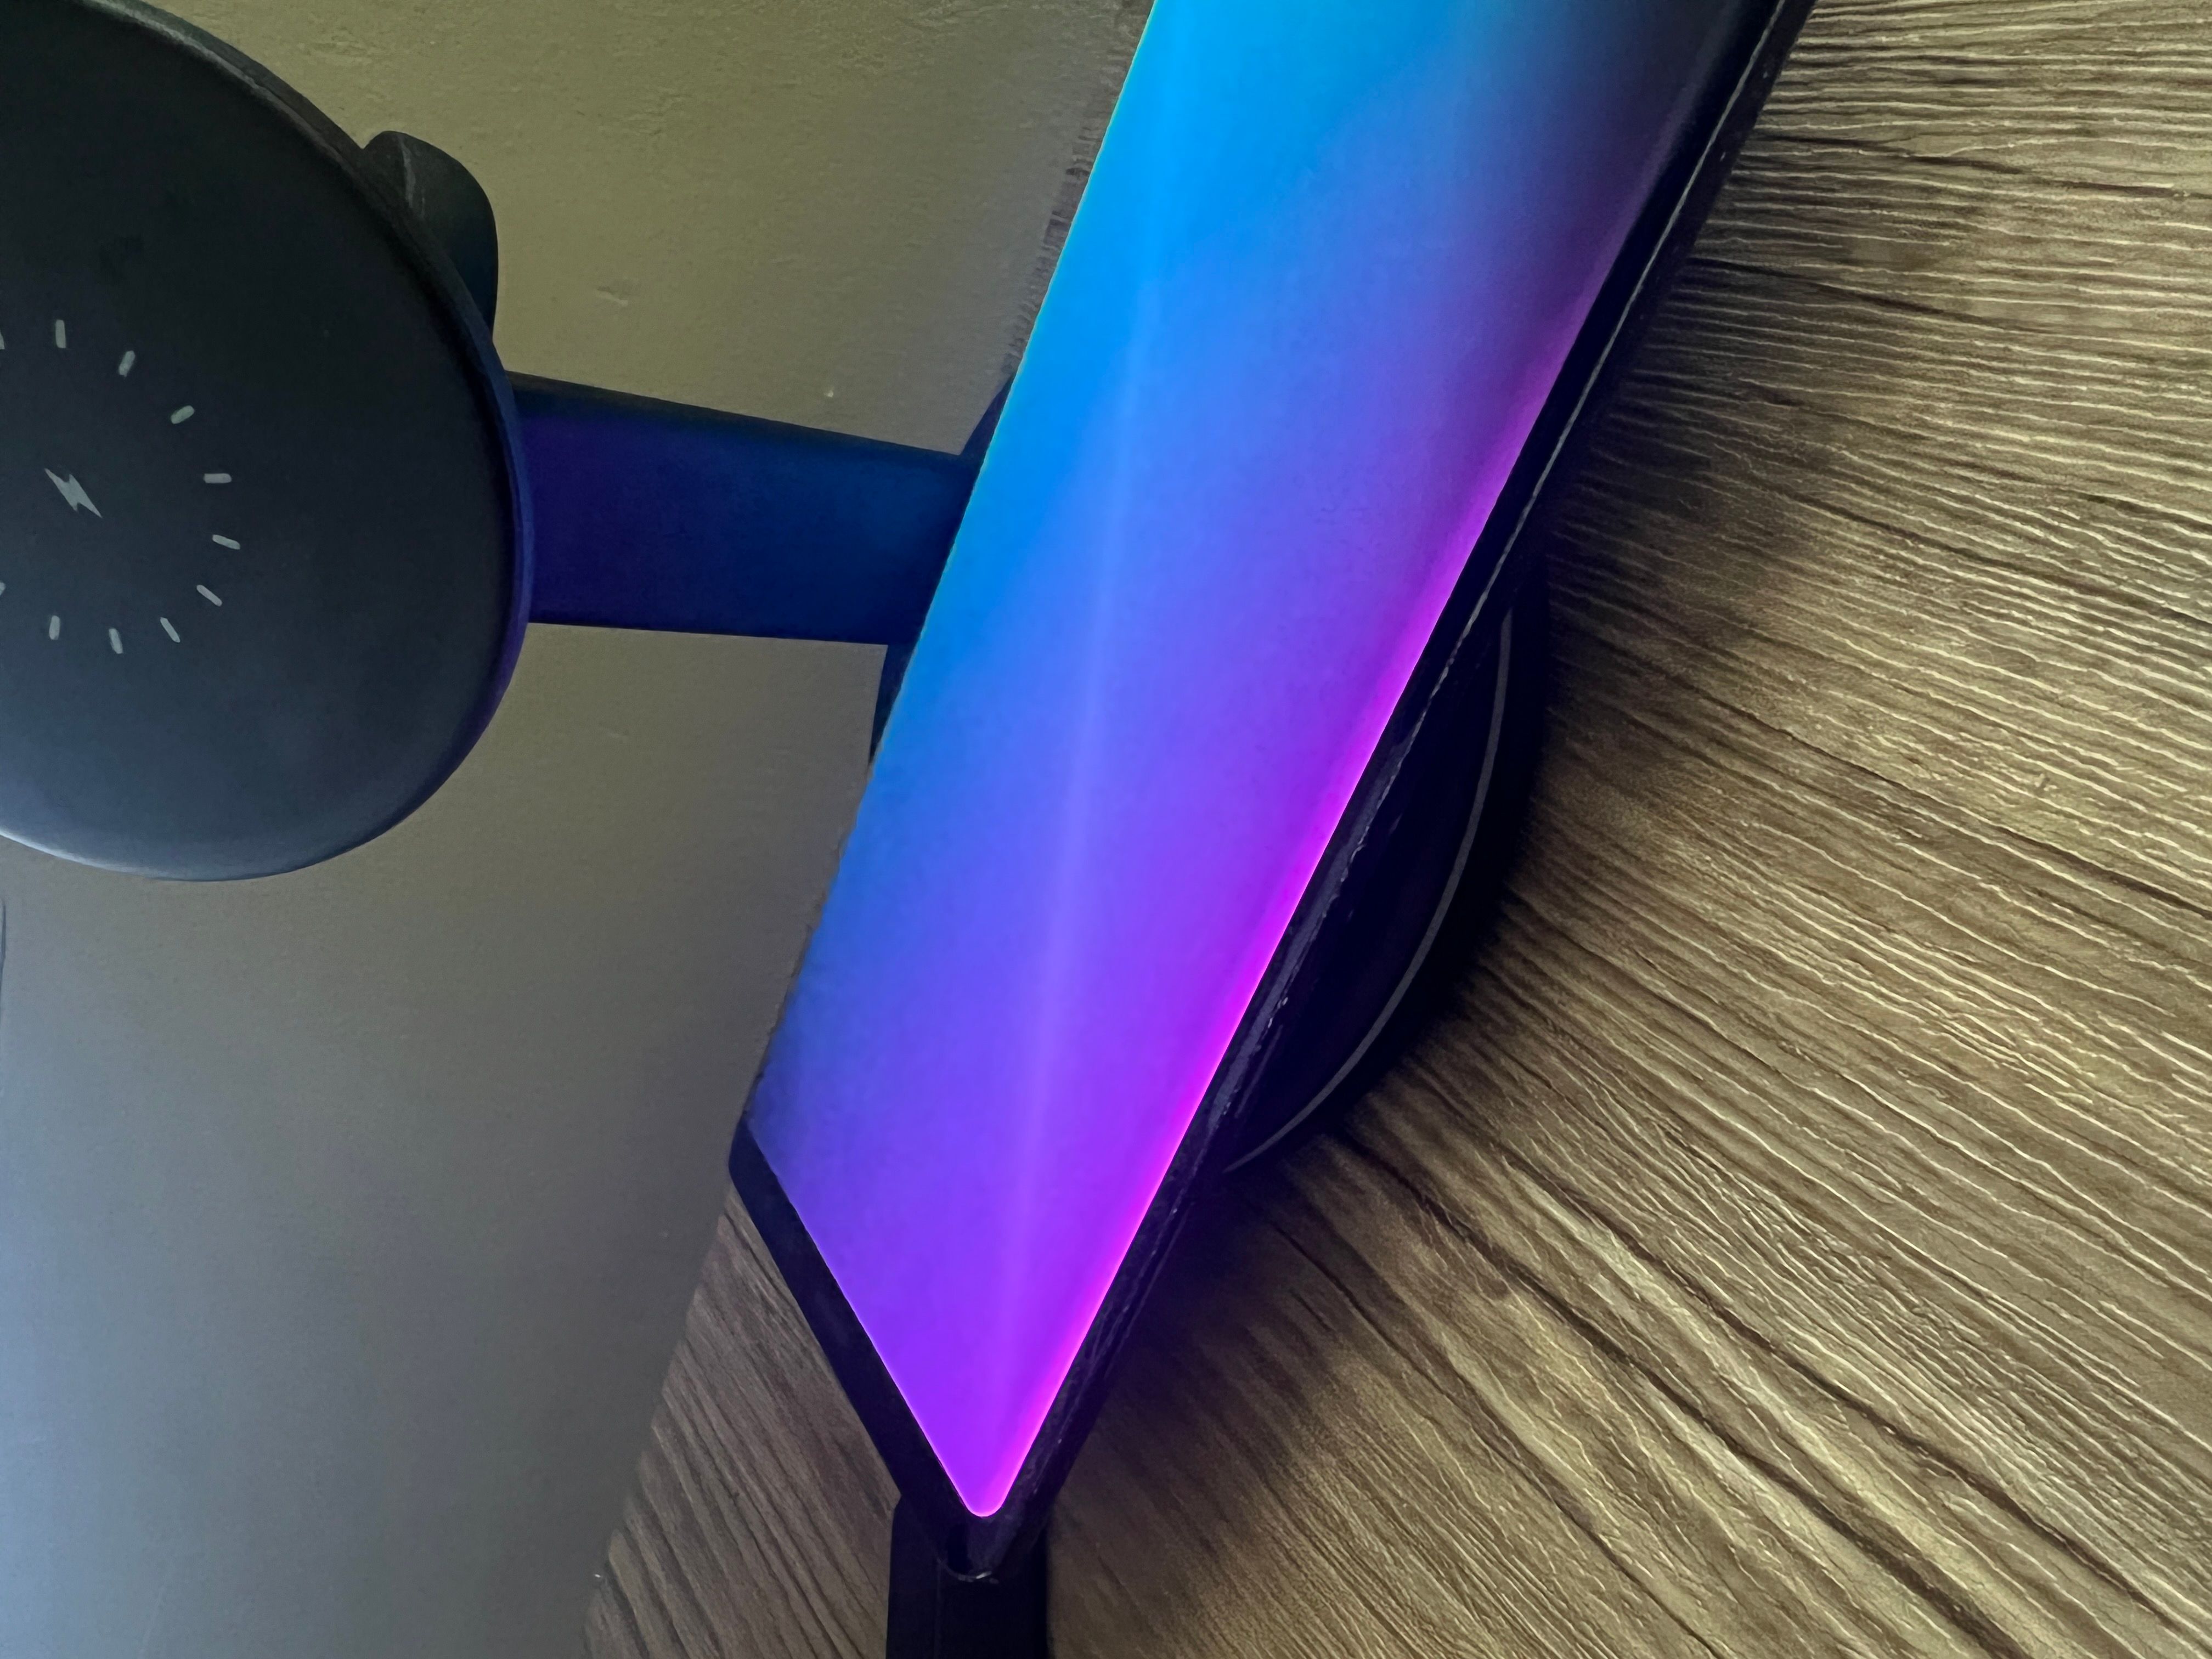
Are you trying to use the fingerprint sensor while charging your Samsung wirelessly? Electric waves emitted while charging can affect the fingerprint sensors on your phone. Consider removing your phone from the wireless charger or waiting for it to finish charging.
Remove your Fingerprint
If the sensor is still not recognizing your fingerprint, re-adding it might fix the problem
- Navigate to settings
- Tap Biometrics and Security.
- Tap Fingerprints
- Enter your PIN, password or pattern.
- Tap the registered fingerprint you are having trouble with.
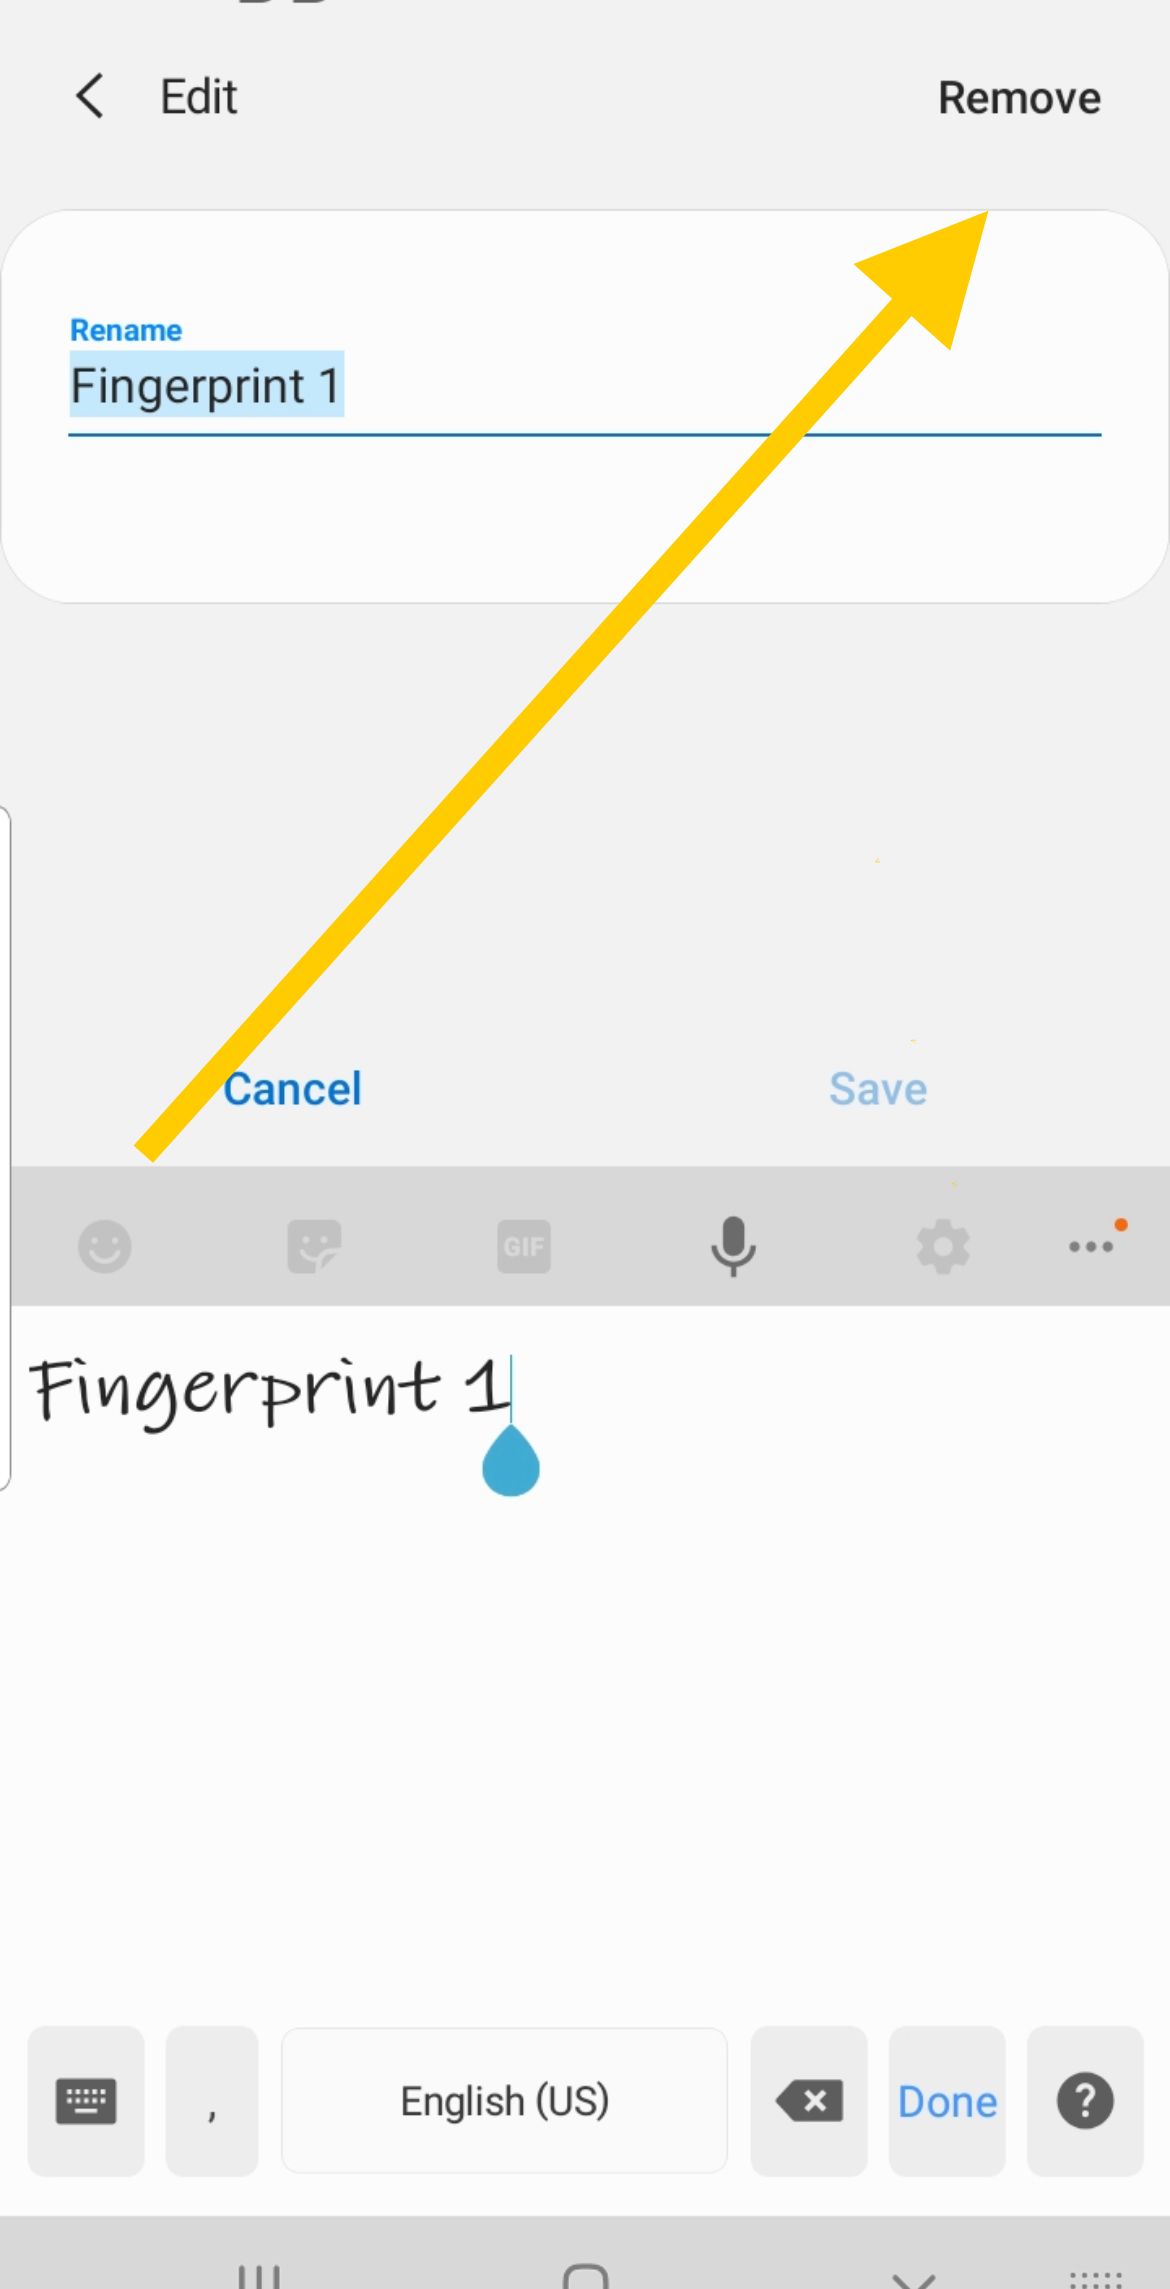
- Tap Remove, located at the top right area of the screen.
- Tap Remove again to confirm
- Follow the on-screen instructions to re-add your fingerprint.
Complete the process and reboot your phone. Check if your fingerprint sensor works without any issues.
Disable the Fingerprint scanner
Turning off the fingerprint scanner has helped a few people with the issue. Turning it off will not harm you if you no longer use the fingerprint locking method.
- Navigate to settings
- Tap Biometrics and Security.
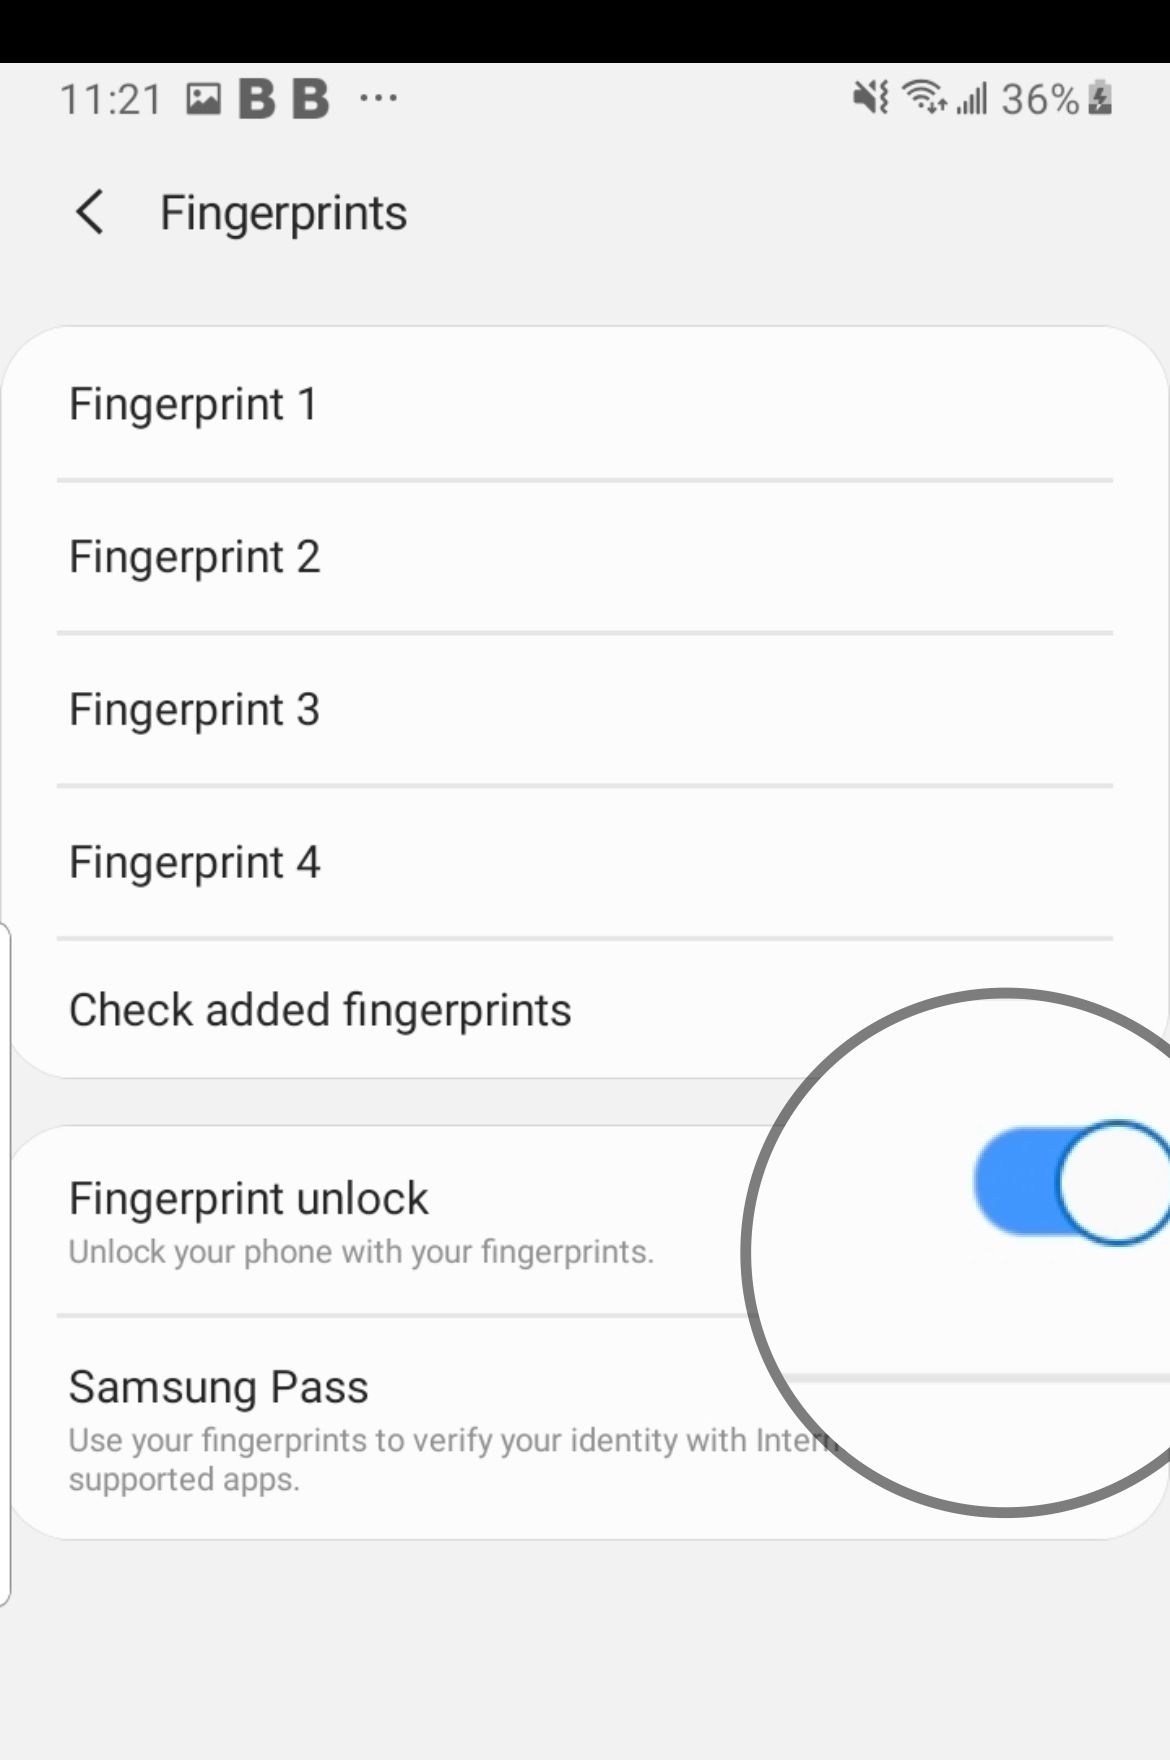
- Tap Fingerprints
- Enter your PIN, password or pattern.
- Toggle "Fingerprint Unlock" Off
Clear System Cache on Samsung (Cache Partition)
The steps for clearing the cache partition are similar in the different versions of Android OS. You must first enter your phone's Recovery menu to wipe the system's cache partition. Follow these steps to delete the cache partition of your phone:
Older Models / Versions:
- Turn off your phone and press the Power, Volume Up, and Home buttons until your phone vibrates.
- You will be in the Recovery menu of your device.
- Highlight the "wipe cache partition" option by using the Volume Down key and pressing the Power key to select the option.
Updated:
- Press and hold the Power button on your device till you see the Power menu > Tap Power Off
- Connect your phone to a desktop/ laptop with the original Type-C cable
- Press and hold the Power + Volume Up Buttons
- When the Android logo appears, release all keys.
- Use the Volume down button to navigate, then select "Wipe cache partition."
- Use the Power button to make selections.
- Once the wipe cache partition process is complete, select Reboot System using the Power button.
- Press the Power key to restart the device.
Your phone will restart.
Disable Active Fingerprint Gestures
While fingerprint gestures may not directly affect the sensor and its response, they could be causing an issue on your Galaxy phone. The option is to disable it entirely and see if your phone responds to your touch.
- Open the Settings app on your smartphone.
- Scroll down to find the Advanced Features option
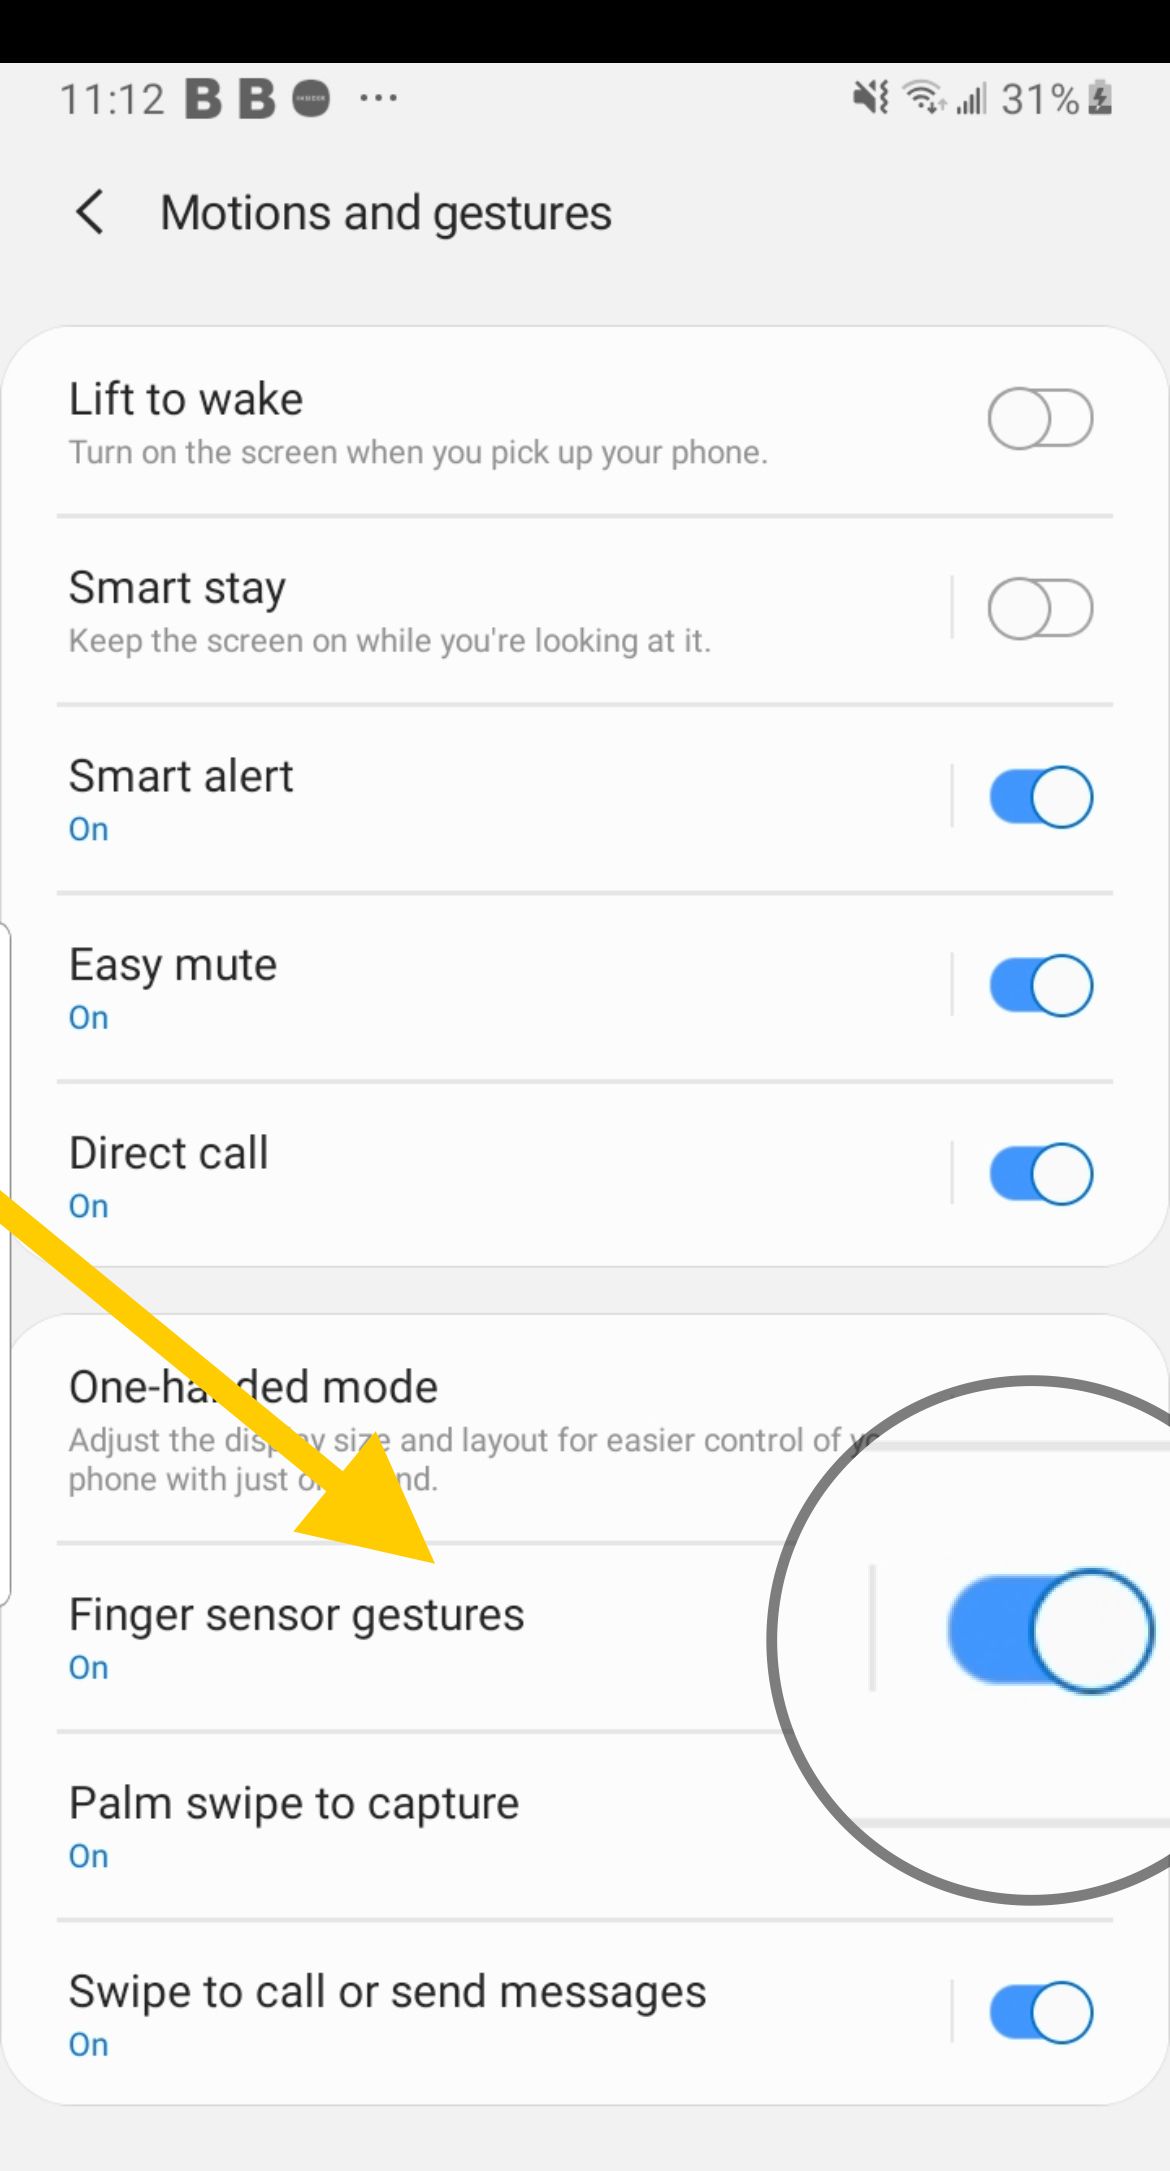
- Tap "Motions and Gestures"
- Keep scrolling to find the Finger Sensor Gestures page and disable the feature.
- After successfully disabling it, reboot your phone.
- Please wait for the phone to boot up, give it some time and check if the issue has finally been resolved.
Other Suggestions
During the initial setup of your phone, Samsung suggested that you shouldn't keep tapping the sensor to make it record your print. Instead, it would be best if you swipe your finger across the sensor, and it would detect it without difficulty. From a generic perspective, it doesn't make much sense, but technically it works - as users have reported.


