Smartphone backups are becoming necessary by the day as our reliance on phones increases not just for calls but for messages, emails, and chats. This is why you must know how to backup contacts and the different ways in which it can be done. For iPhone users, the best place for backup is considered to be either iTunes or iCloud. For the most part of it, this holds true as well because backups in these places can be easily retrieved by your phone. But if you are looking for another way to back up your iPhone then we’ve got you covered for that too. Here are the different ways in which you can learn how to backup contacts on iPhone without iTunes and with it.
See also: iPhone 7 and iPhone 7 Plus tips and tricks
Different Ways Of Backup Contacts On iPhone
Method 1: Backup contacts from iPhone to PC with iTunes
iTunes can help you create a backup for almost all the data and files on your iPhone. It is considered to be one of the best and easiest ways to backup contacts for iPhone users. However, it requires you to connect the device to a computer and get the backup completed. The contacts will be stored locally on the computer which you use for backing up the data.
If you happen to be a cloud person, then this method may sound rather dated. However, iTunes now includes an option which will allow you to save the same data on iCloud so that you have an easily accessible backup available in the cloud and you will not have to tie yourself down to a specific computer.
iTunes, however, does not give you the option to backup the contacts only. When you use iTunes to backup files on the computer, it will automatically backup all the data from the phone onto the computer. Selective backup of contacts only can be done more effectively by using iCloud or Gmail.

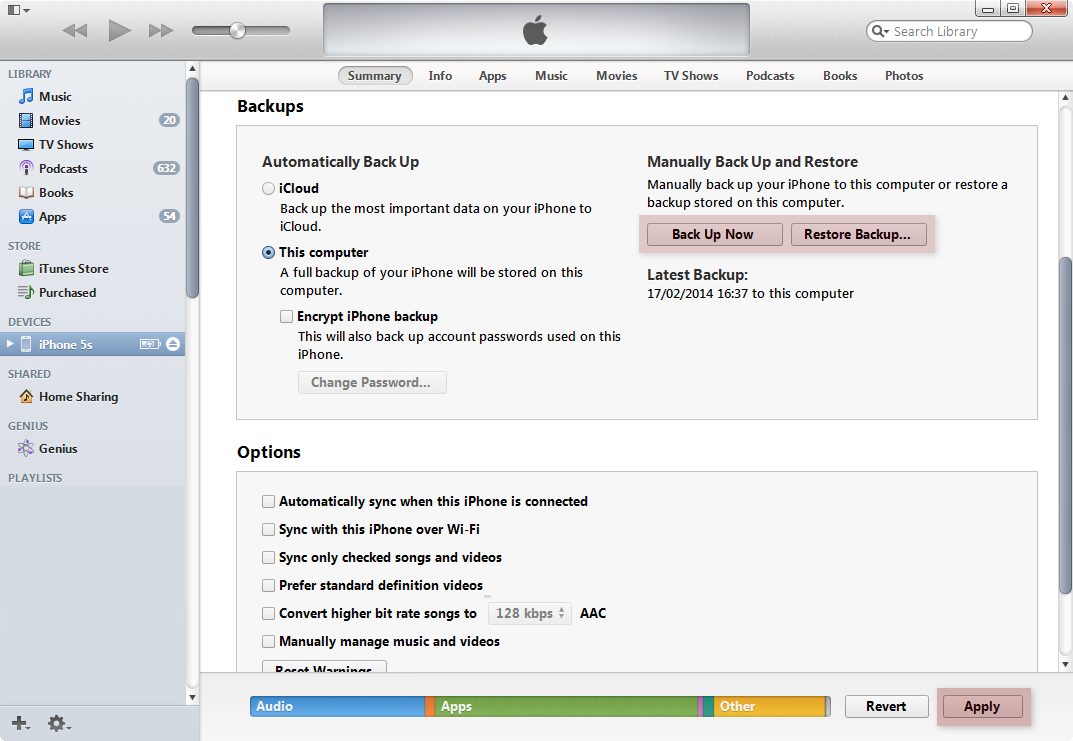
Here are the steps that you need to follow to backup your contacts on your computer:
- Make sure that iTunes is updated. Open iTunes on your computer and connect your iPhone to it.
- Your phone will automatically be detected by iTunes and you will notice your phone’s name showing up on the screen.
- Click on the name of your phone under the Devices section of the left of the screen
- Then from the top tabs, choose summary (which should also be the default page that opens when you click on your phone’s name)
- Scroll down and you will notice the Backups section.
- The radio button next to This Computer should be selected and then you can click on Backup Now.
The computer will initiate the backup process and depend on the number of files on the phone, a backup will be created in a few minutes.
Method 2: Backup contacts without iTunes using iCloud
iTunes allows complete backups. This means you cannot choose to backup contacts only from the phone to the computer. But iCloud is preferred for these reasons:
- It makes backup files available more easily across different Apple devices and from any location
- It does not require a computer
- It allows you to backup selectively
When you backup using iCloud, your phone will consume a reasonable amount of data to store everything in the cloud. So if you do not want the backup process to eat into your phone’s data then you must consider using Wi-Fi while creating the backup. So connect your phone to a strong Wi-Fi connection and then follow these steps to know how to backup contacts from iPhone to iCloud:

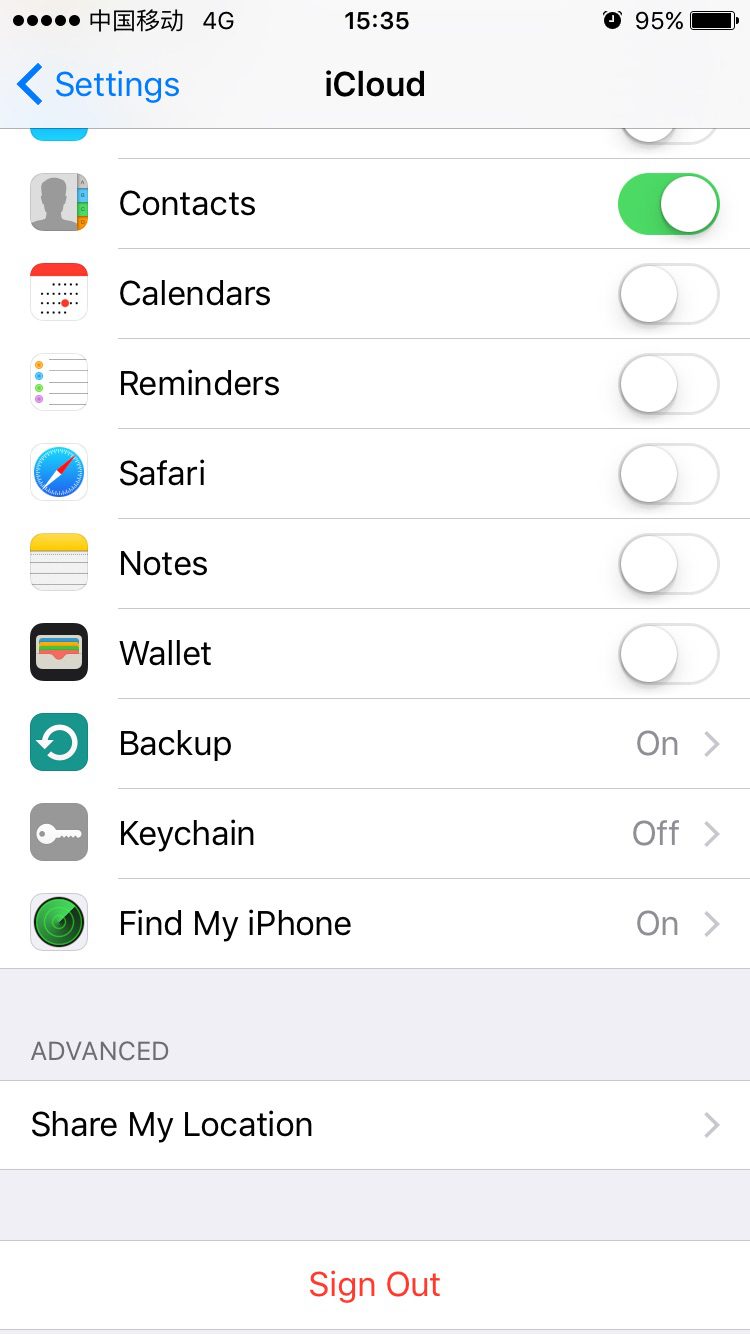
- Launch the Settings app from the home screen of your iPhone
- Tap on iCloud
- Enter your iCloud account details to continue
- Switch on Contacts from the list of applications for which a backup can be created.
- Then tap on Storage and Backup located at the bottom of the list
- Turn iCloud Backup on
- Then tap on Back Up Now
This will initiate the backup but depend on the number of contacts available on the phone, it may take a while before all the contacts have been backed up successfully. You will get a confirmation on the screen once the backup is complete.
Method 3: Backup contacts from iPhone to Gmail
iPhone users who are planning on moving to an Android or do not want to use iTunes or iCloud for backups can use Gmail to backup iPhone contacts to the Gmail account which can later be accessed from any device, irrespective of the device being an Apple device or not and access their list of contacts. You must have an active Gmail account in order to successfully backup your iPhone contacts on Gmail. If you don’t already have a Gmail account then create one here: http://gmail.accounts.com/
Gmail handles backups seamlessly and can make things less of a hassle when it comes to retrieving the contacts too. Follow these steps to learn how to backup contacts from iPhone to Gmail:
- Launch Settings from the home screen of your iPhone
- Go to Mail, Contacts, Calendars
- Now tap on Add Account and choose Gmail from the list of mail accounts available
- Enter your Gmail account details

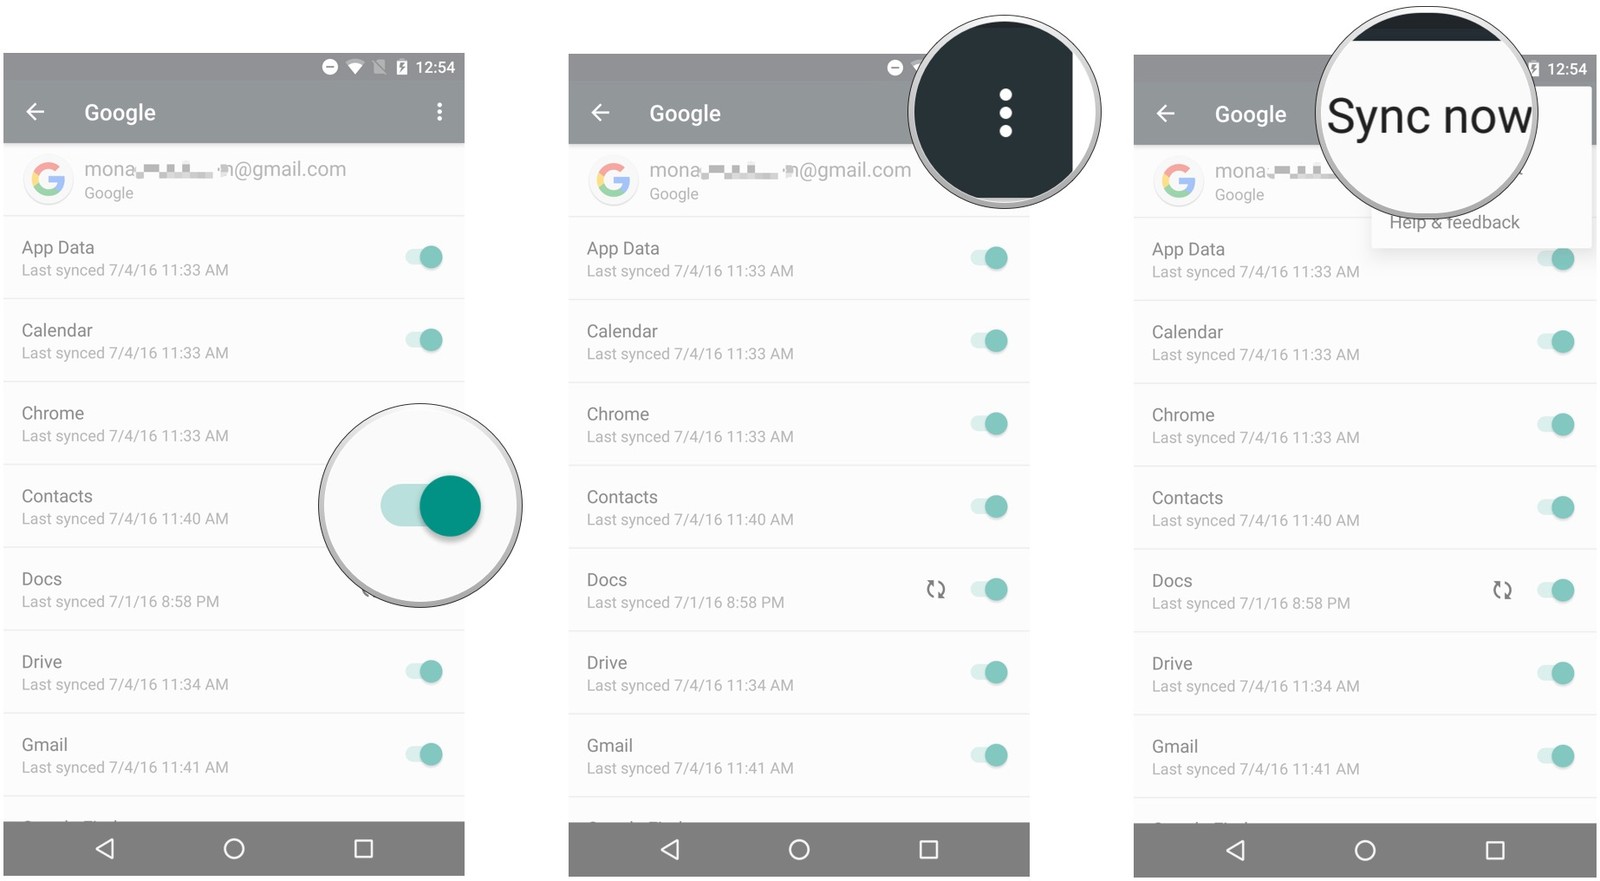
Once Gmail is set up on your iPhone, Go to Settings once again, tap on Mail, Contacts, Calendars and select your Google account and then tap on Contacts to sync the contacts from your iPhone to your Google account.
You can access these contacts by going to https://contacts.google.com/. You have the option of exporting these contacts from here to your desktop and then sending it to anyone in an email.
- Tap on More and then click on Export
- If you are in the newer, “preview” version of Google Contacts then you will be prompted to go to the Old Version
- Tap on “Go to the Old Version”
- This will bring up the old version and show you the list of contacts that have been synced with Google. Click on More
- Click on Export from the drop down menu
- In the popup box, you can select All contacts and then choose vCard format
- Tap on Export and all the files will be exported locally to the device and will be available in the Downloads section.
These are the different ways in which you can backup contacts on your iPhone.
See Also: How to fix iPhone 7 no service after turning off Airplane mode


