Accidents happen all the time, don’t they? In that way an accident may happen with your expensive $500-$600 iPhone. One of the most renowned and recurring iPhone accidents is the ‘water damage’ one. Whenever any excessive amount of water comes in contact with your iPhone you should take immediate caution and action. Whether your Apple device fell in the toilet or in a swimming pool retrieve it as quick as possible and follow the necessary steps.
6 Immediate Actions to Take Once You Retrieve Your iPhone From the Water
Before taking any advanced acts, drop everything and follow these tips first.
- 1.Eliminate your iPhone from the water as soon as you humanly can. Obviously! But, as the seconds pass your iPhone’s condition worsens so rescue it from the water ASAP.
- 2.Once your iPhone is in your hands again, power it off by pressing down on the Shut Down button.
- 3.If your iPhone is wearing a case or any other enclosing objects remove them quickly. You can leave your screen protector on for they are water-resistant and do not allow water to stay on them.
- 4.Dry the exterior and the interior of your phone as much as you possibly can. You can use anything in reach whether it is a t-shirt or any clean rag. It should be absorbent or there is no need.
Wipe the sides, back and screen. Pay extra attention to your microphone, speakers, mute button, volume and power buttons and audio output jack. Try to absorb as much water as you can from these places. - 5.It would be best if you use a pointy object covered with your cloth so as you can remove the water from the small crevices.
- 6.If there are any cables connected to your device like a headset or a USB cable or a charger, remove immediately.
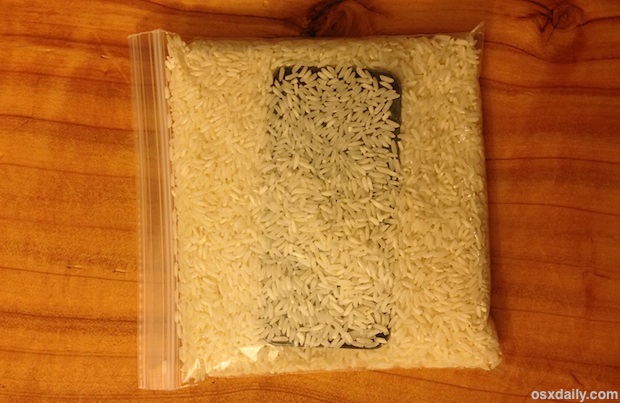
After you have removed all the visibly seen water from your iPhone you can now start with stuffing it in a bag of rice. Yes, this old trick is the best thing you can do at this critical moment.
Place Your iPhone in a Sealed Bag of Rice
A few basic things will be needed for this step:
- 1.A plastic zip-lock bag or any other similar bag that is air-tight.
- 2.Any type of rice. It would be better if it was not ‘enriched’.
- 3.A period of 40 hours where you have to be extremely patient.
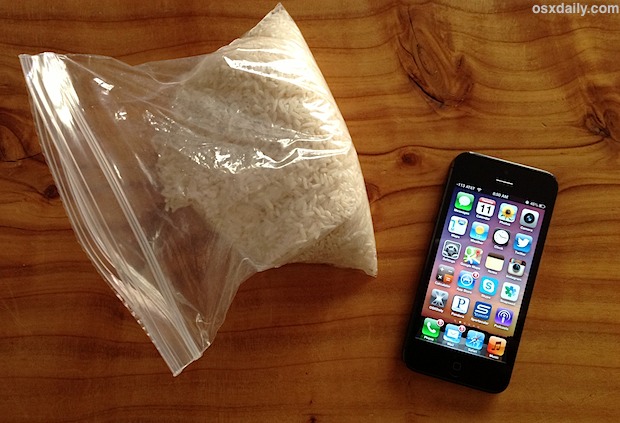
Get your zip-lock bag and fill it nearly to the brim with rice. Do not stuff the bag for then you will not be able to insert your iPhone in it. The picture below might be of assistance to you when it comes to filling your bag. After you have finished, slip your iPhone in and seal the bag shut with just a little bit of air inside.

The reason to why you should not use enriched rice is because this type of rice is prone to leaving behind a fine white powder. Usually this powder gets stuck in the nooks and crannies of your iPhone. It may even slither in your jacks and ruin them. So normal rice would be best for this delicate project!
It has been said that bit where you have to be patient is usually the hardest. Usually when you wait for a longer period of time the results are bound to come out better. The longer you wait, the more guarantee you will get that your iPhone has no water inside it at all. Leaving your iPhone in the zip-lock bag of rice for 48 hours may be the best decision you will ever make.
Mission Successful!
After 48 hours are done you can remove your iPhone from the bag and check to see if there is still moisture behind the battery and in your SIM slot. You need to check first to see if there is any humidity left for if there is, your iPhone will not function properly. So, if there is any type of moisture left in your iPhone DO NOT turn it on. Instead return it to the bag again and leave it there for another day or so.
But if it was completely dry and you powered and your iPhone is functioning perfectly then your mission was successful! Your iPhone has survived this dreadful ordeal.

Let us know in the comments what you think and if you have tried this method!


