Have you just bought a new iMac or any laptop from the MacBook series? You must be very excited! It would be great if you could just turn it on and use it right away. Unfortunately, you have to set it up first. How to set up a new Mac? Is it difficult? Will I be able to do it on my own? Don’t worry, it’s not as complicated as you think. We are going to share the step by step easy-to-follow guide. Whether you are an old user or never used a Mac before, you can follow the steps without any hassle.
See also: How to fix Mac won’t connect to Wi-Fi
How To Set Up A New Mac
1. Turn On The Mac
Before we start the process, attach the external keyboard, mouse, and trackpad to your iMac. Then, plug in the iMac and turn it on. If it doesn’t turn on automatically after you plug the power cable to the wall, press the power button. For MacBook series, make sure the battery is fully charged or plug it into the power source.
2. Setup Language And Keyboard
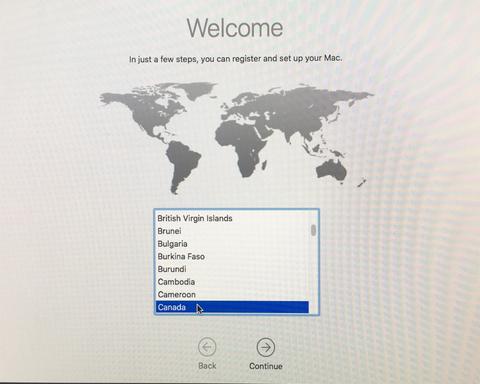
Once your Mac is On, the Welcome window will appear and will ask you to select the country you live in (the language you want to use on Mac). So, choose a language and click Continue. After that, choose a Keyboard layout based on the language you are going to use, then click Continue.
3. Select WiFi Network
The next steps require the Internet connection. Therefore, you have to select a WiFi network or Ethernet if you are using a wired Internet connection.
4. Transfer Information
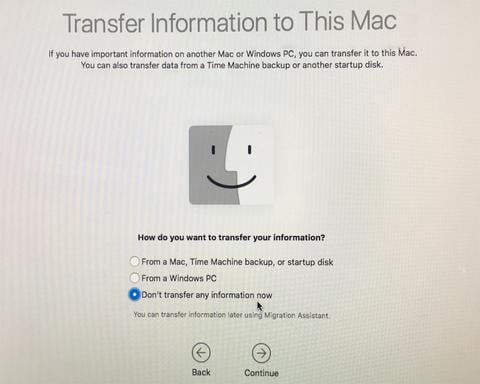
If you are going to use the Mac as a new computer, select “Don’t transfer any information now”. You can also choose this option if you want to do the basic setup only. You can always transfer the data from your old Mac or Windows PC at any time.
5. Sign In With Apple ID
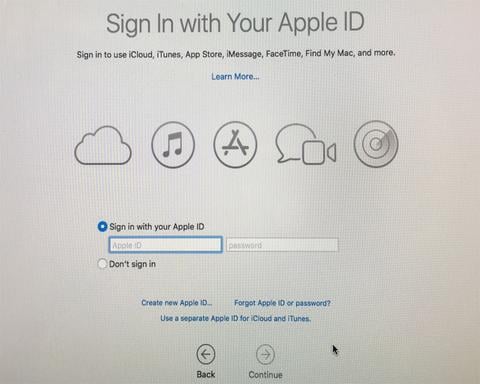
You need to enable the Location Services before you sign in with Apple ID. Tick the “Enable Location Services on this Mac” option and confirm it by clicking Continue. Next, sign in with your Apple ID. It would be better if you sign in with the same Apple ID you are using on your iPhone or iPad so you can sync services across Apple devices. If you don’t have one, click “Create new Apple ID” option.
After entering Apple ID, click Continue to confirm. The Terms and Conditions window will appear. If you want to read it further, click More. Then, click Agree to continue the setup process.
6. Set Up A Computer Account
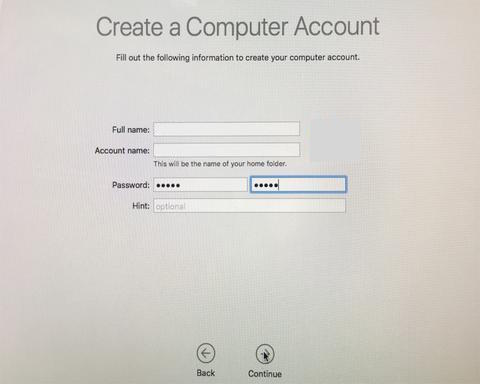
Fill the information to create a computer account, such as Full name, Account name, and the password. You can also create a hint of your password, just in case you forget it. Make sure to tick the “Allow my Apple ID to reset this password” and “Set time zone based on current location”. Click Continue to confirm.
7. Finishing Set Up
The process of setting up is almost done. After creating an account for your new Mac, the next window will appear. Checkmark on “Turn on FileVault disk encryption” and “Allow my iCloud account to unlock my disk” to secure your data.
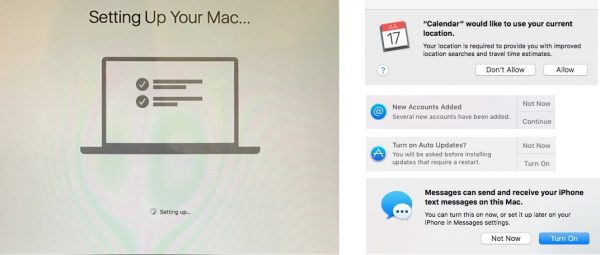
In the iCloud window, tick “Store files from documents in iCloud drive” if you have enough iCloud storage. If you are not sure, just leave it as it is and click Continue. Next, tick “Enable Siri on this Mac” and click Continue. Setting up your Mac will take a few minutes. So, be patient and don’t worry. Once it’s done, you will see the pop-up notifications. You can click Allow or Don’t Allow, Not Now or Continue, and Turn On, etc. Now, your Mac is ready to use.

