If you’re taking many photos with your Android phone, you might find that it freezes or occasionally restarts. This frustrating problem is known as the Camera Has Stopped error, which can also appear if your camera app crashes while you’re using it.
Some users report that switching to another camera app can solve the problem, but in most cases, the best course of action is to identify and repair the source of the problem. Fortunately, there are several things you can do to fix this issue on your Android phone.
What should we do when our phone's camera stops working? Check the methods below if you are looking for solutions for the "Unfortunately Camera Has Stopped" error.
Read also: Fix the "Camera Failed" Error on Android Devices.
Solutions for "Unfortunately, the camera has stopped."
Solution 1: Restart the Camera
Your Android device can show this error when the Camera has been in use for a long time. Simply exiting the camera, waiting for 30 seconds, and then restarting the app by tapping on the app icon is all it takes to fix a problem like this.
However, the solution may be temporary, and if the problem re-occurs too frequently, you must try the other solutions listed here.
Solution 2: Restart the Device
If you are taking pictures and the camera suddenly shuts down with the error message, restarting the device is the best way to solve it.
Solution 3: Clear the Camera Cache and Data Files
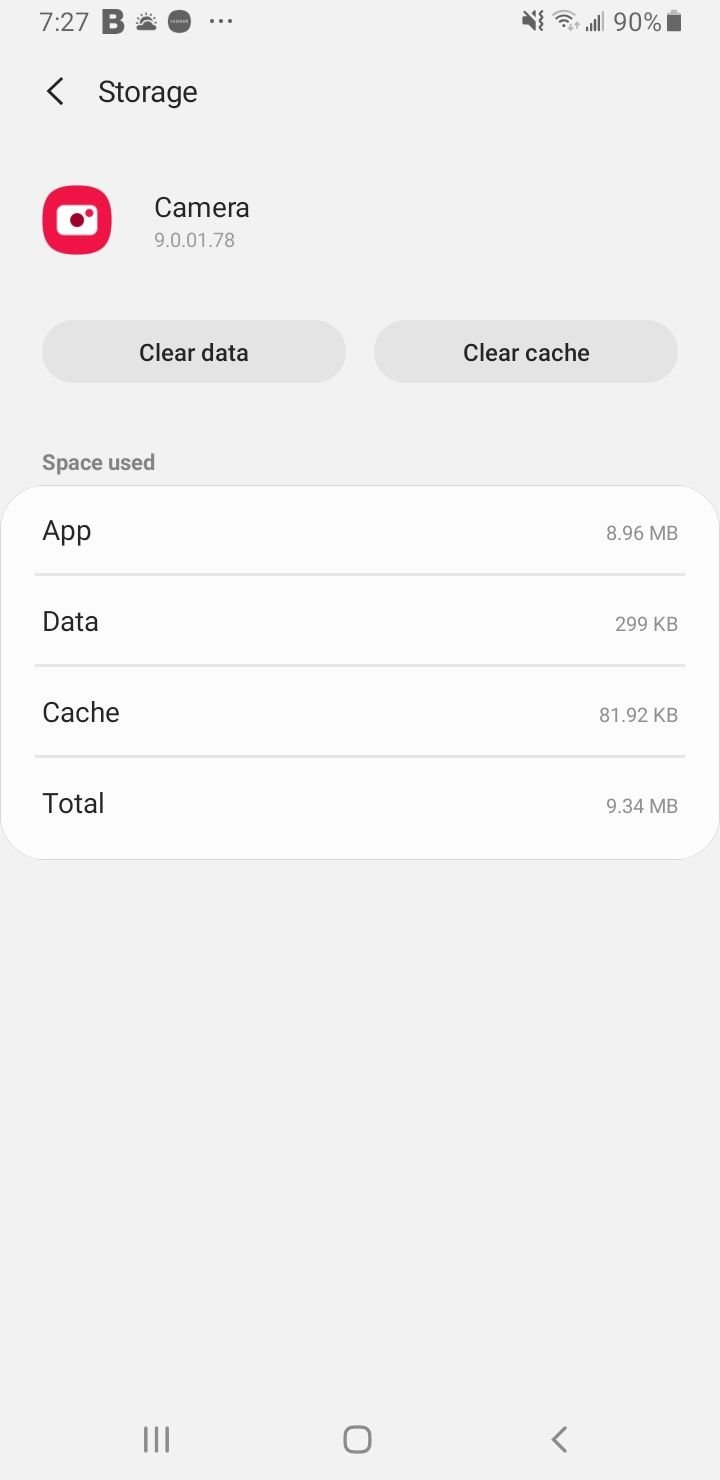
The cache files allow the Camera to open quickly. You will not lose any crucial data in doing so.
- Go to the Settings
- Tap Apps
- Search for the Camera App
- Tap Storage.
- At the bottom of the screen, tap Clear Cache and Clear Data
Open the Camera app to check if the problem has been resolved.
Solution 5: Update Your Software
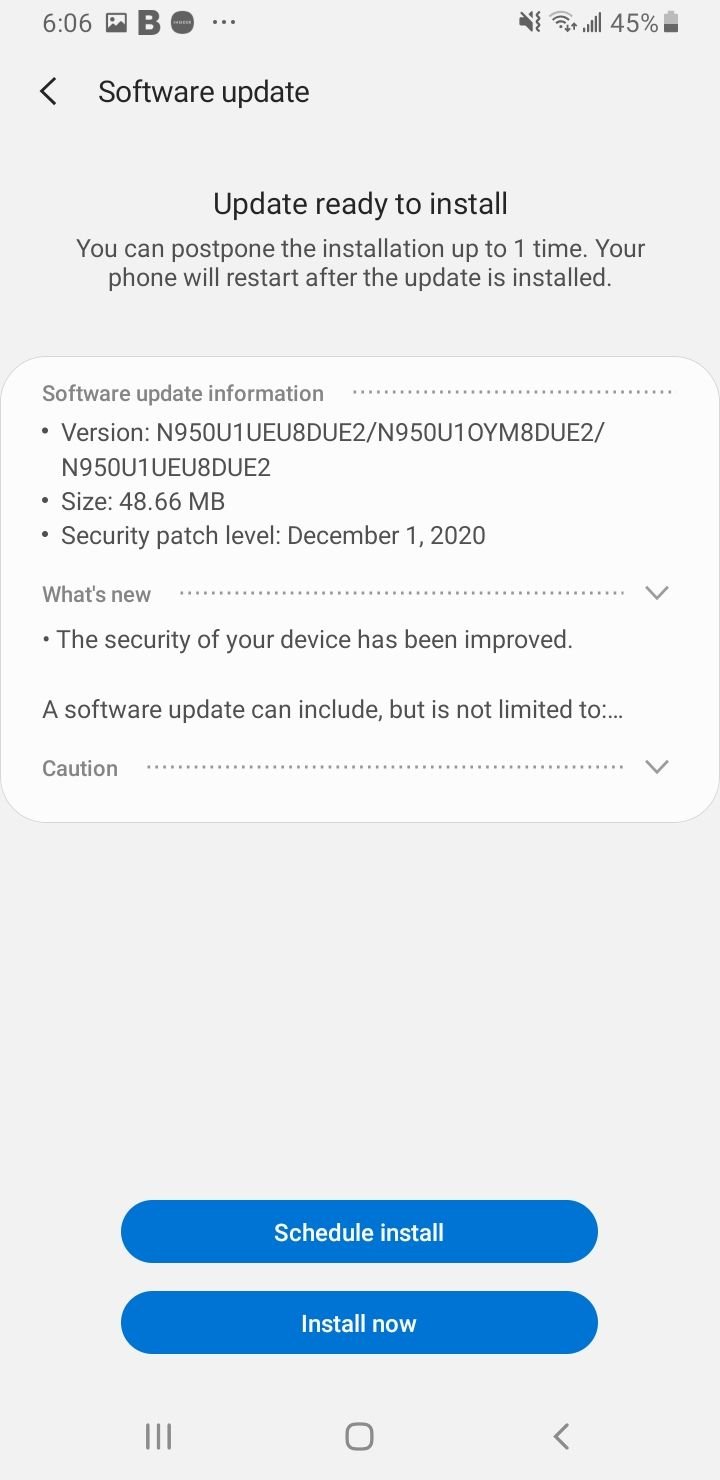
Updates help solve known issues in the software. To check if you have any pending updates, follow these steps:
- Navigate to Settings
- Tap Software Update.
- Tap Download & Install
Solution 6: Delete the Cache and Data Files for the Gallery App
If anything goes wrong with the gallery app, it can often cause the camera to malfunction. Deleting the gallery app's cache and data files can help determine if the gallery app is the culprit.
- Go to the Settings
- Tap Apps
- Search for the Gallery App
- Tap Storage.
- At the bottom of the screen, tap Clear Cache and Clear Data.
Restart your device and check if the Camera is working as expected.
Solution 7: Use a Third-Party Camera App
If you are comfortable dumping the stock camera app, open the Play Store and look for a third-party camera app. There are many available, and some may offer you more features than the default camera app.
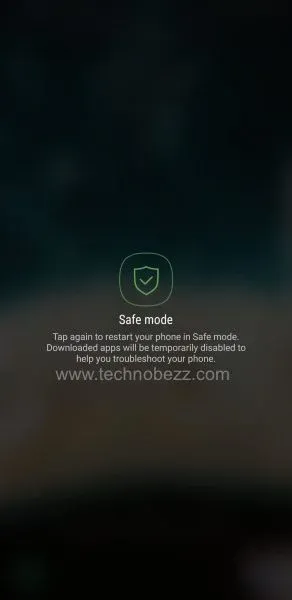
Solution 8: Use Safe Mode
To check if a third-party app is causing the problem, you will need to restart your device in Safe Mode. All third-party apps are disabled in safe Mode to help narrow down the cause of the problem.
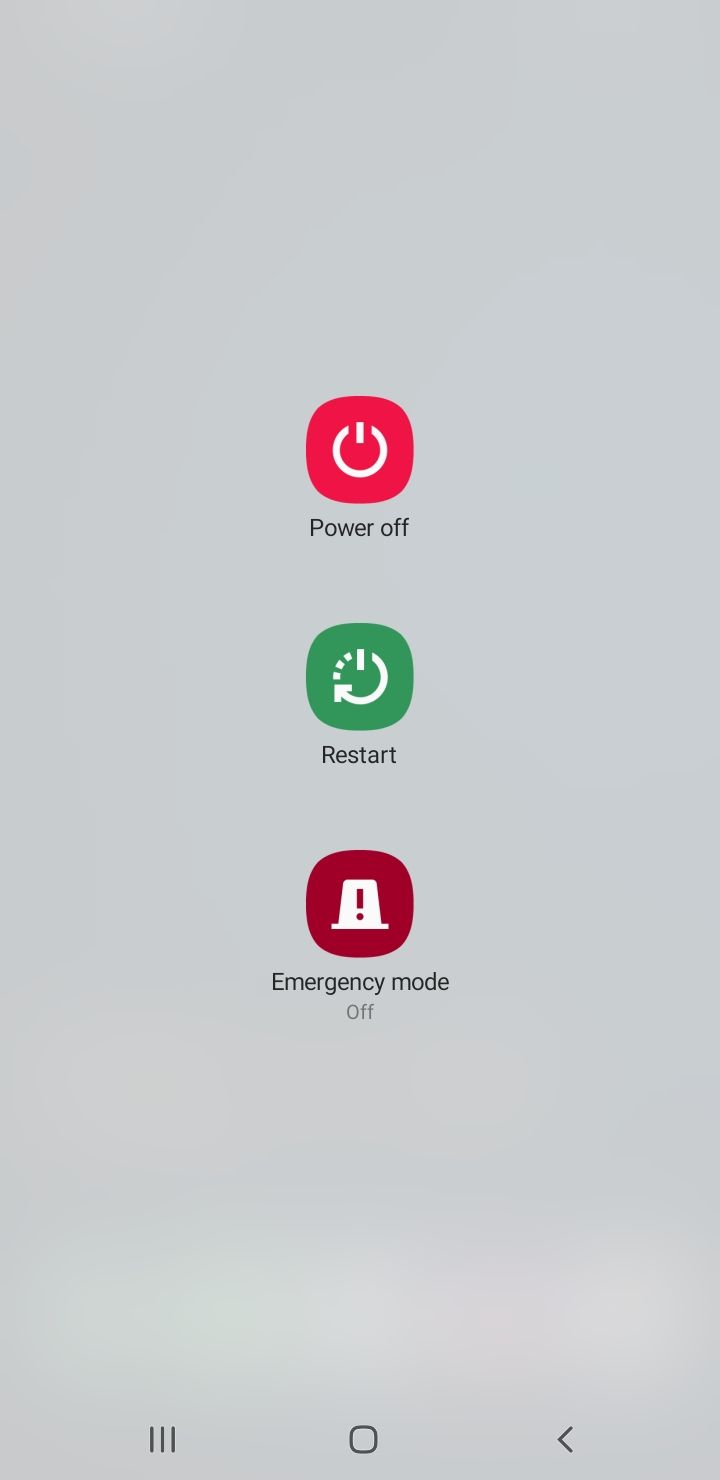
- Press and hold the Power button on your device till you see the Power menu > Tap Power Off.
- Press and simultaneously hold the Power and Volume Down buttons to turn the device on.
- Once the Samsung logo appears on the screen, you can let go of the power button. Ensure you keep holding the Volume Down Button
- Safe Mode will now appear at the bottom left of the screen.
How to Exit Safe Mode (3 Ways):
- Press and hold the Power button for at least 6 seconds, then tap Restart.
- Press and hold the Power + Volume Down buttons for at least 5 seconds.
- Swipe down from the top of the screen to access the Notification Panel, then tap on "Safe mode is on" To disable and restart.
Once the device restarts in Safe Mode, check if the camera opens with any errors. If the camera is working, consider deleting your recently installed third-party apps.
Solution 7: Wipe cache partition
You will not lose any data by wiping the cache.
Older Models / Versions:
- Turn off your phone, press and hold the Power, Volume Up, and Home buttons until your phone vibrates.
- You will be in the Recovery menu of your device.
- Highlight the 'wipe cache partition' option by using the Volume Down key and pressing the Power key to select the option.
Updated:
- Press and hold the Power button on your device until you see the Power menu > Tap Power Off
- Connect your phone to a desktop/ laptop with the original Type-C cable
- Press and hold the Power + Volume Up Buttons
- When the Android logo appears, release all keys.
- Use the Volume down button to navigate, then select "Wipe cache partition."
- Use the Power button to make selections.
- Once the wipe cache partition process is complete, select Reboot System using the Power button.
- Press the Power key to restart the device.
You may also read: How to fix no signal on Android.
Also Read
9 Ways To Fix Not Registered On Network on Samsung Galaxy

Android & Samsung Secret Codes: USSD & MMI Code list
Why Is Your Samsung Galaxy Battery Draining So Fast?

177+ Free USSD and MMI Codes For Android And iPhone
How to Fix Mobile Network Not Available on Android
