Is your Android phone failing to make or receive calls? This can be a frustrating issue to deal with, especially if you rely on your phone for communication. Fortunately, there are several potential solutions to this problem.
In this article, we'll explore the possible causes of this issue and provide step-by-step instructions on how to troubleshoot and fix it. Whether it's a network problem, software glitch, or hardware issue, we've got you covered with effective solutions to get your Android phone back to making and receiving calls in no time
What To Do When You Can't Make or Receive Phone Calls on your Samsung or Android Phone?
Basic Troubleshooting
Let's start with the basics.
- Ensure you have an active mobile plan with your carrier and your signal is not weak (Reception).
- Check your contact blocked list. Consider placing a call to a different number.
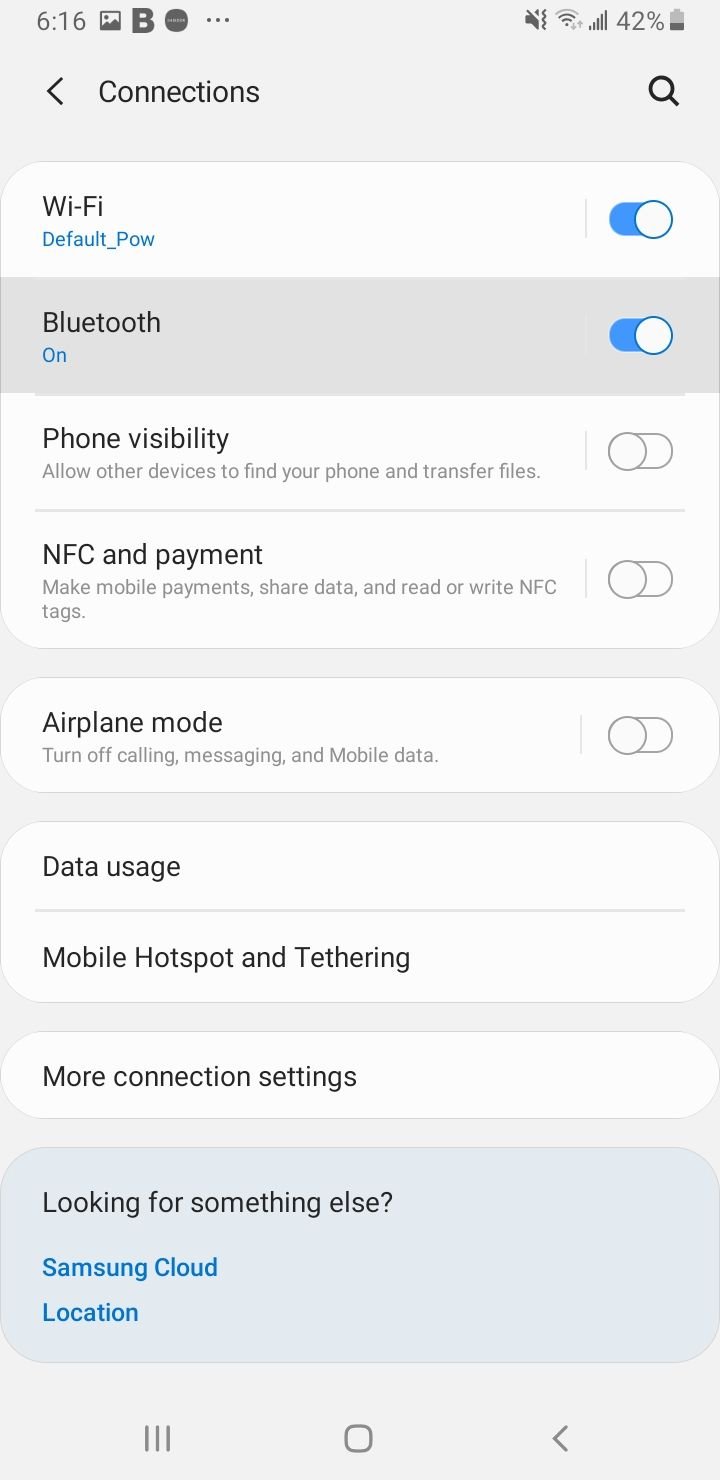
- Check the Airplane mode. Sometimes, we accidentally enable that feature. Open Settings > Connections > Airplane mode. Toggle the switch button.
- Remove your SIM card and put it back in. If you have another phone around, place your SIM card on it and try to make a phone call.
- Restart your phone.
Why is my Android phone not making or receiving calls?
When you are unable to make or receive calls on your Android smartphone, there can be several reasons for this issue. Some common causes include being in an area with poor network coverage, having Airplane Mode activated on your device, unpaid phone bills, presence of malware affecting phone functions, or software-related problems.
It is essential to systematically troubleshoot these possible issues to determine the specific cause behind the call problem on your Android phone.
Quick Check
Perhaps you accidentally enabled the Airplane mode on your phone, disabled WiFi, etc. Before we go further, perform these quick troubleshooting steps:
- Make sure the Airplane mode is disabled. You can also toggle the Airplane mode on and off.
- Toggle WiFi
- Toggle Mobile Data
1: Call Your Carrier
Phone call issues do not always come from the phone itself, the WiFi, or the SIM card. It may come from the provider you are using. Perhaps their system is down or under maintenance.
Try to reach out to your carrier using another phone, email, live chat, etc.
2: Disable the Do Not Disturb
Do Not Disturb allows you to mute incoming calls, messages, and notifications. The point is to help you focus on your work without being distracted by your phone. Check if you have unintentionally enabled the feature.
To disable the Do Not Disturb, go to:
- Settings > Notifications> Do not disturb.
- Toggle the button to turn off the feature.
Alternatively, you can do it through Quick settings by swiping the screen from the top. Tap the Do not disturb icon until it turns gray.
3: Turn off Smart Call
When you activate the Smart Call feature on your Samsung Galaxy Phone, it will automatically block every number not listed on your contacts. Before disabling it, make sure the numbers exist on your contact list.
Steps to turn off the Smart Call feature
- Launch the Phone app
- Tap the More option (three dots) and select Settings
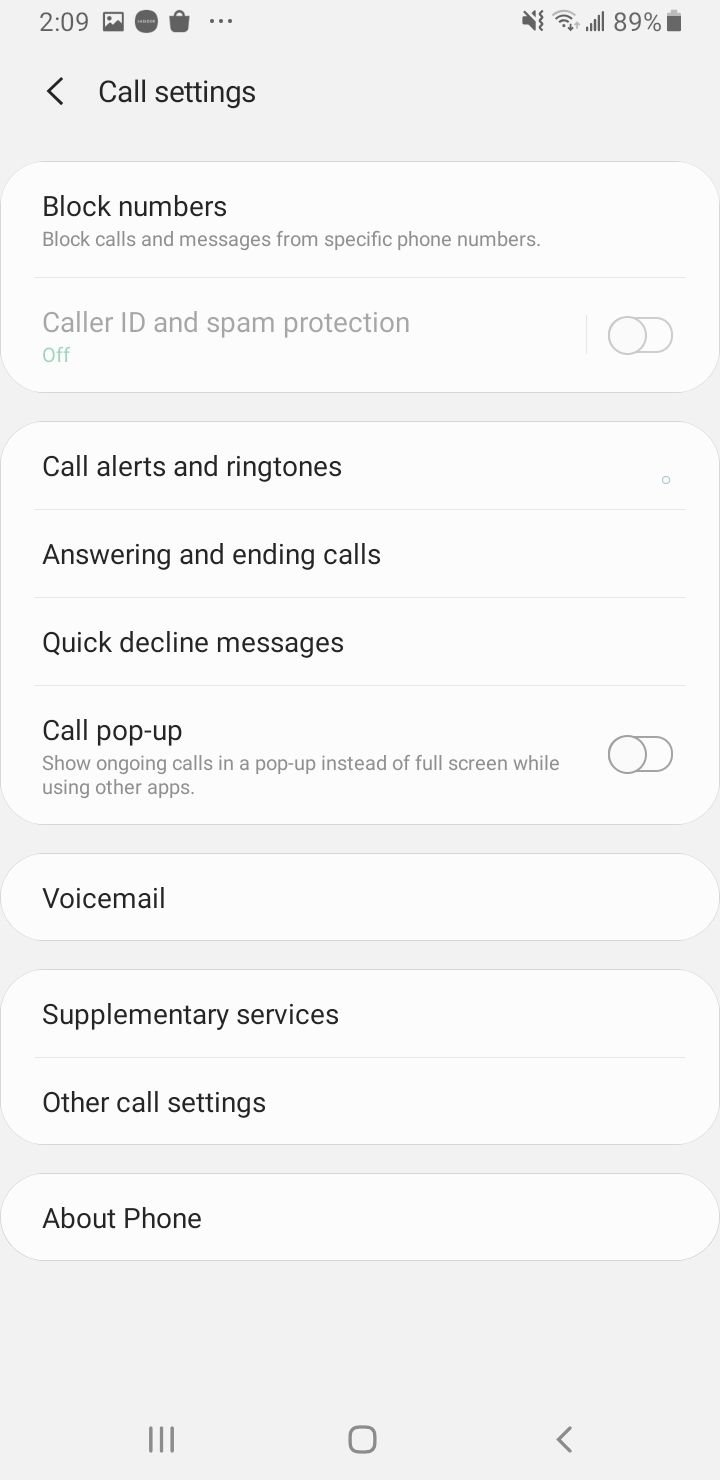
- Tap the switch button next to the Call-ID and spam protection option until it turns green
While in Settings, you can also investigate the Block number option. By tapping on it, you will see a blocked list of blocked numbers, if any. Tap Delete to unblock the number.
4: Restart Your Phone
Press and hold the Power button and hold it until the Power off screen appears and tap Restart.
5: Disable Call forwarding
Some people have more than one phone for different purposes. For instance, one phone is for business and another for personal use. If you have two Android devices and want to forward the call from a personal phone to a business phone, enabling the Call forwarding feature will help.
The call-forwarding feature aims to redirect incoming phones from one phone to another. To disable the Call Forwarding feature, follow these steps:
- Tap the Phone app from the home screen
- Tap More (three dots)
- On the drop-down menu, choose Settings
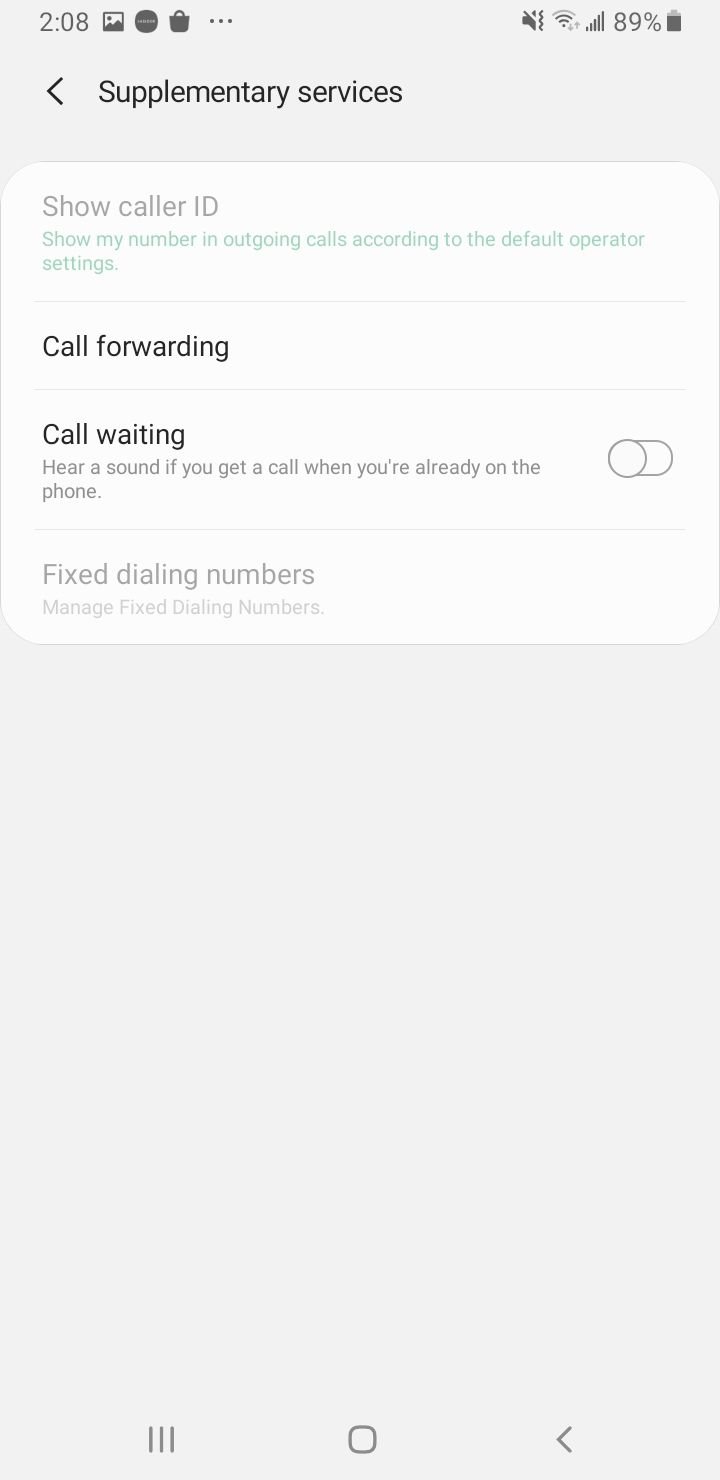
- Scroll down to find the Supplementary Services option
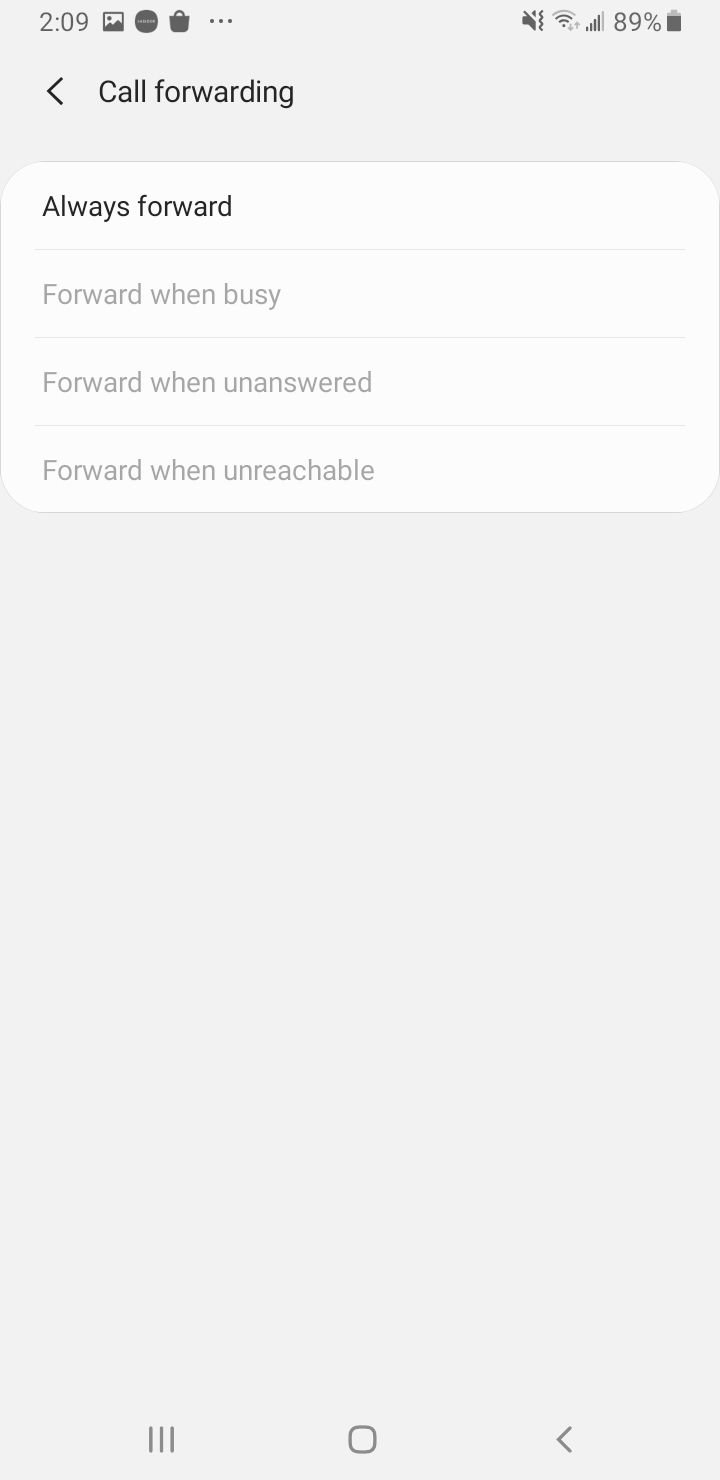
- Tap Call forwarding
- Tap Always forward and choose Enable
While on the Supplementary Services screen, investigate the call barring feature. Make sure this feature is not active. Otherwise, this will stop all incoming and outgoing calls.
From the Supplementary Services screen:
- Tap Call Barring instead of Call Forwarding.
- Then, tap Voice call and turn off the All incoming calls option.
6: Inspect the Internet Connection
To make VoIP calls, you need an internet connection. Ensure you have a stable WiFi network and cellular data on your phone.
- Toggle WiFi
- Switch to mobile data or try a different WiFi network if available
7: Reset Network Settings
If the caller tries to reach you via WiFi or cellular data, Reset network settings can resolve the issue. To perform this method, open:
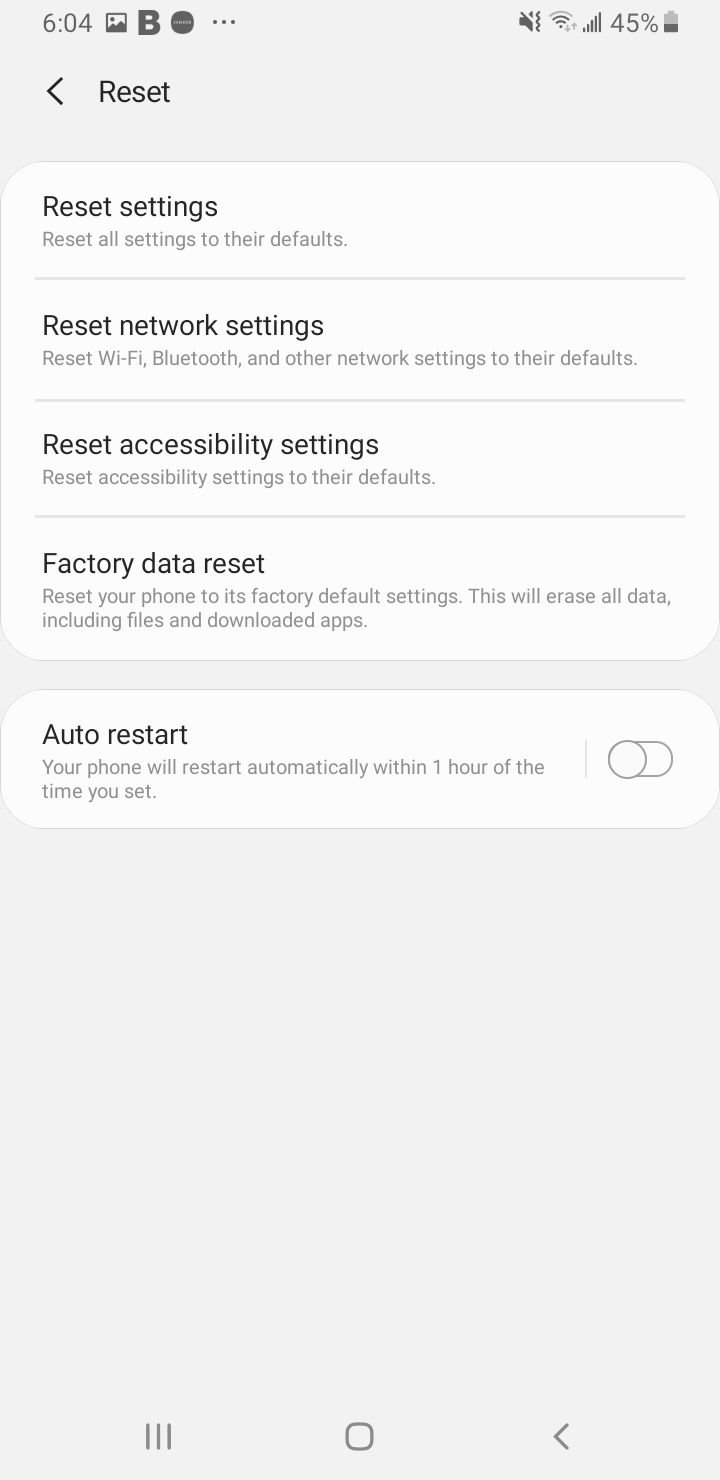
- Settings > General Management
- Reset > Reset network settings.
After that, you need to re-enter your WiFi password because the resetting process erases all the WiFi passwords you have entered before.
8: Inspect the Sim Card
The problem may not come from your phone but from the SIM card or provider. Check if the signal is full or weak. Also, make sure you are using an active SIM card. Check if your SIM Card is placed correctly.
If you see a "No Service" Error, consider reading this article or Not Registered on Network.
9: What should I do if my Android phone is not connecting to mobile data?
If your Android phone is not connecting to mobile data, you can take the following steps to troubleshoot and potentially resolve the issue. First, ensure that Airplane Mode is turned off and restart your phone. Check if mobile data is enabled in the phone's settings. Additionally, confirm that you are within a network coverage area.
If these steps do not resolve the issue, you may consider other troubleshooting methods to fix the problem. These steps aim to address common connectivity issues with Android smartphones and can help resolve a variety of problems that may be preventing your phone from connecting to mobile data.
10: Reset Factory Settings
You may lose your data during the process. That is why you need to backup your phone before starting. First, go to Settings > General Management > Reset > Factory data reset.
A factory reset on an Android phone should be considered when you encounter persistent issues that prevent you from making or receiving calls, among other problems. If you have tried basic troubleshooting steps and the issues persist, a factory reset can be a more thorough solution. It is crucial to note that performing a factory reset will erase all data on the device, so it is essential to back up important information before proceeding with the reset.
After resolving any issues on your Android phone, it's important to implement various security measures to keep your device safe:
- Ensure your device is up to date by installing the latest security updates provided by the manufacturer regularly.
- Uninstall any unused apps to reduce potential security vulnerabilities within your phone.
- Only download apps and files from reputable sources such as the official Google Play Store to minimize the risk of downloading malicious software onto your device. By following these steps, you can enhance the security of your Android phone and protect it from potential security threats.
To troubleshoot specific issues such as not receiving texts from iPhones or Gmail not working on your Android phone, there are several steps you can take:
1. Not Receiving Texts from iPhones
If you recently switched from an iPhone to Android, your phone number may still be linked to iMessage. To resolve this issue, deregister and turn off iMessage on Apple's website. - If you are unable to receive texts or calls from a specific iPhone user, the problem may be on their end. Encourage them to troubleshoot their device to resolve the issue.
2. Gmail Not Working on Android
If Gmail is not syncing on Android, go to the Gmail app's settings and check if Sync Gmail is enabled for your account. - Ensure that your Android device is online and not in airplane mode, as this can affect Gmail's functionality. - If you continue to experience issues, try updating the Gmail app to the latest version, clearing the app data, and restarting your device to potentially resolve any underlying problems.
Additional tips
-
Clear the Phone App Data and Cache: Over time, the data and cache stored by the phone app can accumulate and cause issues with making or receiving calls. Clearing this data can often help fix the problem. To do this, go to Settings > Apps > Phone > Storage > Clear Data and Clear Cache.
-
Disable Third-Party Apps: Sometimes, third-party apps installed on your phone can interfere with your phone's ability to make or receive calls. Try disabling these apps temporarily to see if it helps. To do this, go to Settings > Apps > [App Name] > Disable.
-
Check for System Updates: Just like with app updates, system updates can also fix bugs and issues that may be affecting your phone's ability to make or receive calls. Check for any available system updates and install them if they are available. To do this, go to Settings > Software Update > Download and Install.
-
Check for Call Restrictions: Some phones have call restrictions enabled that can block incoming or outgoing calls. Check your phone's settings to see if any restrictions are enabled. To do this, go to Settings > Privacy > Call Restrictions and disable any restrictions that may be turned on.
-
Reset the Phone Network: Resetting the network settings on your phone can help fix issues with making or receiving calls. To do this, go to Settings > General Management > Reset > Reset Network Settings. This will reset all the network settings on your phone, including Wi-Fi, Bluetooth, and mobile data.
-
Contact Customer Support: If none of the above solutions work, it may be a hardware issue that requires professional assistance. Contact your phone manufacturer or carrier's customer support to get further assistance with the issue. They may be able to provide more specific solutions or repair options to help you get your phone working properly again.
Also Read

9 Ways To Fix Not Registered On Network on Samsung Galaxy

Android & Samsung Secret Codes: USSD & MMI Code list
Why Is Your Samsung Galaxy Battery Draining So Fast?

177+ Free USSD and MMI Codes For Android And iPhone
How to Fix Mobile Network Not Available on Android
