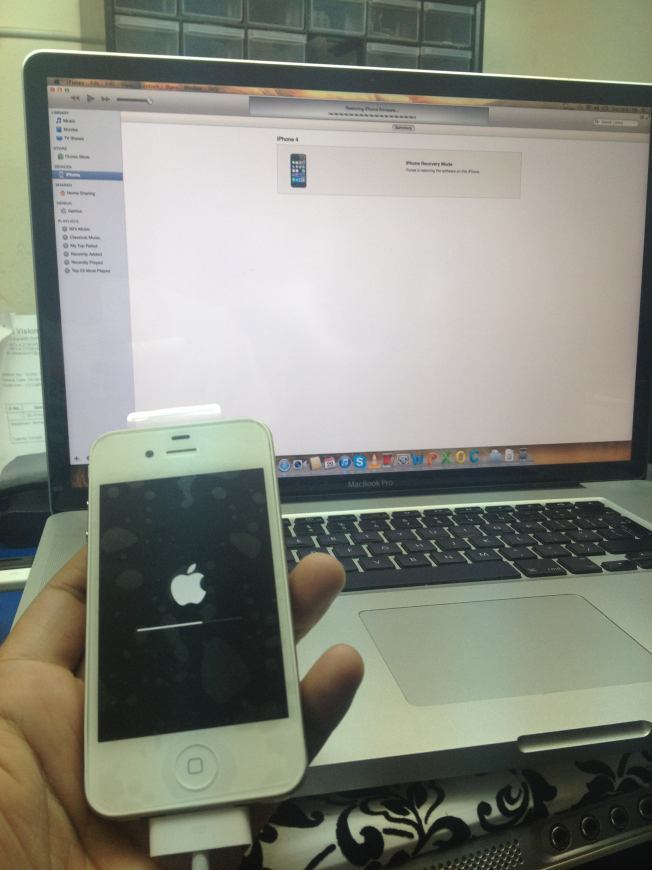
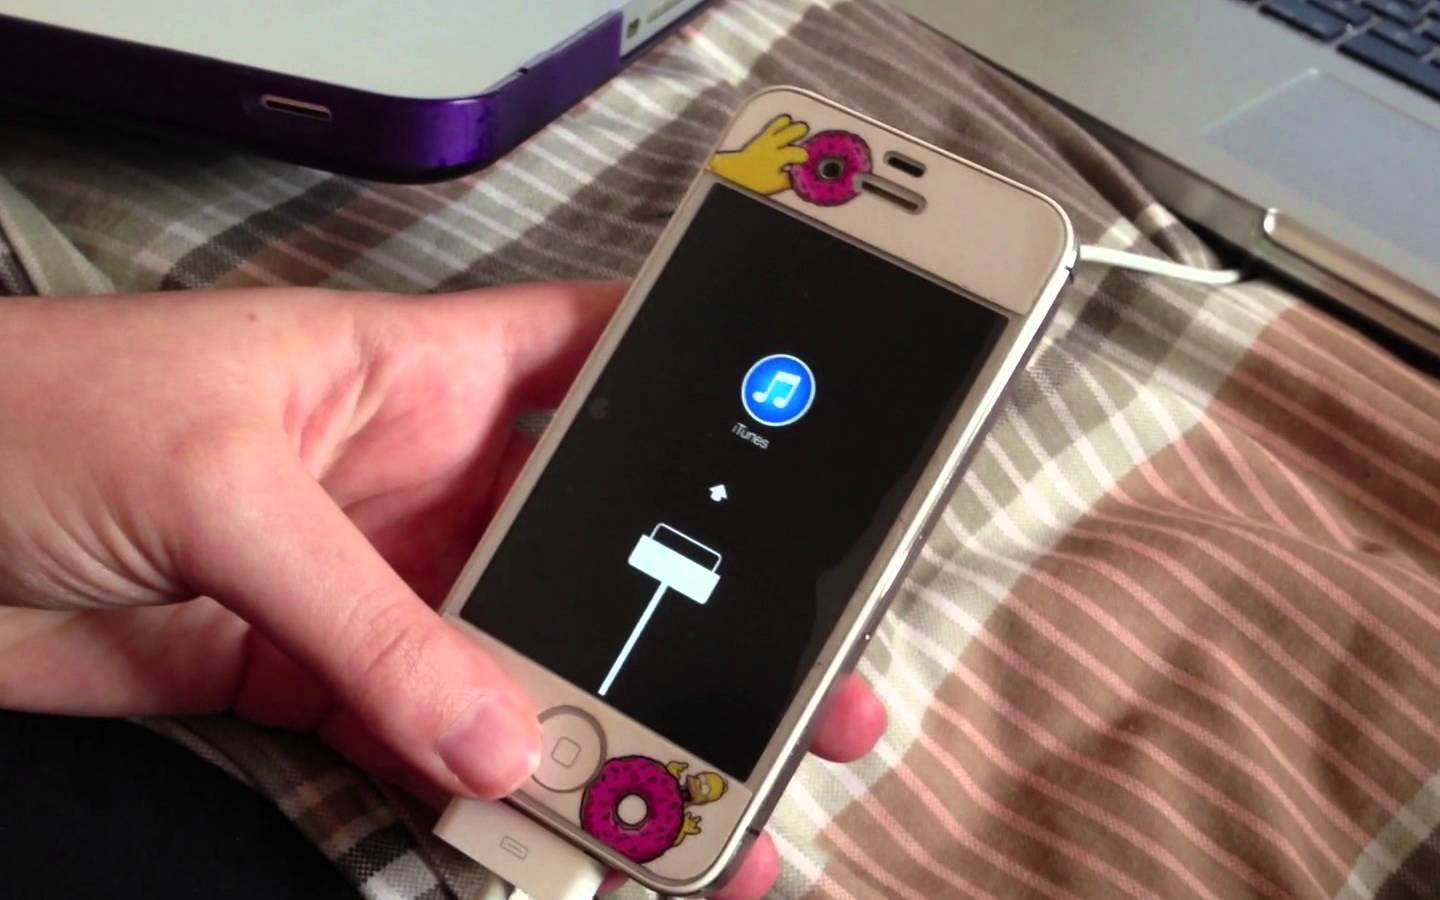
iPhone & Apple error messages and their meaning (With Fixes)

Tech Insights in Your InboxSubscribe to our free newsletter and never miss out on what's happening in the tech world. Learn Tech Today, Lead Tomorrow.

This article will talk about different Apple error messages and ways to fix them.

See also: How To Fix iPhone/iPad Won’t Connect To Wi-Fi.

Errors:

  • 1, 2, 3, 4, 13, 14, 21, 23, 29, 1011, 1012, 1600, 1601, 1602, 1603, 1604, 1611, 1638, 1643, 1644, 1645, 1646, 1647, 1648, 1650, 1669, 2001, 2009, 3000, 3001, 3003, 3004, 3006, 3014, 3015, 3194, 3259, 4005, 4013, 4014, 9006, etc.
  • 0xE800000a, 0xE800006b, 0xE8000001, 0xE8000065, etc.
  • iPod errors 1415, 1417, 1418, 1428, 1429, 1430, etc.

Apple error messages and their meaning.

Hardware Issues

If you see one of the following errors, then the issue is related to the hardware of your Apple device.

  • 1, 3, 10, 11, 12, 13, 14, 16
  • 20, 21, 23, 26, 27, 28, 29, 34, 35, 36, 37, 40, 53, 56
  • 1002, 1004, 1011, 1012, 1014, 1667 1669

If the error message "error 53" appears on your iPhone with a "Touch ID that is not working" warning, there is a problem with your Touch ID.

It can be fixed with iOS 9.3.2 or later.

Ensure:

  • You have the privilege of an administrator account, not a guest account.
  • You have a good internet connection.
  • To use the original cable.

Set Date, Time, and Time Zone correctly

In some cases, these three features are responsible for the error messages

Set the date, time, and time zone correctly.

Check the compatibility

Ensure you are using an updated version of iTunes and that your PC/ MAC is updated.

Update iTunes

In 2019, Apple finally decided it was time to separate iTunes into different apps, so the company discontinued the Software and replaced it with the Music, TV, and Podcasts apps in macOS Catalina.

As we know, every update comes with bug fixes and improvements. You can update to the latest version with ease through iTunes or manually download the installer from Apple's official website. Here are the steps to update.

  • If you are using a Mac, open the App Store >> Check for updates on the Update Tab.

Try the restoring process again.

Try the restoring process again after updating the application to the latest version.

Disable or Remove your antivirus software

The security software on your computer may be interfering with the restore process (especially if you are using a Windows PC). You can try to disable or remove the security software on your computer temporarily.

Try another computer

Try to use another computer that has a different operating system.

Try another Wi-Fi connection.

Consider using a different Wi-Fi network.

Try DFU mode

DFU mode is the abbreviation for Device Firmware Upgrade that allows iOS devices to be restored from any state.

Enter DFU Mode on your iPhone or iPad with Face ID :

  • Please connect your iPhone to a computer
  • Open iTunes or Finder (On Mac)
  • Press and quickly release the volume up button, press and quickly release the volume down button, then press and hold the side button
  • Now, while holding the side button, press and hold the Volume down button for 5 seconds.
  • Then, Release the Power button but keep holding the volume down button for another 5 seconds.
  • Release the button once the screen goes blank or if a message in Finder shows "Your mac has detected an iPhone in recovery mode"

To exit DFU Mode on iPhone or iPad with Face ID :

  • Press and quickly release the volume up button, press and quickly release the volume down button, then press and hold the side button until the phone restarts.

Enter DFU Mode on iPhone 7 and iPhone 7 Plus :

  • Please connect your iPhone to a computer
  • Open iTunes or Finder (On Mac)
  • Press and hold the side button for 6 seconds.
  • While holding the side button, press and hold the volume down button for another 10 seconds.
  • Release the side button, but continue to hold the volume down button for another 6 seconds.
  • Release the button once the screen goes blank or if a message in Finder shows "Your mac has detected an iPhone in recovery mode"

To exit DFU Mode on iPhone 7 and iPhone 7 Plus :

  • Press and hold the volume down and power buttons together until the phone restarts.

Enter DFU Mode on iPhone 6 or older:

  • Please connect your iPhone to a computer
  • Open iTunes or Finder (On Mac)
  • Press and hold the side button for 5 seconds.
  • While holding the side button, press and hold the home button for another 8 seconds.
  • Release the side button, but continue to hold the home button for another 5 seconds.
  • Release the button once the screen goes blank or if a message in Finder shows "Your mac has detected an iPhone in recovery mode"

To exit DFU Mode on iPhone 6 or older :

  • Press and hold the Home and Power buttons together until the phone restarts

The screen of your iOS device will remain dark, but the device will be detected by your computer (in recovery mode).

Please Proceed to restore your iPhone in this Mode.

Baseband Issues

The error messages are 9, 4005, 4013, or 4014.

Update iTunes

These errors may appear because of the iTunes version.

Restart your computer

Consider restarting your computer.

Update your computer OS

If an update for your Mac is available, click the Update button (Shown Below). For PC users, you can check the OS update here.

Charge the battery

Ensure your iPhone battery has sufficient power. Charge your phone until the battery is more than 30%.

Use another USB cable

Use the original cable that came with your Apple device. Some third-party accessories can damage your device, especially if they don't have an MFI certificate from Apple. Try another USB cable. Then try to connect it to a different UBS port as well.

Use another computer

Try to restore your iOS device with another computer. If you have used a Mac before, try to use a PC.

Force Restart the device

This is very simple. You can press and hold both the Sleep/Wake and Home buttons (Power + Volume Down buttons) simultaneously for 10 seconds. Then, slide to turn off your device.

Restore in DFU mode

Try to restore your iOS device in DFU mode. (Shown above)

USB Connection Issues

The following errors 3, 14, 1600, 1601, 1602, 1603, 1604, 1611, 1643-1650, 2000, 2001, 2002, 2005, 2006, 2009 usually appear due to USB connection issues. You may also see this error message: "Invalid response".

  • Use another USB cable or Apple lightning cable.
  • Use another USB port.
  • Try another computer.

Communications issues

Next, we will talk about the errors associated with the communication during the restoring process. These are the errors:

  1. 17, 1638, 3014, 3194, 3000, 3002, 3004, 3013, 3014, 3015, 3194, and 3200.
  2. "There was a problem downloading the software."
  3. "The device isn't eligible for the requested build."

What to do:

  • Check your internet connection.
  • Check the Apple server status. You can visit Apple's system status on their official website to check if the servers are down for maintenance. If the server is down, try to restore your iPhone later.
  • Check your host file. Ensure the host file on your computer is correct.

For Mac:

  • Open Finder. Then, on the menu bar, click Applications > Utilities.
  • Open Terminal and type this command: sudo nano /private/etc/hosts and press Return.
  • Enter the password you use to sign in to your computer and press Return.
  • The terminal will show you the host file.
  • Navigate using the arrow keys and ensure the entry "gs.apple.com" does not exist there. Otherwise, add the # symbol and a space to the beginning of the entry (# gs.apple.com).
  • Press Control-O to save the File.
  • Press Return when asked for the filename.
  • Press Control-X to exit the editor.
  • Restart your Mac.

Be sure to follow us

Join our newsletter

Subscribe to our newsletter and never miss out on what's happening in the tech world. It's that simple.
subsc
Be sure to follow us

Join our newsletter

Subscribe to our newsletter and never miss out on what's happening in the tech world. It's that simple.
subsc